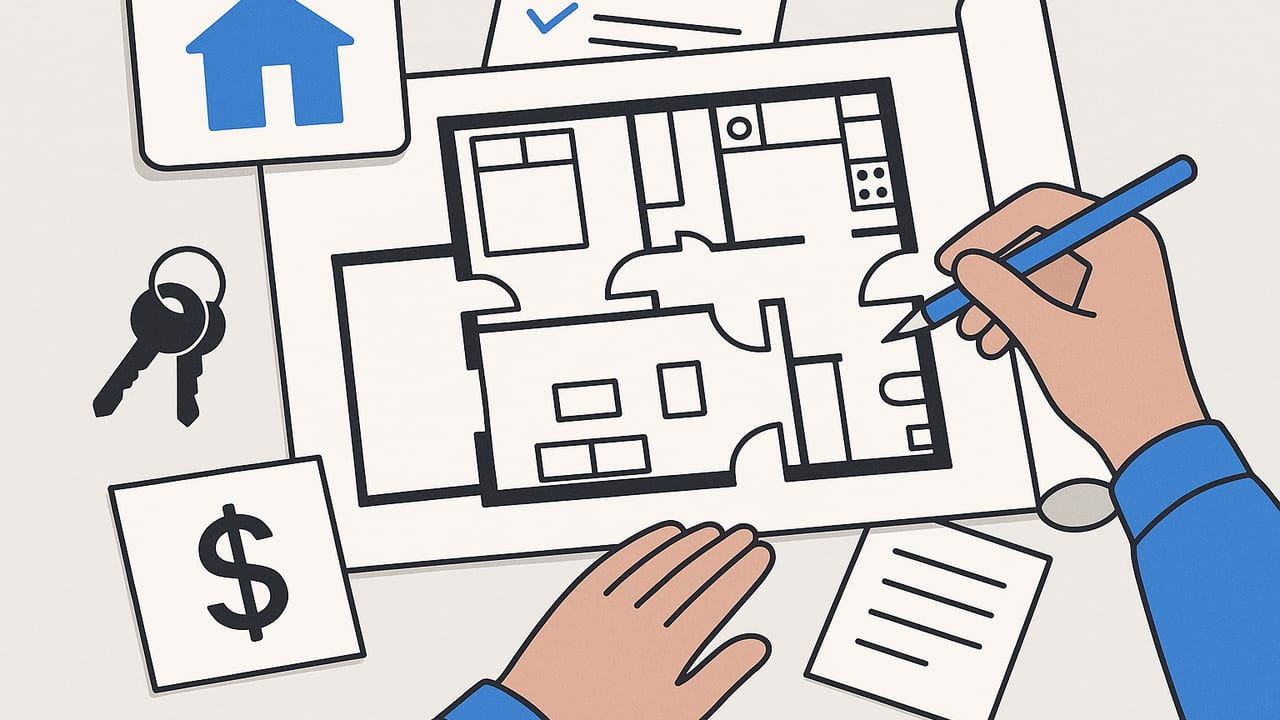
If you’re searching “how to reconfigure apartment,” you’re likely weighing new ways to use your square footage without wasting time or money. This guide walks you through constraints, proven layout strategies, step-by-step planning, cost ranges, and visualization techniques so you can confidently remodel for function, comfort, and resale value.
Start With the Rules: What You Can and Can’t Move
The best apartment reconfigurations begin with an honest inventory of constraints. Understanding these upfront prevents costly redraws and builder surprises later.
Structural Elements
- Load-bearing walls and columns: Typically cannot be removed without engineered alternatives (beams, posts) and permits. Expect higher cost and longer timelines if altering structure.
- Slab thickness and penetrations: In multi-story buildings, cutting the slab is typically prohibited. This affects stair additions (in duplexes), floor outlets, or recessed showers.
“Wet” Areas and Stacks
- Plumbing stacks: Bathrooms and kitchens usually need to stay within a reasonable distance (often 5–10 feet) of existing stacks unless the building allows pumped fixtures or has a raised floor system.
- Wet-over-dry rules: Many condo/co-op boards prohibit placing wet rooms (baths, kitchens, laundry) over bedrooms/living spaces below.
Egress, Light, and Ventilation
- Bedrooms: May require an operable window with minimum glass area and an egress path. Internal “bedrooms” without proper windows often must be labeled as home offices or dens.
- Ventilation: Range hoods, baths, and laundry need compliant venting; exterior venting may be restricted.
Building and Landlord Policies
- Permits: Even non-structural changes can require filings. Plan review and inspections add time.
- Quiet hours, elevator protection, proof of insurance: These logistics affect schedule and cost.
Acoustics and Fire
- Sound transmission: Flooring underlayment ratings (IIC/STC) are often mandated; moving a kitchen over a neighbor’s bedroom can be disallowed.
- Sprinklers and alarms: Reconfiguration may require head relocation and compliance upgrades.
A Step-by-Step Workflow That Works
Before you pick finishes, get the plan right. Here’s a practical sequence for a reconfiguration that balances creativity with compliance.
1) Measure and Document
- Record: Overall room dimensions, wall thicknesses, ceiling heights, column/wall projections, window sizes and sill heights, radiator/HVAC locations, electrical panels, outlets, and plumbing fixtures.
- Photograph: Corners, ceilings, and under-sink areas; note pipe chases and soffits.
- Annotate a base plan: Mark immovable elements in red (stacks, structure), movable in blue (non-load walls, doors), known utilities in green.
2) Define Goals and Adjacencies
Write down the top three outcomes you want (e.g., “add a home office,” “bigger kitchen,” “more storage”). Then map which rooms should sit next to each other. A simple adjacency list helps:
# Example adjacency notes
Bedroom: near Bath, away from Living
Home Office: near Bedroom (quiet), natural light
Kitchen: near Dining/Living, near plumbing stack
Entry: near Closet, view corridor to light source
3) Block and Test Multiple Layouts
- Furniture footprints: Use scaled cutouts or digital blocks (sofa 84x38 in, queen bed 60x80 in, table 36x72 in) to test fits before moving walls.
- Bubble diagrams: Sketch 3–5 quick options focusing on flow and adjacency; do not optimize details yet.
4) Check Circulation and Clearances
- Doorways: 30–36 in clear width; maintain door swing zones.
- Corridors: 36 in minimum; 42 in is comfortable.
- Kitchen: 42 in work aisle (single cook), 48 in for two; 36–42 in around islands; 24 in counter landing near the fridge and oven.
- Dining: 36 in from table edge to wall for pass-by; 44 in if it’s primary circulation.
- Bedroom: 24–30 in beside the bed for access; 36 in in front of wardrobes.
- Bath: 30x60 in typical tub/shower footprint; 21 in clear in front of toilet (check local code for more).
5) Resolve Services Early
- Plumbing: Keep fixtures stacked/clustered; consider wet-wall “spines” to minimize rerouting.
- Electrical: Plan switch locations based on door swings; add outlets where furniture will live.
- HVAC: Moving fan-coil units or radiators may be restricted; soffits for ducting impact ceiling heights.
6) Confirm Approvals and Permits
- Board/landlord approval: Submit plans and scope; show acoustic underlayment specs.
- Municipal permits: Required for structural moves, new bathrooms/kitchens, electrical rework, and often for removing walls.
- Professional stamping: Some jurisdictions require a licensed architect/engineer.
7) Price, Phase, and Protect
- Get line-item estimates: Demolition, framing, MEP (mechanical, electrical, plumbing), finishes, protection, and cleanup should be separated.
- Phase strategically: For occupied remodels, consider a temporary kitchen or cordoned work zones.
- Contingency: Hold 10–20% for unforeseen conditions in older buildings.
Layout Strategies by Apartment Type
Studio: Create Zones, Not Just Walls
- Sleeping nook: Use a half-height wall, millwork headboard, or sliding panel to define a “bedroom” while preserving light.
- Convertible office: A fold-down desk or Murphy bed with integrated shelves creates dual-use space.
- Galley kitchen upgrade: Add a peninsula to double as dining and prep; ensure 42 in aisle clearance.
One-Bedroom: Add Function Without Sacrificing Light
- Split primary: Carve a small office or nursery by borrowing from oversized circulation; switch to pocket doors to recover swing space.
- Open the kitchen: Remove a non-structural wall to combine living/dining; use a storage island to offset lost uppers.
- Walk-through closet: A dressing corridor between bedroom and bath boosts storage and privacy.
Railroad/Shotgun: Unblock the Flow
- Central spine: Use a storage/millwork spine with sliding doors to connect rooms while hiding utilities.
- Aligned doors: Rehang or pocket doors to create a straight circulation axis, reducing dead-end rooms.
Prewar vs. Postwar Considerations
- Prewar: Thicker walls, radiant heat, and masonry shafts; plumbing moves are harder, but niches and deep jambs allow built-ins.
- Postwar: Lighter partitions and slab construction; easier to replan non-structural walls, but slab penetrations are limited.
What Moves Deliver the Most Value?
Focus on changes that improve daily living and resale without triggering heavy structural or plumbing work.
- High-impact, low-disruption: Widening a living area by removing a non-load-bearing wall, relocating doors for better furniture placement, adding storage walls with integrated lighting, or upgrading kitchen workflow without moving stacks.
- Moderate-impact: Shifting a kitchen or bath a few feet to gain a better layout, adding a powder room where a stack allows, enclosing a small office with glass for light.
- High-impact, high-disruption: New bathrooms far from stacks, structural beam work, or complete MEP reconfigurations—reserve for long-term stays or top-tier resale markets.
Costs, Timelines, and Permit Risk
Actual numbers vary by city and building rules, but these ranges help with early budgeting.
| Scope | Typical Work | Rough Cost | Timeline | Permit Risk |
|---|---|---|---|---|
| Light Reconfiguration | Remove non-structural walls, new doors, millwork, lighting | $50–$150/sf | 2–6 weeks | Low–Moderate |
| Moderate Reconfiguration | Move kitchen/bath within 5–10 ft, new wiring, HVAC adjustments | $150–$300/sf | 2–4 months | Moderate–High |
| Major Reconfiguration | New bath far from stacks, structural/beam work, full MEP | $300–$600+/sf | 4–9 months | High |
Notes: Costs exclude design fees, permit fees, and building-required protections. In co-ops/condos, mobilization and elevator logistics can add materially to overhead.
Clearance Cheat Sheet (Keep Handy)
- Entry closet interior depth: 24 in minimum
- Bedside tables: plan 18–24 in each, plus 24–30 in walkway
- Sofa-to-TV viewing distance: roughly 1.5–2.5x screen diagonal
- Washer/dryer closet: 30–34 in depth plus vent/service clearance
- Pocket door cavity: door width x 2, plus framing
Common Mistakes to Avoid
- Ignoring stacks and slabs: Moving a bathroom across the unit often dies at board review. Keep wet zones clustered.
- Over-partitioning: More walls can kill daylight and airflow; consider glazed or half-height alternatives.
- Forgetting door swings: A poorly placed swing can block a closet or eat scarce space—use pocket or bifold where appropriate.
- Underestimating storage: Built-ins along circulation paths can add cubic capacity without enlarging rooms.
- No sample layouts: Commit to testing at least three distinct scheme options before finalizing.
Before You Build: Validate in 3D
Plan reviews on paper can miss scale and sightline issues. A quick 3D validation helps you experience proportions, window light, and furniture flow before demolition. Import a scanned or photographed plan, preserve real dimensions, and generate simple camera walks to test countertop heights, door alignments, and island clearances. Even for seasoned renovators, a dimensionally faithful 3D check can catch problems like fridge swing conflicts or a cramped dining pass-through.
If you already have a black-and-white floor plan, an iOS-based workflow like Floor Plan to 3D can convert the 2D layout into an accurate 3D model you can iterate on rapidly, helping you compare schemes and export high-resolution visuals for board submissions or contractor discussions.
Mini Case Examples
Studio, 450 sf
Goal: Separate sleep and living without losing light. Solution: A 7-foot-wide millwork divider with a pocket door creates a sleeping alcove; the divider packs a closet and a fold-out desk. Kitchen remains in place; peninsula adds seating. Result: Distinct zones, unchanged plumbing, minimal downtime.
One-Bedroom, 700 sf
Goal: Add office and expand kitchen. Solution: Shift the bedroom door and use a glass partition to carve a 6x8 ft office from an oversized living room; remove a non-structural wall to open the kitchen, keeping the sink near the stack. Result: Better cooking workflow, quiet work nook, and brighter living space.
Railroad, 900 sf
Goal: Improve privacy and storage. Solution: Align pocket doors for a clear circulation line; insert a storage spine (18–24 in deep) that hides laundry, pantry, and a compact powder room near the stack. Result: Fewer pass-through conflicts and substantially more storage.
Sample Reconfiguration Checklist
- Confirm building rules (wet-over-dry, acoustic ratings, hours, permits).
- Measure and mark immovable elements; draft a scaled base plan.
- List top three goals; map adjacencies.
- Generate three test layouts with furniture footprints.
- Verify clearances and door swings; resolve services.
- Get preliminary estimates and timelines; set a 10–20% contingency.
- Produce final drawings; apply for approvals and permits.
- Sequence work to protect neighbors and finishes.
FAQs
Do I need a permit to remove a wall?
Often yes, even for non-load-bearing walls, because electrical, sprinklers, and life safety can be affected. Always check local code and building policies.
Can I move the kitchen to the window wall?
Sometimes. It depends on stack proximity, venting, and wet-over-dry rules. A partial move (keeping the sink/dishwasher near the stack) is more feasible.
Is adding a second bathroom realistic?
Feasible if you can share a wet wall and meet venting and slope requirements. Expect higher cost and approvals. Pumped systems may be an option if allowed.
Bottom Line
Learning how to reconfigure an apartment is part creativity, part code, and part choreography. Start with constraints, align the plan to your daily routine, test multiple layouts, and validate in 3D before you build. The result is a home that lives larger—without adding a single square foot.
