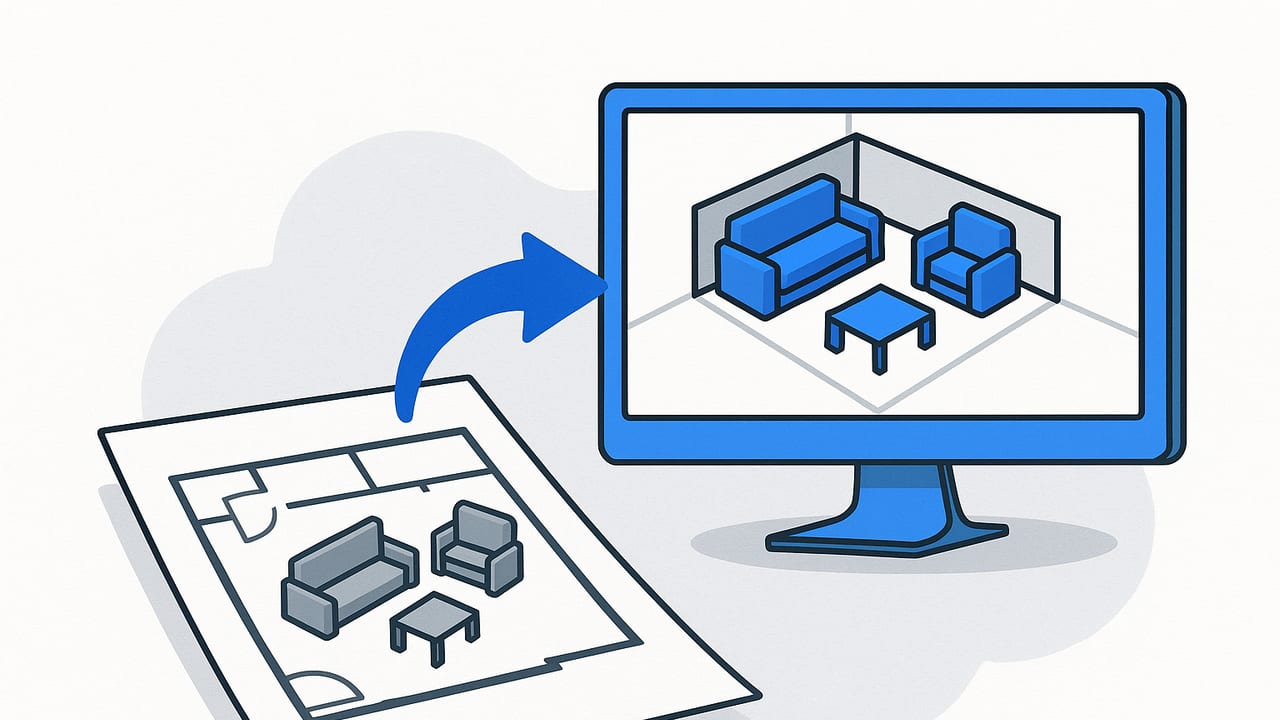
Turning a flat, black-and-white drawing into a believable 3D room—then shuffling sofas, beds, and tables until the layout clicks—is one of the fastest ways to make confident interior decisions. Whether you’re staging a listing, planning a remodel, or designing your first studio apartment, the ability to rearrange furniture in 3D from plan helps you test ideas with real dimensions, sightlines, and circulation in mind.
This guide walks you through the full process: getting scale right, choosing a workflow, importing plans, creating a furniture library, and comparing layout variants. You’ll learn practical room-measurement rules, avoid common mistakes, and export presentation-ready visuals.
Why 3D Rearrangement Wins Over 2D Sketching
- Accuracy: Proper scaling keeps layouts true to the plan’s dimensions and proportions.
- Speed: Drag-and-drop furniture in 3D instead of re-drafting in 2D.
- Realism: Visualize sightlines, sunlight, and clearances that are easy to miss in flat drawings.
- Communication: Stakeholders instantly grasp volumes and fit at a glance.
- Iteration: A/B test multiple room arrangements without remeasuring.
What You Need Before You Start
To rearrange furniture in 3D from plan reliably, gather the following:
- A clean floor plan image: Prefer high-contrast black-and-white. Crop margins and remove smudges so walls and openings read clearly.
- One or more known dimensions: Ideal choices are room width/length, corridor width, or the dimension line printed on the plan (e.g., 3600 mm).
- Ceiling height and wall thickness: These values improve the realism of 3D extrusions.
- Door and window schedules: If available, these inform accurate openings, sill heights, and swing arcs.
- Furniture dimensions: Real-world sizes for key pieces (sofa, bed, dining table, desk) to avoid guesswork.
Options for Converting 2D Plans and Rearranging Furniture
| Approach | Strengths | Best For |
|---|---|---|
| Desktop CAD/BIM + 3D (e.g., Revit, SketchUp) | High control, parametric accuracy, robust libraries | Pros who need technical precision and documentation |
| Mobile AI plan-to-3D apps | Fast, camera-based import, intuitive furniture placement | Designers, agents, and homeowners wanting speed |
| AR scanning + 3D overlay | Captures existing conditions, quick validation on-site | Field walkthroughs, rapid concepting |
| Manual modeling from image | Complete control, custom geometry | Special cases: curves, custom millwork, unique spaces |
| Cloud conversion services | Outsource the tracing and modeling | Teams with high volume, limited internal bandwidth |
Step-by-Step: Rearrange Furniture in 3D From Plan
1) Calibrate Scale (Non-Negotiable)
Scaling converts the plan image’s pixels into real-world units. Use a dimension printed on the drawing (e.g., a 12' wall or 3600 mm). If none exists, measure a known distance on-site and apply it here.
- Measure the distance in pixels between two points on the image (endpoints of a dimension line).
- Divide the real length by pixel length to get a scale factor.
- Apply the scale to the imported plan so walls and furniture sizes are truthful.
# Simple Python snippet to compute a scale factor
# real_len: length in meters (or any unit you want your 3D scene in)
# px_len: measured pixel distance between the same two points on the image

def scale_factor(real_len, px_len):
    return real_len / px_len

# Example: If a 3.6 m wall measures 480 px on the plan image:
print(scale_factor(3.6, 480))  # 0.0075 m per pixel
Tip: If your plan scan isn’t orthogonal (skewed), correct perspective first or use two known dimensions to confirm scale consistency on both axes.
2) Clean the Plan Image
- Increase contrast so walls are dark and background is bright.
- Crop title blocks unless needed for reference.
- Remove stray marks that can confuse auto-tracing.
3) Import and Trace (or Auto-Trace)
Use your chosen tool to either auto-detect walls and openings or trace over the plan. Confirm the wall thickness, levels, and ceiling height. Set units (mm, cm, inches) from the start.
4) Add Doors, Windows, and Built-Ins
- Door swings and clearances: Reserve at least 760 mm (30 in) clearance behind door swings.
- Windows: Input sill heights to visualize furniture placement beneath windows.
- Radiators, columns, and vents: Model fixed obstructions so they don’t get ignored during furniture placement.
5) Create or Curate a Furniture Library
Start with essentials and their real sizes:
- Sofa: 1800–2400 mm width, ~900 mm depth
- Queen bed: 1525 × 2030 mm (60 × 80 in); King: 1930 × 2030 mm (76 × 80 in)
- Dining table (4–6 seats): 1500–1800 × 900 mm
- Desk: 1200–1600 × 600–800 mm
- Accent chair: ~750 × 800 mm
Name assets consistently (e.g., sofa_2200_midcentury) and store parametric variants (length/depth) to try fits quickly.
6) Rearrange with Zones and Circulation in Mind
Start by defining zones (seating, dining, work, sleep), then connect them with circulation paths.
- Circulation width: Aim for 900 mm (36 in) for primary paths; 760 mm (30 in) minimum for secondary.
- Living rooms: Keep 450–550 mm between sofa and coffee table; 2100–3000 mm ideal viewing distance for a 55–65" TV.
- Dining: Allow 900 mm from table edge to wall or furniture for push-back clearance.
- Bedrooms: Leave 600–760 mm on at least one side of the bed for comfortable access.
- Desks: Maintain 900 mm behind chairs for passage and pull-back.
Iterate layouts by aligning focal points with windows, fireplaces, or TV walls. Consider asymmetry to resolve awkward niches; symmetrical arrangements can feel rigid in small rooms.
7) Evaluate Variants with Measurable Criteria
- Walkable area: Check for bottlenecks and minimum path widths.
- Sightlines: From entry to focal point, from seating to TV, from bed to window.
- Light: Place reading chairs near windows; avoid blocking daylight with tall storage.
- Acoustics: Separate work and sleep zones if possible.
- Power and data: Verify outlets for media consoles, desk setups, and floor lamps.
Good 3D rearrangement is less about decoration and more about how people move, pause, and live in the space.
8) Materials, Lighting, and Camera Angles
Even if the goal is layout, basic materials and lighting help read depth:
- Materials: Apply neutral flooring and matte wall finishes to reduce visual noise.
- Lighting: Use a sun/sky rig for daytime, plus area lights where pendants or sconces will be.
- Cameras: Set eye-level at ~1500–1600 mm. Use 24–35 mm equivalent focal lengths to reduce distortion.
9) Export Useful Views
- Top-down axon or plan render: Shows final furniture placement with true scale.
- Key perspectives: Two to four hero angles that communicate zone relationships.
- Dimension overlays: Tag critical clearances and furniture sizes for approval.
- High resolution: 3000–4000 px on the long edge for proposals and print.
Rules of Thumb for Reliable Layouts
- Entrances: Keep a 900–1200 mm landing zone free of furniture at primary entries.
- Rugs: In living rooms, ensure the front legs of seating sit on the rug; bedrooms often look best with rugs under at least 2/3 of the bed plus nightstands.
- Dining geometry: Allow 600 mm seating depth and 300 mm for pull-back clearance at minimum, 900 mm preferred overall beyond the table edge.
- Ergonomics: Desk height ~730 mm; coffee table height ~400–450 mm.
- Accessibility: Aim for 915 mm (36 in) clear paths; 1500 mm turning radius improves wheelchair maneuverability where possible.
Common Mistakes (and Fixes)
- Incorrect scale: If furniture feels too large or tiny, recheck the scale against a second known dimension.
- Ignoring door swings: Model swings and verify clearances; rotating doors can save tight layouts.
- Blocking windows: Avoid tall storage directly in front of glazing; keep sill areas open for light.
- Undersized circulation: Shuffle pieces to maintain at least 760–900 mm clear paths.
- Forgetting outlets/HVAC: Place media and desks near power; don’t cover supply registers or radiators.
- Non-standard furniture sizes: Verify dimensions; a 2200 mm sofa differs dramatically from a 1800 mm one in a small room.
Three Quick Scenarios
1) Compact Studio (Single Room)
Goal: Separate sleep and living zones without crowding circulation.
- Place bed against the longest wall; float a 2-seat sofa with a low console as a divider.
- Use a round dining table (900–1000 mm diameter) to reduce corner pinch points.
- Mount TV opposite sofa; keep 2100–2600 mm viewing distance.
2) Family Living-Dining
Goal: Create comfortable traffic flow between kitchen, dining, and lounge.
- Align the dining table with kitchen circulation; allow 900 mm clearance all around.
- Orient sofa to focal wall or fireplace; maintain 450–550 mm to coffee table.
- Use a console behind a sofa to visually define zones without adding walls.
3) Home Office/Guest Room
Goal: Flexible space with work focus and occasional guests.
- Pick a sofa bed (depth ~900 mm, open length ~2100 mm). Test both open and closed states.
- Desk near window for natural light; avoid monitor glare by angling 90° to glazing.
- Provide 900 mm behind desk chair for easy pull-back and walking space.
Quality Checklist Before You Share
- Scale verified twice using two independent plan dimensions.
- All openings placed with accurate swings and heights.
- Furniture sizes confirmed with manufacturer specs or standard dimensions.
- Circulation measured and called out on at least one view.
- Lighting/readability checked via simple materials and balanced exposure.
- Exports labeled (e.g., project_roomA_layoutB_persp01.png).
FAQ
Can I rearrange furniture in 3D from plan if the plan is just a photo?
Yes. Ensure the photo is taken as straight-on as possible. Crop and deskew it, then calibrate scale with a known dimension. High contrast improves auto-detection.
What if my plan has curved walls?
Use tools that support arcs/splines. If auto-trace struggles, manually trace the curve and extrude walls to the correct height and thickness.
How accurate can this get?
With proper scaling and clear plan lines, expect furniture placement within a few millimeters of intended dimensions in most software. Field verification is still recommended before construction.
Should I model every detail?
No. Focus on architectural shell, openings, and major furniture volumes first. Add detail only if it affects circulation or function.
Choosing a Tool That Fits Your Workflow
Pick based on your priorities:
- Speed: Mobile AI apps convert plan photos quickly, ideal for rapid iteration.
- Precision: CAD/BIM gives parametric control and documentation.
- On-site validation: AR scans capture existing conditions for quick checks.
Whichever you choose, the core workflow doesn’t change: get scale right, build the shell, place accurate furniture, test circulation, and export clear views.
For iPhone users who want a streamlined path from a black-and-white plan photo to editable 3D with reliable scaling and export-ready images, consider trying Floor Plan to 3D once you’ve mastered the steps above.
