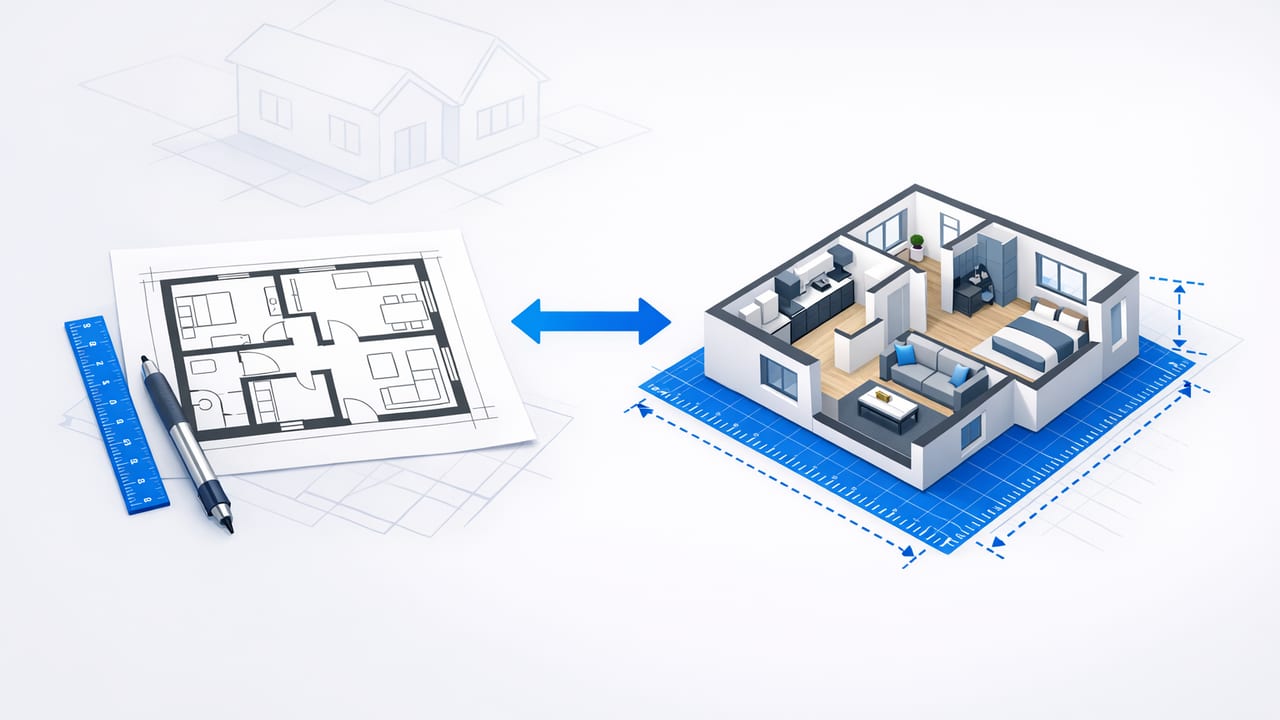
When you convert a 2D floor plan into a 3D model, the biggest risk isn’t style choices or furniture placement—it’s scale drift. A door that becomes 34 inches instead of 32 inches, a hallway that shrinks by a few centimeters, or a bedroom that grows just enough to change how a renovation is priced. If you’re using 3D renders for renovation previews, contractor conversations, or client presentations, accuracy matters.
This guide focuses on one core goal: keep dimensions when converting floor plan to 3d. You’ll learn a practical workflow to preserve real-world measurements, maintain proportions, and validate that the 3D result still reflects the original plan.
Why dimension accuracy breaks during 2D-to-3D conversion
Even a “clean” black-and-white plan can lose measurement fidelity during conversion. Common causes include:
- Image scaling ambiguity: A PNG/JPG scan has pixels, not units. Without calibration, software guesses.
- Perspective and skew: Photos taken at an angle stretch one side of the plan.
- Line thickness and bleed: Thick wall lines, smudges, and copy artifacts confuse edge detection.
- Missing or inconsistent dimensions: Some plans show only overall width/length, not interior room sizes.
- Assumed standards: Tools may “snap” doors/windows to typical sizes, which can overwrite reality.
To consistently keep dimensions when converting floor plan to 3d, you need two things: (1) a reliable scale reference and (2) a validation routine.
The accuracy-first workflow (from paper plan to dimension-true 3D)
Use the steps below whether you’re converting a blueprint, a real estate floor plan, or a scanned drawing.
Step 1: Choose the best source plan you can
Accuracy starts with the input. Before you import anything, check for these quality signals:
- True orthographic scan: Flatbed scans or exported PDFs are ideal.
- Legible dimension strings: Overall dimensions + at least a few interior dimensions.
- Clear wall boundaries: Interior vs exterior walls are distinguishable.
If you only have a photo, re-take it with the camera centered, plan perfectly flat, and good lighting. If possible, correct skew in an image editor before converting.
Step 2: Identify a “golden” reference measurement
To keep dimensions when converting floor plan to 3d, you must anchor the model to a real measurement. Pick a reference that is:
- Long enough to reduce relative error (overall building width is better than a closet depth).
- Unambiguous (a single straight segment, not a chain of partial dimensions).
- Likely correct (overall exterior dimensions on official plans are often more reliable).
Examples of good references: total exterior width, total exterior depth, a garage bay width if labeled, or a long corridor length.
Step 3: Calibrate scale (don’t rely on visual matching)
Many conversion workflows fail because users “eyeball” the size. Instead, set scale using the reference measurement. The concept is simple:
- Measure the reference segment length in the imported image (in pixels or in-tool units).
- Divide the real-world length by the measured image length to get a scale factor.
- Apply that scale factor to the entire plan.
A tiny scaling example (for teams that want a repeatable formula)
If you’re documenting process for your team, this simple snippet shows the calculation. Replace values with your own measurements.
# Scale calibration example
# real_length: known dimension from the plan (e.g., 40 ft)
# image_length: measured length in the imported image (e.g., 1250 px)

real_length_ft = 40
image_length_px = 1250

ft_per_px = real_length_ft / image_length_px

# Any pixel measurement can now be converted to feet
room_width_px = 360
room_width_ft = room_width_px * ft_per_px
print(room_width_ft)
You don’t need to code to benefit from this logic. The key is consistency: one trusted reference drives the entire model scale.
Step 4: Lock in wall thickness rules before editing
Wall thickness is a frequent source of “dimension creep,” especially when plans show walls as thick black strokes. Decide early:
- Are dimensions measured to wall centerlines or to finished faces?
- Will you model interior walls and exterior walls at different thicknesses?
- Do you need to account for finishes (drywall, tile backer, cladding) in renovation previews?
Tip: If your source plan includes dimension strings, they usually indicate whether dimensions are interior clear dimensions or overall. Match your 3D modeling convention to that.
Step 5: Trace structure first, then openings, then details
To keep dimensions when converting floor plan to 3d, avoid jumping straight to furniture or décor. Use this order:
- Exterior footprint (outer walls, major jogs, setbacks)
- Interior partitions (primary room boundaries)
- Door/window openings (place after walls so they don’t “pull” walls out of alignment)
- Stairs and built-ins (often have the tightest tolerances)
- Fixtures and furniture (only after geometry is validated)
Dimension validation: the checklist that prevents expensive mistakes
Conversion tools can be fast, but speed without verification is where projects go sideways. Use a short validation routine every time.
The 3-level dimension check
| Check level | What to compare | Why it matters | Acceptable tolerance (typical) |
|---|---|---|---|
| Level 1: Global | Total exterior width/depth | Confirms your scale reference didn’t drift | 0–1% |
| Level 2: Room | Key rooms (kitchen, primary bedroom) | Prevents layout misrepresentation in redesign previews | 1–2% |
| Level 3: Openings | Door widths, window spans | Impacts buildability, furniture fit, code clearances | Up to ~1 inch (25 mm) if plan quality is high |
What to do when dimensions don’t match
- If global dimensions are off: re-check calibration reference; confirm you measured the correct endpoints.
- If only interior rooms are off: wall thickness assumptions are likely wrong; verify whether dimensions are interior clear or overall.
- If openings are off: your tool may be snapping to standard sizes; override with the plan’s labeled opening sizes (or measured field sizes).
Practical rule: Calibrate once, validate often. Every time you add complexity (doors, stairs, cabinetry), re-check at least one global and one room dimension.
Common pitfalls (and how to avoid them)
1) Using a short reference dimension
Calibrating off a 3-foot segment magnifies tiny measurement errors. Prefer long spans (20–50 feet) whenever possible.
2) Mixing units midstream
Feet/inches vs meters/centimeters errors can be subtle in 3D until furniture looks wrong. Pick a unit system at the start and keep it through export.
3) Ignoring plan notes and symbols
Plans often include information that affects geometry: soffits, angled ceilings, partial-height walls, columns, and stair notes. If you skip them, the 3D render may look good but be spatially misleading.
4) “Correcting” the plan without documenting it
If something seems inconsistent, you may be right—but don’t silently fix it. Track changes. For renovation previews, stakeholders need to know what was assumed vs what was drawn.
How AI room planners help without sacrificing measurements
AI room planner features can accelerate layout decisions (furniture arrangements, circulation, zoning) and propose home redesign directions (kitchen refresh, exterior updates, staging). The key is using AI as a planning assistant after the geometry is dimension-true.
To keep dimensions when converting floor plan to 3d while using AI suggestions:
- Freeze the structural layer: lock walls and openings before experimenting with décor.
- Use AI to iterate on “soft” elements: furniture scale, lighting placement, palette options, and storage configurations.
- Validate clearances: check walkways, door swings, kitchen work triangle, and egress paths.
A mini case example: from scanned plan to renovation-ready 3D
Imagine you have a scanned black-and-white plan for a small home. The plan lists overall exterior width as 36 feet and depth as 28 feet. You import the scan and measure the exterior width in the image.
- You calibrate using the 36-foot width (your golden reference).
- You trace the exterior and interior walls using your chosen wall thickness rules.
- You validate the depth (28 feet) as a second global check.
- You check the kitchen dimensions because cabinetry and appliance spacing are sensitive to errors.
- Only after those pass do you generate 3D renders and test redesign options (new island layout, updated finishes, staged furniture).
This is the difference between a “pretty picture” and a 3D model that supports real decisions.
Exporting 3D renders without losing scale
Even after you’ve built an accurate model, export settings can introduce confusion if recipients assume different units or if images lack context. Best practices:
- Include a labeled dimension overlay on at least one view (overall width/depth or a key room size).
- Export multiple viewpoints: top-down 3D, eye-level interior, and an exterior angle if relevant.
- Add a scale reference: a standard door height (e.g., 80 inches / 2032 mm) helps viewers intuit proportions.
Quick recap: how to keep dimensions when converting floor plan to 3d
- Start with the cleanest, least-skewed plan you can.
- Calibrate scale using a long, reliable “golden” reference measurement.
- Decide wall thickness and dimension conventions early (centerline vs face-of-wall).
- Build in order: structure, partitions, openings, then details.
- Validate at three levels: global, room, and openings.
- Use AI room planner features after geometry is locked to avoid accidental distortion.
Final thought
Accurate 3D isn’t about slowing down—it’s about removing rework. When your 3D model preserves labels, proportions, and measurements, it becomes a dependable tool for renovation previews and redesign decisions. If you’re looking for an iOS workflow that focuses on converting black-and-white plans into clean 3D renders while preserving key layout details, apps like Floor Plan to 3D & Home Redesign are designed for that accuracy-first approach.
