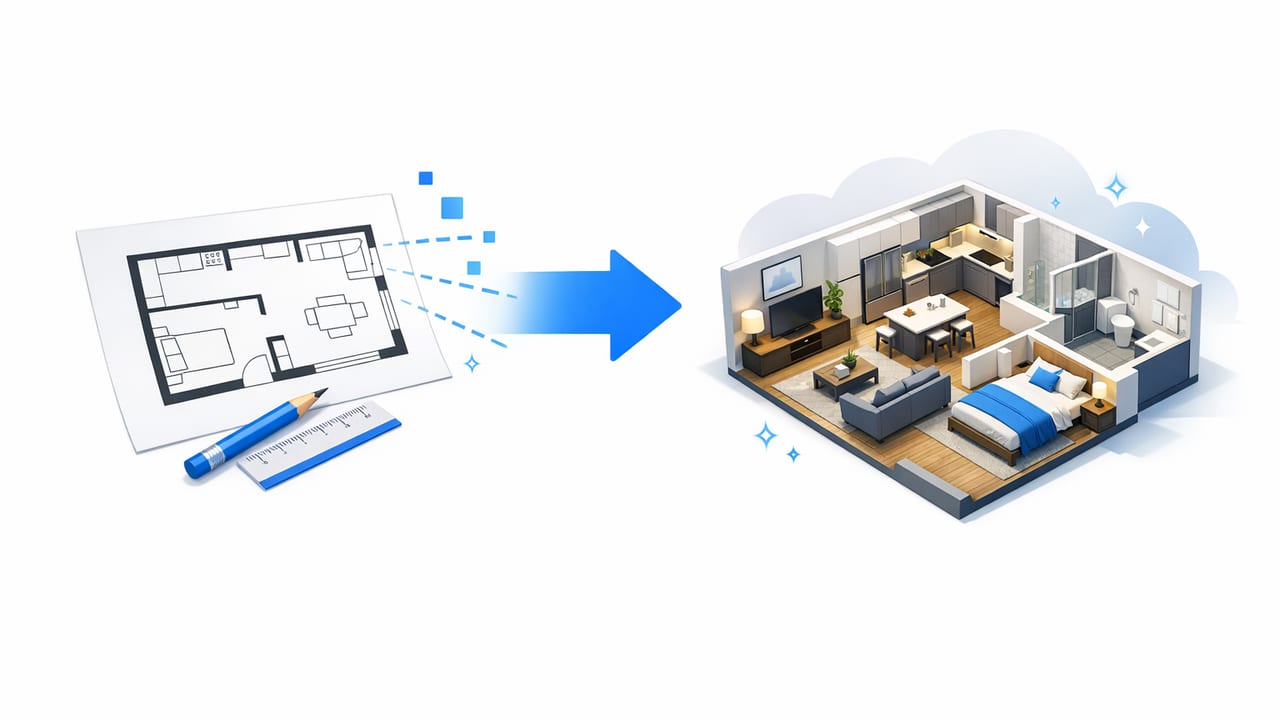
If you’re using a 3d rendering from floor plan app, you’re probably chasing the same outcome: a fast 3D preview that still reflects the real layout—walls in the right place, doors swinging correctly, room sizes that make sense, and design ideas you can trust. The challenge is that most floor plans (especially scans, PDFs, and photos) contain small inconsistencies that can snowball into inaccurate 3D renders.
This guide breaks down a practical, accuracy-first workflow for floor plan conversion, 3D renders, and AI room planner decisions. You’ll learn what to fix before importing, what to verify after conversion, and how to use the 3D output for renovation previews, interior design layouts, and even an exterior refresh concept.
What “accurate” means in a 3D render from a floor plan
A 3D render is “accurate enough to decide” when it preserves:
- Proportions (rooms feel right relative to one another)
- Key dimensions (critical walls, openings, and clearances match the plan)
- Labels and intent (kitchen is the kitchen; closets aren’t mistaken as doors)
- Openings (doors/windows are placed and sized plausibly)
- Heights (ceiling height and major level changes are consistent)
Accuracy isn’t just about measurements. It’s also about whether the 3D scene supports correct design decisions—like knowing if a sectional blocks a walkway, or if a bathroom vanity fits without crowding the door swing.
Start with the best possible floor plan input
Most conversion errors happen because the plan itself is hard to read. Before you import into any 3d rendering from floor plan app, do a quick “input cleanup.”
Input quality checklist
- Straighten and crop so the plan edges are square to the page.
- Increase contrast (lines should be dark; background should be light).
- Remove clutter if possible (stamps, heavy hatching, notes over walls).
- Keep the scale reference: dimensions, a scale bar, or at least one known wall length.
- Use the most “authoritative” version: construction drawings beat marketing brochures.
Common plan types (and what usually goes wrong)
| Plan type | Typical issues | Best prep step |
|---|---|---|
| Real estate brochure | Not to scale, simplified walls, missing dimensions | Pick one known dimension (e.g., overall width) to calibrate |
| Architectural PDF | Layer noise, symbols overlapping walls | Export a clean page image at high resolution |
| Photo of paper plan | Perspective distortion, shadows | Retake from directly above; use good lighting |
| Older scanned blueprint | Faded lines, skew, inconsistent line weights | Boost contrast and straighten; confirm at least two dimensions |
A dependable workflow: from plan to 3D render
Use this workflow whether you’re planning a remodel, staging an empty room, or testing a new interior design layout.
- Import and set scale using a known dimension.
- Confirm perimeter walls first (overall shape, thickness, and alignment).
- Validate room connections (doorways, hall widths, transitions).
- Place openings (doors/windows) and correct their sizes.
- Set heights (ceiling height; any step-downs/raised areas if supported).
- Run a furniture sanity test with standard-size items to catch scale drift.
- Generate 3D renders and review from multiple angles.
- Export high-resolution images for feedback and decisions.
The scale check that prevents 80% of “looks wrong” renders
Even if an app correctly traces walls, one bad scale assumption can make everything feel off. Use a simple two-point check:
- Primary dimension: choose a long, clear wall (e.g., exterior wall length).
- Secondary dimension: verify a different direction (e.g., hallway width or bedroom depth).
If the primary matches but the secondary doesn’t, the input might be skewed (photo perspective) or the plan itself is inconsistent.
Rule of thumb: If two independent measurements can’t both be true, don’t “force” furniture to fit—fix the scale or straighten the plan first.
Quick unit conversion (when plans mix feet/inches and metric)
If you ever need to convert dimensions before entering them, this tiny snippet can help:
# inches to millimeters
inches = 36
mm = inches * 25.4
print(mm)  # 914.4

# feet + inches to inches
feet = 10
inches_extra = 6
total_inches = feet * 12 + inches_extra
print(total_inches)  # 126
Accuracy tactics inside the 3D scene
After conversion, open a top-down and a 3D view and do these checks before you start redesigning.
1) Confirm wall thickness (or at least consistency)
Many floor plans exaggerate wall thickness for readability. If your app lets you set wall thickness, pick a consistent value so room sizes remain believable. If it doesn’t, focus on clearances (walkways, door swings) rather than exact stud-to-stud accuracy.
2) Verify doors and swings
Door placement errors create cascading layout problems. Ensure:
- Doors don’t collide with fixtures (toilets, vanities, kitchen islands)
- Door swing direction matches the plan (or is at least functional)
- Entry doors align with hallways and landings
3) Window height and rhythm (especially for exterior refresh concepts)
For an exterior refresh, window placement affects how believable façade ideas look. Even basic accuracy—windows centered in rooms, consistent sill height—makes exterior render concepts more trustworthy.
Using an AI room planner without losing layout fidelity
AI room planner tools are excellent for idea generation, but they can “optimize” in ways that conflict with your real constraints. Keep AI helpful by setting guardrails.
Guardrails that keep redesign ideas realistic
- Lock the layout first: treat walls and openings as fixed until verified.
- Use real furniture sizes: a 96-inch sofa is a different world than a 72-inch sofa.
- Preserve circulation paths: maintain clear walking routes (often 36 inches / ~900 mm in many contexts).
- Prioritize functional zones: cooking, dining, lounging, working—don’t let décor override usability.
Once the base is correct, use AI for faster iterations: alternate furniture arrangements, color palettes, lighting moods, and staging for empty rooms.
Renovation preview scenarios: what to model (and what to skip)
The fastest way to get value from a 3d rendering from floor plan app is to model the elements that impact decisions.
High-impact elements (model these)
- Kitchen footprint: cabinets, island size, appliance clearances
- Bathroom layout: vanity width, shower door clearance, toilet spacing
- Stairs and landings: circulation and safety
- Built-ins: wardrobes, media walls, fireplace surrounds
- Major glazing: sliding doors, bay windows (changes light and furniture placement)
Low-impact elements (often safe to simplify)
- Small trim profiles and minor molding details
- Exact hardware selection early on
- Ultra-photoreal material tweaks before layout is settled
Tip: If you’re presenting options, keep one “baseline” render and only change one variable at a time (layout or finishes). This prevents feedback like “I don’t know what I’m looking at.”
Exporting 3D renders that communicate clearly
Great renders aren’t only about resolution; they’re about viewpoint and consistency. Before exporting:
- Use consistent camera height across options (so rooms compare fairly).
- Capture 3–5 key angles: entry view, main living area, kitchen working side, primary bedroom corner, and one overhead if available.
- Include one “measurement-friendly” view (top-down or orthographic) if you’re discussing dimensions.
A simple presentation set (works for clients and internal decisions)
- One floor plan view (labeled rooms)
- Two wide interior views (living + kitchen)
- One tight view highlighting the change (island, shower, built-in)
- Optional: one exterior view for curb appeal direction
Troubleshooting: fast fixes for common conversion problems
Problem: Rooms look stretched or skewed
Likely cause: the source image was photographed at an angle or imported with distortion.
Fix: re-capture the plan flat, straighten it, then reapply scale using two measurements.
Problem: Walls “snap” incorrectly around symbols
Likely cause: heavy annotations or furniture symbols confuse wall detection.
Fix: use a cleaner plan page, crop to only the needed floor, or manually correct the wall path before detailing.
Problem: Windows/doors appear in the wrong spot
Likely cause: openings weren’t clearly marked or the app interpreted closet lines as doors.
Fix: verify each opening against the plan and adjust before running redesign iterations.
Problem: Furniture doesn’t fit even though the plan “looks right”
Likely cause: scale mismatch or wall thickness assumptions are shrinking usable area.
Fix: confirm one key room dimension and compare it to standard furniture sizes; adjust scale or wall settings.
FAQ: choosing settings for reliable 3D results
Should I prioritize exact dimensions or visual realism?
For renovation previews, prioritize layout accuracy first (walls/openings/clearances). Add realism (materials, lighting) after decisions are locked.
How many dimensions do I need to set scale?
One can work, but two in different directions is safer—especially with scanned or photographed plans.
Can I use this workflow for empty-room staging?
Yes. Accurate scale is what makes staging believable; it prevents oversized furniture and awkward circulation paths.
Wrap-up: a repeatable path to trustworthy 3D renders
The best results from a 3d rendering from floor plan app come from a simple discipline: clean input → verify scale → confirm walls and openings → then redesign. When you treat 3D as a decision tool—not just a pretty picture—you’ll iterate faster and avoid costly layout mistakes.
If you want to try this workflow on iPhone or iPad, an app like Floor Plan to 3D & Home Redesign can help you convert plans into clean 3D previews and explore room-planning options without heavy 3D software.
