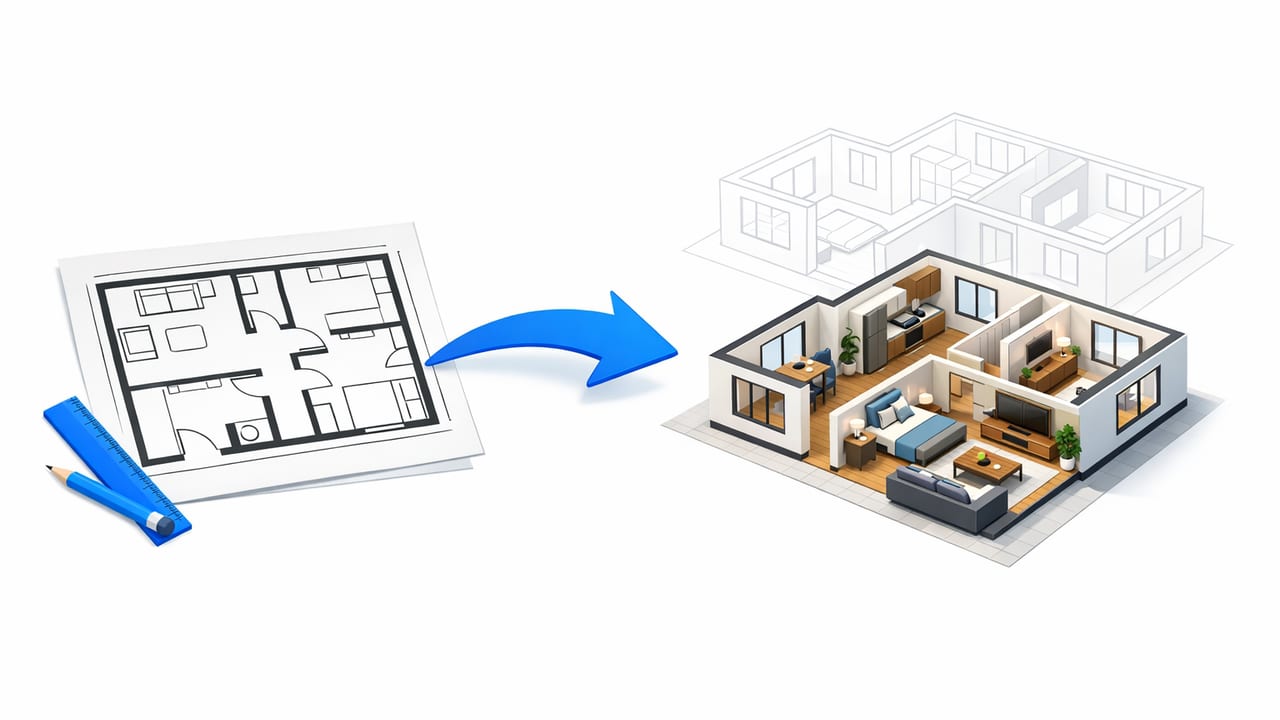
Creating a 3d render from floor plan used to mean redrawing everything in CAD, rebuilding walls by hand, and hoping the final model stayed true to the original layout. Today, AI-assisted workflows can convert a simple black-and-white plan (even a photo) into a workable 3D visualization much faster—as long as you prioritize accuracy at each step.
This guide explains how to go from a 2D plan image to a dependable 3D result: how to prep your input, how AI interprets walls and openings, how to set scale, and how to validate the final model so it’s useful for design decisions, layouts, and presentations.
What “accurate” really means for a 3D render from floor plan
Accuracy isn’t just “it looks right.” A 3D render is truly useful when:
- Proportions match the 2D plan (room relationships and wall positions).
- Dimensions are consistent (a measured wall in 2D matches the 3D measurement after scaling).
- Openings make sense (doors swing into plausible spaces; windows align to walls).
- Outputs are shareable (clear images for a contractor, client, listing, or internal review).
AI can speed up the modeling, but it still depends on the clarity of the floor plan and your ability to confirm scale and intent.
Step 1: Start with a “machine-readable” floor plan
Most conversion errors start before the upload. Your goal is to give the algorithm (and yourself) a plan that is high-contrast, straight, and unambiguous.
Best input types (ranked)
- Original PDF or exported image from a drafting tool (clean lines, no shadows).
- Flatbed scan of a printed plan (consistent lighting).
- Phone photo (works, but requires more cleanup).
Quick prep checklist
- Crop tightly to the plan boundary (remove title blocks if they clutter the drawing).
- Rotate to square (walls should be horizontal/vertical where intended).
- Increase contrast so walls are clearly darker than background.
- Remove visual noise (coffee stains, wrinkles, heavy shadows).
- Keep dimensions visible if possible—especially one reliable overall measurement.
Rule of thumb: If a human needs to “guess” whether a line is a wall or a cabinet edge, an AI system probably will too.
Step 2: Understand how AI detects walls, rooms, and openings
Most AI floor plan conversion pipelines rely on a few repeated steps:
- Line detection to find edges and wall thickness.
- Segmentation to group enclosed spaces into rooms.
- Symbol recognition for doors, windows, stairs, and sometimes fixtures.
- Topology building to turn detected elements into a connected “graph” of walls and openings.
Knowing this helps you diagnose problems. For example, if a doorway is missing in the 3D view, the issue is often that the door symbol was faint or overlapped by text.
Step 3: Set scale using one trusted measurement (non-negotiable)
A 3D model can look perfect and still be unusable if scale is wrong. Always anchor your model to at least one known dimension:
- An exterior wall length (often the most reliable)
- A labeled dimension string (e.g., “12'–6\"”)
- A standard element size (use cautiously): door width (commonly 30–36 in / 762–914 mm)
Scale calibration workflow
- Pick a wall segment that is clearly drawn and labeled.
- Measure that same segment in the 3D model.
- Apply a uniform scale factor so the model matches the real value.
- Verify with a second measurement on a different axis (to catch skew or perspective issues).
Step 4: Validate geometry with a simple accuracy test
Before you spend time on materials, furniture, or lighting, validate the “bones” of the model. Use this small set of checks to confirm your 3d render from floor plan is dimension-true.
Accuracy checks that catch most errors
- Perimeter check: Does the overall width/depth match the plan’s outer dimensions?
- Room area sanity check: Are rooms within a reasonable size range (e.g., a bedroom isn’t 3× too large)?
- Wall thickness consistency: Are interior vs exterior walls distinguishable and consistent?
- Door/window alignment: Are openings centered where they appear in 2D and not floating off-wall?
- Connectivity: Can you “walk” through the layout logically without impossible bottlenecks?
Optional: a lightweight validation script (conceptual)
If you export measurements or annotate key lengths, even a small script can flag scale mistakes early. Here’s a simplified example of what teams often do in QA (pseudo-code):
// Pseudo-code: validate scale and room areas
knownWallReal = 4.20   // meters (from the plan)
knownWallModel = measure3D("Wall_A")
scaleFactor = knownWallReal / knownWallModel
applyScale(scaleFactor)

rooms = getRooms()
for room in rooms:
  area = computeArea(room)
  if area < 2.0 or area > 80.0:
    flag(room.name + " area out of expected range: " + area)

checkAlignment("Door_1", "Wall_3")
checkAlignment("Window_2", "Wall_7")
You don’t need to code to benefit from the idea: use thresholds and verify multiple points, not just one wall.
Common conversion issues (and how to fix them)
| Issue in 3D | Likely cause in 2D plan | Practical fix |
|---|---|---|
| Missing doorway | Door symbol faint/covered by text | Increase contrast, remove text overlap, re-upload, or manually add opening |
| Walls merged together | Wall thickness inconsistent or gaps in lines | Use a cleaner source, redraw broken lines, ensure continuous wall edges |
| Wrong room boundaries | Open-plan areas not clearly separated | Add subtle boundary hints (e.g., partial walls) or label zones after conversion |
| Skewed proportions | Phone photo perspective distortion | Use a scan or correct perspective before processing; verify with two-axis measurements |
| Windows placed on interior walls | Symbol confusion (fixtures vs openings) | Simplify the plan view; remove decorative symbols; confirm exterior wall detection |
Step 5: Add “design intent” without breaking accuracy
Once geometry is correct, you can make the 3D output more readable and persuasive. The key is to enhance presentation without changing dimensions.
Safe enhancements
- Materials and finishes (flooring, wall paint) for mood and clarity
- Basic furniture blocking to test circulation and fit
- Lighting presets for consistent, high-contrast screenshots
- Camera views: top-down 3D, eye-level, and corner shots for each room
Risky changes (validate again if you do these)
- Moving walls or resizing rooms “to look better”
- Changing wall thicknesses without adjusting adjacent rooms
- Assuming door widths/heights without checking the plan
Exporting: what to deliver for proposals and reviews
A 3D render from a floor plan is often used to get decisions made—quickly. Exports should match the audience.
Recommended export set
- One overall 3D view showing the entire layout
- Room-by-room images (2–4 angles per key room)
- A labeled plan view (optional) to cross-reference rooms and measurements
- High-resolution images for PDFs, presentations, or client emails
Naming convention (simple but effective)
ProjectName_Level1_Overall3D.png
ProjectName_Kitchen_ViewA.png
ProjectName_LivingRoom_ViewB.png
ProjectName_Bedroom1_ViewA.png
This reduces confusion when you’re iterating versions or sharing across stakeholders.
How to choose a workflow for consistent results
Whether you use an AI conversion app, a modeling tool, or a hybrid approach, evaluate your workflow against these criteria:
- Scale controls: Can you set or correct scale precisely?
- Editability: Can you fix mistakes (openings, walls) without starting over?
- Dimension fidelity: Does the 3D output preserve proportions from the 2D plan?
- Export quality: Are images crisp enough for proposals and reviews?
- Input tolerance: Does it handle scans and photos, not just perfect PDFs?
FAQ: 3D render from floor plan
Can AI convert any floor plan into a perfect 3D model?
AI can handle many plans well, but “perfect” depends on plan clarity, consistent symbols, and proper scale calibration. Expect to verify and occasionally correct openings or room boundaries.
Do I need dimensions on the plan?
Not strictly, but at least one reliable measurement dramatically improves accuracy. Without it, you’re guessing scale—even if the layout looks correct.
What’s the best way to avoid perspective errors from photos?
Use a scan when possible. If you must take a photo, shoot from directly above, keep the phone parallel to the page, and correct perspective before converting.
How detailed should the 3D render be?
Match detail to the decision. For layout planning, accurate walls/openings plus basic furniture is often enough. For presentations, add materials, lighting, and curated camera angles—after accuracy is confirmed.
Putting it all together
The fastest way to a reliable 3d render from floor plan is an accuracy-first loop:
- Prep the plan (clean, straight, high-contrast).
- Convert with AI and review wall/opening detection.
- Calibrate scale using one trusted measurement.
- Validate with perimeter, room areas, and alignment checks.
- Enhance with materials and furniture only after geometry is correct.
- Export a clear, consistent image set for stakeholders.
If you prefer doing this on iPhone or iPad, tools like Floor Plan to 3D are designed to turn black-and-white layouts into dimension-conscious 3D visuals and export high-resolution renders for sharing—just remember that the best results still start with a clean plan and a verified scale.
