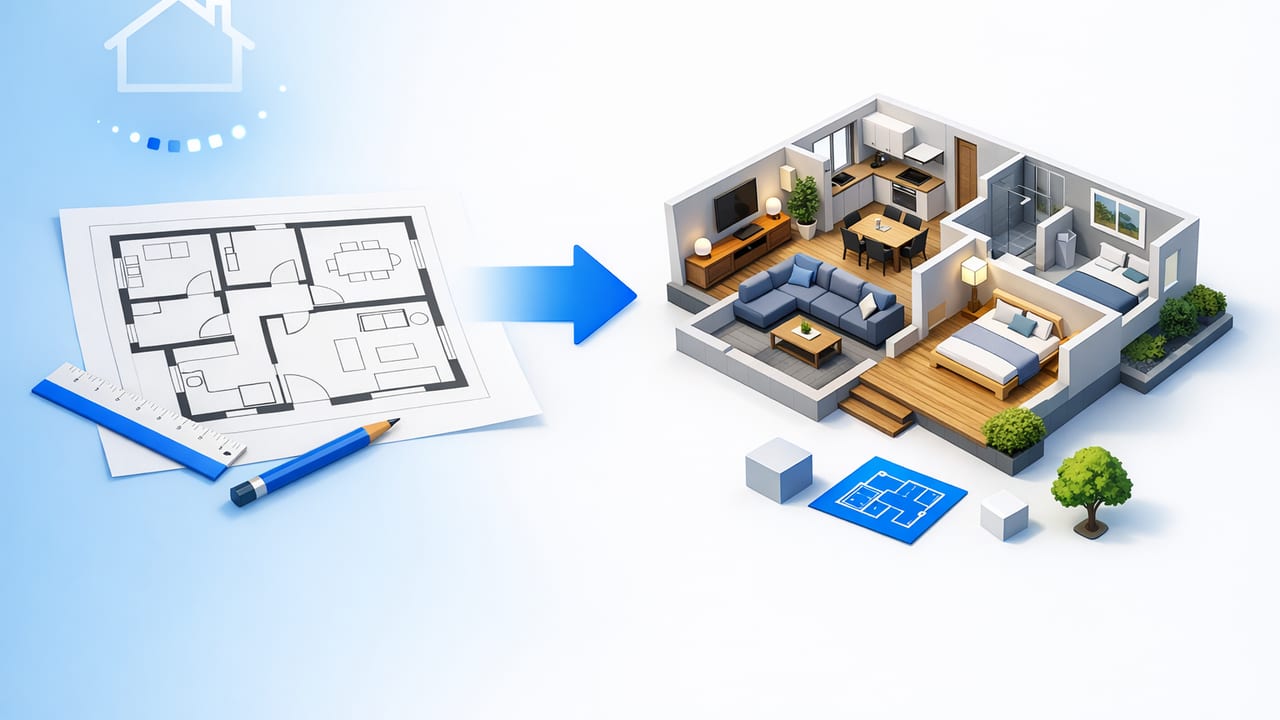
A clean 3D render can turn a confusing black-and-white plan into something you can actually judge: sightlines, furniture fit, circulation, window placement, and renovation impact. If you’re trying to create 3d render from floor plan data, the biggest challenge isn’t “making it 3D”—it’s preserving the plan’s intent (dimensions, labels, proportions) while producing a model that’s presentable enough for approvals, proposals, or internal decision-making.
This guide walks through an accuracy-first workflow that works for homeowners, real estate teams, contractors, and designers who want fast renovation previews without heavy CAD work. You’ll learn what inputs matter, how to avoid scale mistakes, and how to turn a 2D layout into a believable 3D scene with useful exports.
What “good” looks like in a floor plan to 3D conversion
A strong 3D conversion doesn’t need photorealistic ray tracing to be useful. It needs three things:
- Geometric fidelity: walls align, openings are where they should be, and room sizes match the plan.
- Readable intent: labels (e.g., “Kitchen”), key dimensions, and layout constraints are respected.
- Decision-ready outputs: views (top-down 3D, eye-level, room-to-room), plus exports for presentations.
Rule of thumb: If the model is accurate, you can change finishes and furniture later. If the model is wrong, every design choice that follows is suspect.
Inputs you need before you start
Your starting plan can be a scanned blueprint, a PDF, or a photographed paper drawing. The cleaner the input, the faster the conversion. Gather:
- The highest-resolution plan available (PDF preferred; avoid screenshots).
- At least one reliable dimension (overall width, a room length, or a labeled wall length).
- Door and window hints (swing arcs, window breaks, notes).
- Ceiling height (or a reasonable assumption you can revise).
- Scope notes: what’s changing (walls, kitchen layout, exterior facade, staging only, etc.).
Common plan quality issues (and how to handle them)
- Skewed photos: straighten/deskew before tracing or importing; even small perspective errors compound.
- Missing dimensions: use one known measurement to set scale, then sanity-check room sizes.
- Thick wall lines: decide whether the line represents wall centerline or wall face; be consistent.
- Hand-drawn quirks: prioritize labeled dimensions over “looks about right.”
Workflow: create a 3D render from a floor plan in 7 steps
1) Normalize and set scale
Before you model anything, set the plan to a real-world scale. Choose the most reliable dimension on the drawing (e.g., “12'-0\"”) and calibrate your plan to that. Then validate scale by measuring a second known length (like a hallway width or bedroom dimension).
If you’re importing a raster image (JPG/PNG) rather than vector PDF, do a quick normalization pass:
- Crop to the plan boundary.
- Increase contrast so walls and openings are clearer.
- Deskew so horizontal/vertical lines are true.
2) Trace or detect walls cleanly
Whether you’re tracing manually or using automated floor plan conversion, focus on continuity: walls should meet at corners, not overlap or leave micro-gaps. Those tiny gaps can break room detection, surface generation, and lighting later.
- Exterior shell first, then interior partitions.
- Keep wall thickness consistent unless the plan clearly calls out changes.
- Resolve ambiguous corners by referencing dimension strings (not the stroke thickness).
3) Place doors and windows (then verify swing and clearance)
Openings are where many “looks fine” models fail. A door placed 6 inches off changes furniture layouts and circulation. Use these checks:
- Door width: typical interior doors are often 28–36 inches; verify if labeled.
- Door swing: confirm it doesn’t collide with nearby fixtures (toilet, vanity, appliances).
- Window height/placement: if unknown, keep proportions believable and consistent across the elevation.
4) Set heights: ceilings, floors, and key elements
Even a simple 3D render benefits from correct vertical assumptions. At minimum define:
- Ceiling height (and any step-downs, vaulted areas, soffits).
- Door height (commonly 80 inches unless otherwise noted).
- Window sill height and header height if you’re evaluating exterior changes.
5) Assign rooms and labels (so the model stays navigable)
Room labeling is not just cosmetic. It helps you organize views, generate exports, and communicate options (e.g., “Option A: open kitchen,” “Option B: add pantry”). If your plan includes labels, preserve them. If it doesn’t, add your own consistently.
6) Add basic materials and lighting for clarity
You don’t need final finishes to get value. Use a small, consistent material palette:
- Neutral wall color to keep shadows readable.
- Distinct floor materials per zone (living vs. wet areas) to clarify boundaries.
- Simple daylight + ambient lighting so corners aren’t overly dark.
7) Generate views and exports that match your goal
Pick outputs based on who needs to decide:
- Homeowner decisions: eye-level walkthrough angles, before/after comparisons.
- Contractor coordination: top-down 3D, labeled rooms, key dimensions highlighted.
- Listing/marketing: clean staging, wide angles, consistent lighting.
Accuracy checks that prevent expensive redesign loops
After conversion, do a fast “model audit.” The goal is to catch small errors before you iterate on design ideas.
| Check | How to verify | Why it matters |
|---|---|---|
| Overall footprint | Compare exterior dimensions to the plan’s overall dimension string | Errors here cascade into every room size |
| Room sizes | Measure 3–5 rooms and compare to labeled dimensions | Confirms scale + wall placement |
| Opening alignment | Check door/window positions relative to corners | Prevents furniture/layout conflicts |
| Circulation width | Confirm hallways/walk paths (often 36"+ target) | Ensures the plan “works” in real life |
| Kitchen/bath clearances | Check appliance door swings, aisle widths, fixture spacing | Most common source of late-stage revisions |
Use 3D to test room planning (not just appearance)
A 3D render is most valuable when it helps you test constraints quickly. Treat it like an AI room planner would: propose a layout, verify clearances, then iterate. A practical loop is:
- Place “must-fit” items first (bed, sofa, dining table, vanity).
- Lock circulation (paths to doors, around islands, between furniture).
- Validate sightlines (TV viewing, entry view, kitchen-to-living connection).
- Only then refine finishes, decor, and styling.
Mini example: living room layout test
In 2D, a sectional can look fine. In 3D, you may notice it blocks a window or makes the entry feel cramped. Create two quick variants:
- Variant A: sectional + media wall
- Variant B: sofa + two chairs (better flexibility)
Render both from the same camera angle, then compare how open the space feels and whether walkways remain clear.
Renovation previews: where 3D beats guesswork
Floor plan conversion becomes especially powerful for renovation previews, because you can isolate scope and show options side-by-side:
- Wall removal: test open-concept changes without committing.
- Kitchen reconfiguration: compare island sizes and aisle widths.
- Bathroom refresh: confirm door swings, shower clearances, and vanity depth.
- Exterior refresh: preview siding colors, trim contrast, and entry emphasis.
Exterior refresh tip
Even if your source is a floor plan, you can create an exterior “concept frame” by aligning window locations and approximating facade proportions. It won’t replace architectural elevations, but it can accelerate early conversations about curb appeal.
Troubleshooting: the most common mistakes (and fast fixes)
- Everything feels slightly off: re-check scale calibration using a second dimension; one wrong reference can distort the whole model.
- Rooms won’t “close” for surface generation: look for tiny wall gaps or overlapping segments at corners.
- Doors collide with furniture: verify hinge side and swing direction; consider flipping swings to match real usage.
- Windows look too high/low: standardize sill heights unless the plan notes otherwise, then adjust per room type (kitchen vs. living).
- Render looks flat: add daylight directionality and increase material contrast slightly (floor vs. wall) for readability.
A simple naming + export routine (so revisions stay organized)
If you’re producing multiple options, organization saves hours. Here’s a lightweight convention you can follow, especially when sharing with clients or a contractor.
# File naming convention
# project_scope_option_view_resolution

maple_st_kitchen_optionA_cam01_4k.png
maple_st_kitchen_optionB_cam01_4k.png
maple_st_fullhome_existing_top3D_2k.png
maple_st_fullhome_proposed_top3D_2k.png
Pair it with a short option log:
Option A: 84" island, 42" aisles, pantry door moved to hallway
Option B: 72" island, 48" aisles, pantry converted to tall cabinet wall
Checklist: before you call the render “final”
- Scale verified against at least two plan dimensions
- Walls meet cleanly; no micro-gaps
- Doors/windows placed and swings confirmed
- Ceiling height set; key vertical elements consistent
- At least 3 camera views per key area (wide, functional, detail)
- Exports labeled with option + view + resolution
Choosing a tool: what to prioritize
Whether you use desktop software or a mobile workflow, prioritize features that reduce rework:
- Reliable floor plan conversion (good wall/room detection, editable geometry)
- Dimension and label preservation so intent stays intact
- Fast iteration (duplicate options, swap materials, quick camera presets)
- High-resolution exports for proposals and presentations
If you prefer an iOS approach, an app like Floor Plan to 3D & Home Redesign can help you move from a scanned plan to clean 3D renders and quick redesign previews without diving into heavy 3D software.
