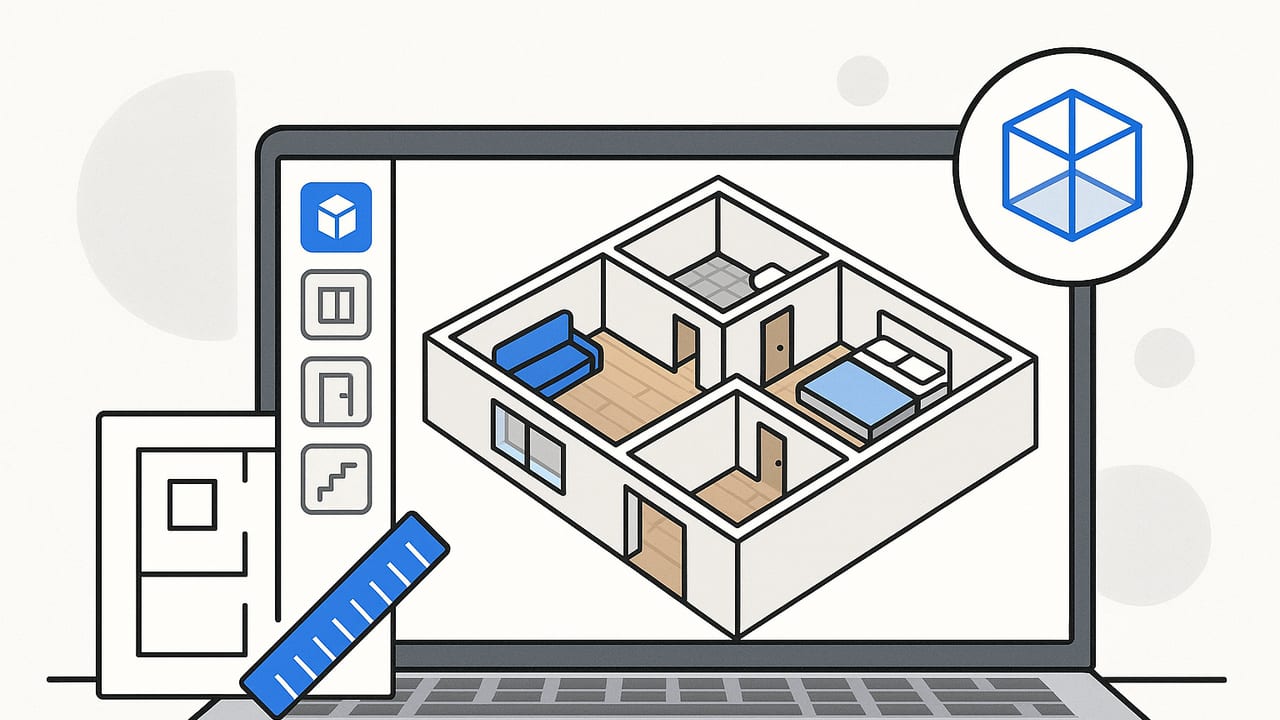
A great 3d floor plan does more than look good—it communicates layout, scale, and usability at a glance. Whether you’re a designer, agent, builder, or homeowner, turning a 2D sketch into a clear, accurate 3D floor plan can dramatically improve decision-making, reduce revisions, and speed up approvals. This guide walks you through a practical workflow, measurement rules, visualization techniques, and export tips so your results are both beautiful and reliable.
What Makes a 3D Floor Plan Effective?
A 3D floor plan should balance visual appeal with precision. The goal is to help viewers understand space, circulation, and proportions without needing to read technical drawings. The most effective plans share these traits:
- Accuracy: Wall thicknesses, door swings, ceiling heights, and window placements match the real-world layout.
- Legibility: Clear zoning, logical furniture scale, consistent materials, and good lighting make the design intuitive.
- Purpose-driven detail: Enough detail to answer the client’s question—no more, no less.
- Consistency: Standards for naming, layers, and units improve collaboration and iteration.
Plan First: Define Audience and Outcome
Begin by clarifying who will view the 3D floor plan and what they need to decide. Your purpose informs the level of detail and the render style:
- Real estate marketing: Emphasize furniture layout and lifestyle shots. Use warm lighting, soft shadows, and realistic materials. Keep measurements accessible but not overwhelming.
- Design development: Highlight accurate dimensions, structural elements, MEP clearances, and circulation paths. Use neutral materials and contrasting colors for functional zones.
- Client concept review: Focus on room relationships, basic finishes, and a few hero views. Avoid over-customizing until core decisions are confirmed.
Measure Precisely: Scale, Dimensions, and Tolerances
Measurements are the backbone of every 3D floor plan. If you’re converting from paper or a scan, confirm scale before modeling. Typical tolerances for residential visualization are ±1–2 cm per 5 meters, but be stricter if the plan informs cabinetry or built-ins.
Quick Scale-Conversion Formula
# Example: Converting measurements from a printed plan to real-world size
# If the drawing scale is 1:100 and the measured line on paper is 42 mm:
# real_world_length_mm = paper_length_mm * scale_denominator
real_world_length_mm = 42 * 100  # = 4200 mm (4.2 m)
Pro tip: When scanning paper drawings, include a known-length ruler or dimension line in the photo. Use it to calibrate scale inside your modeling or conversion tool.
From 2D to 3D: A Step-by-Step Workflow
- Digitize the source: Capture a high-resolution scan or photo in even lighting. Remove skew by aligning edges in your image editor or within your floor plan software.
- Set units and scale: Lock project units (mm or inches). Calibrate one known dimension (e.g., overall width) and cross-check 2–3 other distances.
- Trace or import walls: Trace centerlines or core boundaries consistently. Define wall thickness by type (e.g., 100 mm interior, 200–250 mm exterior for residential).
- Add openings: Place doors with correct swing arcs and clearances. Insert windows with sill height, head height, and width. Tag egress windows where applicable.
- Set story data: Floor-to-ceiling height, slab thickness, and stair riser/tread counts. Validate stair headroom and landing codes if the plan includes stairs.
- Place major fixtures: Kitchens, baths, built-ins. These anchor the layout and influence circulation and furniture placement.
- Zone and furnish: Add furniture at accurate dimensions. Use templates for common items (queen bed 60×80 in / 1524×2032 mm; dining table for 6 at ~1800 mm length).
- Materials and layers: Apply neutral base materials first. Save decorative finishes for later iterations to keep the model nimble.
- Lighting: Start with daylight—set geolocation and sun angle for realistic shadows. Add minimal artificial lights to clarify spaces without overexposure.
- Generate views: Produce top-down axon (exploded ceiling above), isometric, and a few eye-level rooms. Keep camera height ~1500–1600 mm for human perspective.
Standards That Keep You Fast and Accurate
- Naming conventions: Use Room_Type + Number (e.g., BED_02), and asset categories (FURN_, FIX_, STR_).
- Layers: Separate structure, openings, fixtures, furniture, and annotations. Toggle visibility to produce different deliverables quickly.
- Symbols: Use consistent door swing arrows, window tags, and north arrows in 2D overlays.
- Heights: Typical residential ceiling: 2400–2700 mm. Interior door height: ~2040–2100 mm. Window sill: 600–900 mm unless design dictates otherwise.
- Clearances: Maintain at least 900 mm for circulation in primary paths; 1000–1100 mm around dining tables; 600 mm minimum in front of wardrobes.
Communicating Space: Color, Materials, and Lighting
Material realism can enhance a 3D floor plan, but restraint is key. Overly glossy or noisy textures distract from layout.
- Color coding: Use subtle tints—cool for service spaces (bath, laundry), warm neutrals for living spaces. Avoid saturated colors on large surfaces.
- Material scale: Confirm tile, plank, or pattern dimensions match real-world sizes to prevent visual distortion.
- Sun and shadow: Set the sun so key spaces receive soft, readable shadows. For indoor views, combine an HDRI environment with a few practical light sources.
Rule of thumb: if a material calls attention to itself before the layout does, tone it down.
Exporting a 3D Floor Plan: Choosing the Right Format
Match the export to the deliverable—marketing images, interactive models, or documentation. Here’s a quick comparison:
| Format | Best For | Pros | Considerations |
|---|---|---|---|
| PNG/JPG | Listings, presentations, quick sharing | Lightweight, universal, easy to brand | Static; keep resolution high (3000–4000 px) for print |
| Reports, annotated deliverables | Multipage, vector-friendly, print-ready | Embed fonts; verify CMYK profiles for print | |
| OBJ/FBX | Pipeline to DCC tools (3ds Max, Blender) | Broad compatibility, supports materials | Larger files; texture relinking may be needed |
| GLB/GLTF | Web/AR viewers, interactive sharing | Compact, self-contained, PBR-ready | Keep polycount reasonable; compress textures |
| USDZ | iOS AR previews | Native AR on Apple devices, easy sharing | Material features vary; test on target devices |
Common Mistakes (and Quick Fixes)
- Scale drift: A single mis-scaled image skews the entire model. Fix by locking a control dimension and using snapping or constraints as you trace.
- Over-detailing early: Heavy assets slow iteration. Use proxy furniture until the layout is signed off, then swap in detailed models.
- Flat lighting: If everything looks washed out, reduce ambient light, add directional sunlight, and nudge exposure. Introduce gentle contrast with area lights.
- Material mismatch: Wood planks too wide or tiles too small distort scale perception. Correct the UV scale to match real product specs.
- Cluttered annotations: Place dimensions selectively: overall lengths, room sizes, and key fixture offsets. Keep text sizes consistent and legible.
Quality Control Checklist
Before publishing your 3D floor plan, run this quick QA:
- Verify at least three dimensions against the source drawing.
- Check door swings, window heights, and sill/head alignment.
- Confirm furniture sizes and circulation clearances.
- Review lighting balance: avoid blown highlights and murky corners.
- Test exports on target devices or platforms for performance and color consistency.
Performance Tips for Faster Iteration
- Work modular: Keep walls, fixtures, and furniture in separate layers or collections to toggle visibility.
- Proxy assets: Use low-poly placeholders during layout. Swap in high-quality models just before rendering.
- Texture discipline: Limit textures to 1–2K for previews; ramp to 4K only for final hero shots.
- Batch renders: Queue multiple camera views overnight to maximize time.
When a Top-Down 3D vs. Eye-Level View Works Best
Different views answer different questions. Choose the right one based on your audience:
- Top-down 3D (axonometric): Best for understanding room adjacencies, door swings, and furniture placement. Great for one-page summaries.
- Eye-level interiors: Ideal for material and lighting decisions, showcasing lifestyle, and evaluating comfort and sightlines.
- Exploded ceilings or roof-off views: Helpful for showing lighting plans or attic/storage without hiding the layout.
Practical Furniture Sizing Reference
Keep a quick cheat sheet handy to avoid scale errors in your 3D floor plan:
- Sofa (3-seat): ~2100–2400 mm wide, 900–1000 mm deep
- Queen bed: 1524 × 2032 mm; allow 600–800 mm both sides for access
- Kitchen island (seating): 900 mm depth; 600 mm per stool
- Dining table for 6: ~900 × 1800 mm; 900–1100 mm circulation clearance
- Desk: 1200 × 600 mm minimum; 1000 mm clear legroom in front
Presenting Your 3D Floor Plan
Package your design so stakeholders engage quickly:
- One-page overview: Top-down 3D with room labels, dimensions, and a compact key for materials.
- Detail pages: Eye-level views for kitchens, baths, and living areas with brief callouts.
- Interactive model: Provide a GLB/GLTF or USDZ for simple orbit and AR previews, especially for smaller spaces.
Final Thought: Clarity Over Complexity
Clarity is the hallmark of a successful 3d floor plan. When your model is scaled correctly, your materials are restrained, and your lighting supports the story of the space, clients understand and decide faster. Build with standards, export thoughtfully, and keep your audience’s questions front and center. If you’re starting from black-and-white 2D drawings and want a faithful 3D representation on the go, the iOS app Floor Plan to 3D converts scans into accurate 3D renders you can iterate, visualize, and export for proposals.
