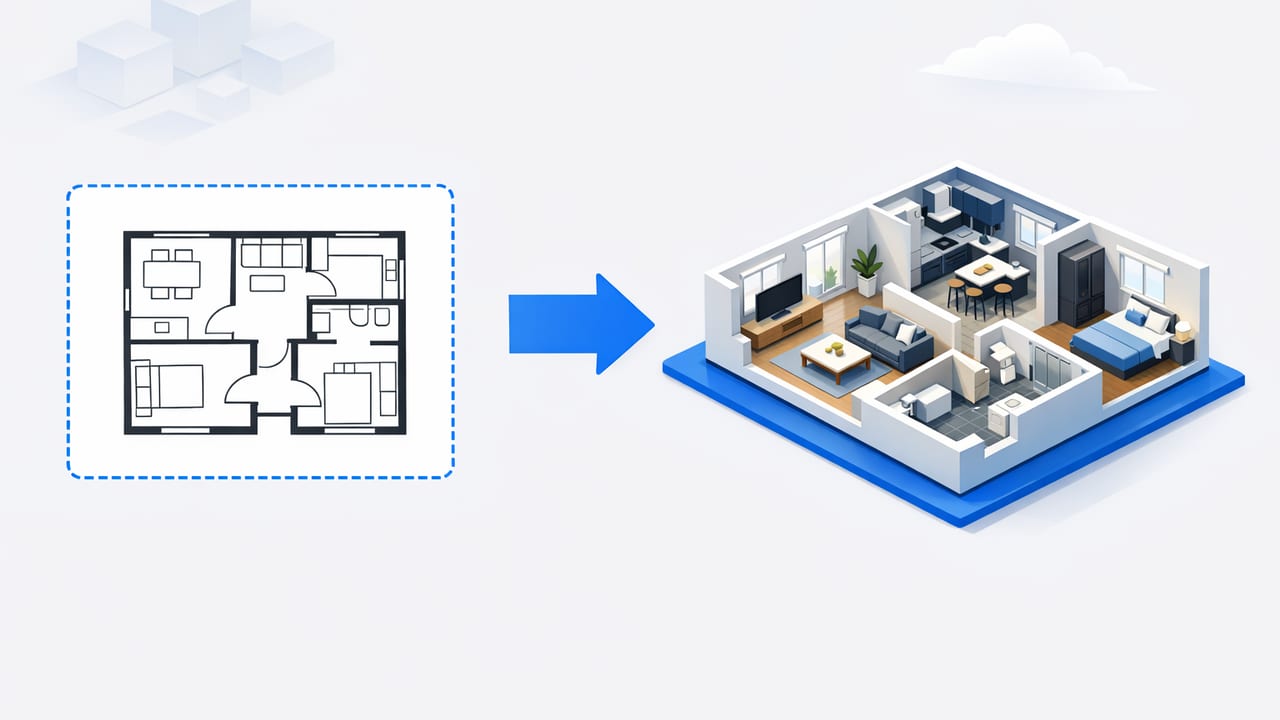
If you’ve ever tried to convert floor plan to 3d, you know the promise is simple—see your space before you build, buy, or remodel—while the reality can be messy. Walls drift, rooms scale wrong, door swings get reversed, and suddenly the “3D” model is more of a concept sketch than a reliable planning tool.
This guide walks through a practical, accuracy-first workflow for turning a black-and-white 2D plan (PDF, photo, scan, or sketch) into a trustworthy 3D representation. You’ll learn how to prep your inputs, validate dimensions, add key details, and export visuals that hold up in real design conversations.
Why 3D matters (and where most conversions go wrong)
2D floor plans are efficient, but they hide what matters most in real life: volume, visibility, circulation paths, and how furniture actually fits. A good 3D model helps you answer questions like:
- Will the sofa block the walkway from the entry to the kitchen?
- How will daylight behave with that wall removed?
- Does the dining area feel cramped once chairs are pulled out?
- Is there enough clearance for doors, drawers, and appliances?
Most inaccuracies come from a short list of issues:
- Low-quality source plans (skewed photos, low-res PDFs, missing scale).
- Ambiguous symbols (windows/doors not clearly marked, unclear wall thickness).
- Scale drift when the plan is stretched or captured at an angle.
- Missing elevation info (ceiling heights, sill heights, soffits).
- Over-decorating too early (materials and furniture before the geometry is verified).
Rule of thumb: treat 3D styling as the final 20%. The first 80% is getting the geometry and measurements right.
Step 1: Choose the best source file (and fix it before conversion)
The best 3D results start with a clean 2D input. If you have multiple versions, pick the most legible plan with the most dimensions.
| Source type | Pros | Common pitfalls | Prep tips |
|---|---|---|---|
| Vector PDF (from CAD) | Sharp lines, consistent scale | Layers/symbols can confuse some tools | Export a “black lines only” version if possible |
| Scanned paper plan | Often has full dimensions | Skew, shadows, low contrast | Scan flat, increase contrast, deskew |
| Photo of a plan | Fast capture | Perspective distortion | Shoot straight-on, avoid wide-angle, crop tightly |
| Hand sketch | Flexible, quick changes | Missing dimensions and wall thickness | Add at least one known measurement per room |
Quick image-quality checklist
- Crop to the plan boundary (remove margins, notes, and background).
- Deskew so walls are truly horizontal/vertical.
- Boost contrast so lines are solid and text is readable.
- Remove clutter (heavy annotations can be misread as walls).
Step 2: Establish scale with at least two “anchor” measurements
To convert floor plan to 3d accurately, you need a reliable scale. Don’t rely on a printed scale bar alone—printing and screenshots can change size.
Instead, identify:
- One long anchor (e.g., overall building width or a long wall run).
- One cross-check on a different axis (e.g., depth of the building, or a second long wall).
After conversion, use those anchors to verify you didn’t introduce stretch in one direction.
Step 3: Confirm the “structural skeleton” before adding detail
Think of the model in layers. The first layer is the skeleton:
- Exterior walls and main interior partitions
- Door and window openings (positions + widths)
- Stairs, major columns, and shafts
- Room boundaries and circulation paths
Only after this is correct should you add:
- Cabinetry, built-ins, and plumbing fixtures
- Furniture layouts
- Materials, lighting, and décor
Minimum viable accuracy (MVA) targets
Before you move on, aim to validate:
- Overall footprint (matches anchors within a small tolerance).
- Room dimensions (especially kitchens, bathrooms, and corridors).
- Wall thickness (consistent where it should be; realistic for interior vs exterior).
- Openings (doors/windows aren’t shifted into corners or overlapping).
Step 4: Add heights (the missing half of 2D plans)
Most floor plans don’t fully describe the vertical dimension. To keep your 3D useful, define these explicitly:
- Ceiling height (and any dropped soffits)
- Door height (standard unless specified otherwise)
- Window head and sill heights (critical for kitchen backsplash runs and furniture placement)
- Stair rise/run if stairs exist
If your plan doesn’t include these, use reasonable assumptions—but document them so stakeholders know what’s estimated.
Step 5: Place “clearance-critical” elements first
When you convert floor plan to 3d for planning, the most valuable objects aren’t decorative—they’re the ones that determine whether the layout works.
High-impact items to place early
- Kitchens: fridge, range, sink, island/peninsula, primary walkway widths
- Bathrooms: toilet clearance, shower door swing, vanity depth
- Entryways: door swing + immediate landing zone
- Hallways: minimum passage width (and pinch points near doors)
Then add core furniture blocks (sofa, bed, dining table) as simple volumes to test fit before styling.
Step 6: Run a dimension quality check (QC)
Even strong AI-assisted conversions benefit from a systematic QC pass. Here’s a lightweight approach that catches most problems fast:
10-minute QC checklist
- Compare anchors: overall width/depth vs plan.
- Spot-check 3 rooms: one large, one medium, one small.
- Verify door widths: especially bathrooms and bedrooms.
- Check door swings: ensure they don’t clip fixtures or furniture.
- Confirm window placement: centered where intended, not drifting.
- Look for wall overlaps/gaps: corners should meet cleanly.
- Validate stairs: correct direction and landing positions.
If you’re collaborating, it helps to capture assumptions in a structured format. Here’s a simple example you can paste into project notes:
{
  "units": "inches",
  "ceiling_height": 96,
  "assumptions": {
    "interior_wall_thickness": 5,
    "door_height": 80,
    "window_sill_height": 30
  },
  "anchors": [
    {"label": "overall_width", "value": 360},
    {"label": "overall_depth", "value": 480}
  ]
}
Step 7: Choose a rendering style based on your goal
Not every 3D output needs photorealism. Picking the right visualization style keeps the process faster and clearer.
- Massing model (fastest): best for layout, circulation, and rough proportions.
- Material concept: add floors/walls colors to communicate vibe without overcommitting.
- Presentation render: higher detail, lighting, and staging for proposals and stakeholders.
A common mistake is jumping straight to presentation mode and then discovering the kitchen aisle is too tight. Use massing first, then style.
Step 8: Export formats and resolutions that stay useful
Once the model is correct, export in a way that matches how you’ll share it:
- High-resolution images for proposals, presentations, and client approvals.
- Multiple viewpoints: top-down, eye-level, and key corners of each room.
- Consistent naming so iterations don’t get lost (e.g., Kitchen_v03_island-extended.png).
If you’re comparing options, export a consistent set for each variant (same camera angles). Side-by-side comparisons make decisions faster and reduce subjective debate.
AI-assisted conversion vs manual 3D modeling
There are two main approaches to converting a floor plan:
AI-assisted conversion
- Best for: fast iteration, early-stage layout testing, quick stakeholder visuals.
- Trade-offs: depends heavily on plan clarity; still needs human QC.
Manual modeling (CAD/BIM/3D software)
- Best for: construction-grade documentation and complex conditions.
- Trade-offs: slower; higher skill requirement; less flexible for rapid optioning.
In many workflows, AI-assisted tools handle the first pass (fast and “close”), then manual refinement is used only where precision is critical.
Common conversion mistakes (and how to avoid them)
- Mistake: Treating a distorted photo as “to scale.”
Fix: Deskew and anchor scale using two measurements. - Mistake: Ignoring wall thickness.
Fix: Set consistent interior/exterior thickness and re-check room sizes. - Mistake: Forgetting that furniture needs clearance, not just footprint.
Fix: Place clearance-critical items first and test door/drawer swings. - Mistake: Assuming ceiling height and never documenting it.
Fix: Record assumptions; update if you obtain elevations later.
FAQ: Converting a floor plan to 3D
How accurate can a 3D model be if the source is a scan?
Very accurate if the scan is clean, properly deskewed, and includes at least two known measurements for scale. Without anchors, the model may look right but measure wrong.
Do I need every room dimension to get a useful 3D?
No. You need enough dimensions to lock the scale and validate key rooms (kitchen, bath, circulation). You can refine secondary rooms later.
What if the floor plan conflicts with real-world measurements?
Prioritize on-site measurements for anything that affects built work (appliances, cabinetry, structural walls). Use the 3D model as a living document and update it as you learn more.
Putting it all together: a reliable workflow
- Pick the cleanest plan file and correct distortion.
- Set scale using two anchor dimensions.
- Build/validate the skeleton (walls, openings, stairs).
- Add vertical assumptions (ceiling, doors, windows) and document them.
- Place clearance-critical fixtures and core furniture blocks.
- Run a quick QC pass before styling.
- Export consistent views and iterate with version control.
When you follow this process, your decision-making gets faster—and more importantly, you reduce the risk of falling in love with a layout that doesn’t actually work.
Note: If you prefer a mobile-first, AI-assisted approach for turning black-and-white plans into proportion-preserving 3D visuals, an iOS tool like Floor Plan to 3D can fit neatly into the workflow above—especially for fast iteration and exporting high-resolution renders.
