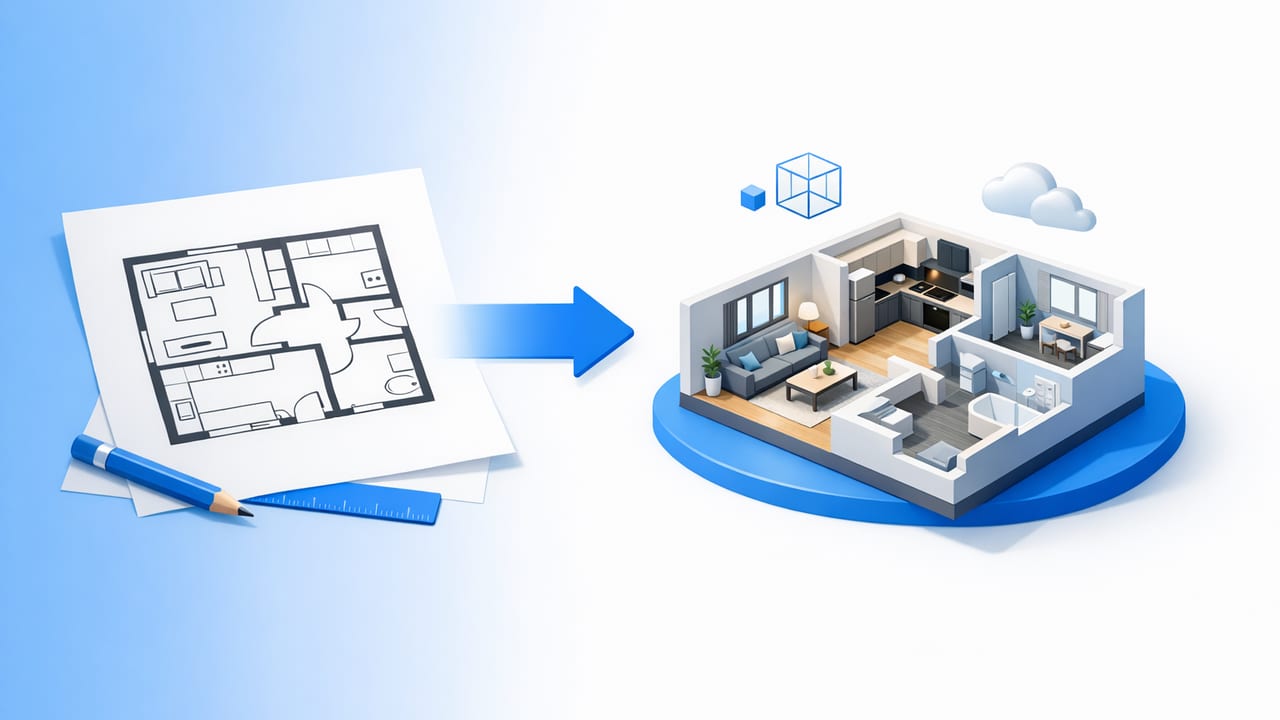
When you can convert floor plan to 3d, you stop guessing and start validating. A 2D plan is great for dimensions and code compliance, but it’s hard for most people to “see” circulation, furniture fit, sightlines, and renovation impact. A 3D model turns your blueprint into something you can evaluate like a real space—before you commit to demolition, materials, or a contractor timeline.
This guide walks through a practical, accuracy-first workflow to convert a floor plan to 3D, test multiple redesign ideas, and export clean visuals for presentations. Whether you’re planning a remodel, staging an empty unit, or exploring an exterior refresh, the steps below help you get realistic results without getting trapped in heavy 3D software complexity.
What you need before converting a floor plan to 3D
The quality of your 3D render depends on the quality of your inputs. Before you start, gather these essentials:
- A clear floor plan image (black-and-white preferred), or a PDF export from CAD.
- At least one known measurement (a labeled dimension like 10'0" or 3.05m) to confirm scale.
- Room labels if available (Kitchen, Bath, Bedroom). Labels improve automated room recognition and zoning.
- Wall thickness assumptions if not specified. You can refine later, but you need a starting point.
- Ceiling height (even an estimate). Height affects cabinetry proportions, window placement, and lighting realism.
Common floor plan sources (and how to handle them)
| Source | Typical issues | Best prep step |
|---|---|---|
| Scanned paper blueprint | Skewed angles, low contrast, creases | Crop, straighten, increase contrast |
| Real estate listing plan | Not to scale, simplified walls/doors | Verify scale with one real measurement |
| Architect CAD export (PDF) | Too many layers/annotations | Export a clean plan layer if possible |
| Hand-drawn layout | Inconsistent proportions | Add key dimensions before converting |
Step-by-step: Convert floor plan to 3D (accuracy-first)
Most conversion workflows follow the same logic: interpret walls and openings, set scale, add height, then validate with reference checks. Here’s a practical sequence that works for nearly any space.
-
Clean the input plan
Crop to the plan area only. Remove marketing banners, multiple floors, or unrelated notes. If your plan is faint, increase contrast so walls read as solid, continuous lines.
-
Confirm scale early (don’t “fix it later”)
Pick one reliable dimension (for example, an overall building width). Set the model scale to match that value. This single step prevents most downstream issues—like furniture that looks right but doesn’t actually fit.
-
Trace or detect walls, then check continuity
Walls should form closed loops where rooms exist. Gaps and overlaps often appear around doors, bay windows, or angled corridors. Fixing these early helps room detection and surface generation.
-
Add doors and windows with real-world assumptions
If your plan doesn’t specify opening sizes, use typical standards (e.g., interior door 30–36 inches / 760–915mm). Then refine to match the plan’s drawn opening widths.
-
Set ceiling height and floor thickness
Even simple 3D previews look dramatically more believable once vertical proportions are correct. If unsure, start with common defaults (like 8–9 ft / 2.4–2.7m) and adjust if the property is known to have higher ceilings.
-
Generate a base 3D model and do a “sanity pass”
Walk through the model: do hallways feel too narrow, do door swings collide, do windows align with the exterior? This is where you catch silent scale errors and wall misreads.
Pro tip: A fast way to validate scale is to drop a standard reference object (like a sofa ~84 in / 213cm long) into the living room. If it dwarfs the space or looks tiny, re-check scale before doing any redesign work.
How to use an AI room planner after you convert a floor plan to 3D
Once the shell is accurate, an AI room planner becomes useful—not as a “magic button,” but as a structured way to explore multiple layouts quickly. The best results come from giving the AI constraints and then judging the outputs with clearance rules.
Constraints to set (or at least decide) before generating ideas
- Use-case priorities: entertain, work-from-home, family storage, accessibility.
- Fixed elements: plumbing walls, structural columns, stair openings, fireplace.
- Style direction: modern, transitional, Scandinavian, industrial, coastal, etc.
- Must-keep furniture: bed size, dining table length, sectional dimensions.
Clearance rules that prevent “pretty but impossible” layouts
AI-generated layouts can look polished while breaking basic usability. Use these quick checks:
- Main walkways: aim for ~36 in / 915mm clear where possible.
- Dining clearance: ~36 in / 915mm behind chairs for comfortable movement.
- Kitchen work zones: avoid placing islands that choke the aisle (commonly ~36–48 in / 915–1220mm depending on context).
- Door swings: confirm doors open fully without hitting furniture or cabinets.
Room-by-room validation: What to check in 3D
After you convert a floor plan to 3D, validate each room with checks that match how the space is actually used.
Kitchen
- Appliance alignment: confirm fridge door clearance and oven door swing.
- Landing zones: small counters next to stove and sink prevent impractical designs.
- Upper cabinet height: verify it doesn’t collide with windows or soffits.
Bathroom
- Fixture spacing: check toilet-to-vanity and shower door clearance.
- Wet zone logic: ensure shower glass and drains make sense in 3D.
Bedroom
- Bed access: ensure realistic space on both sides (especially for queens/kings).
- Closet doors: sliding vs hinged doors change usable area dramatically.
Living room
- TV viewing distance: sanity-check that seating isn’t too close or too far.
- Conversation geometry: seating should face each other naturally, not block circulation.
Export-ready 3D renders: How to make them presentation clean
Once the layout works, the final step is producing clear visuals for stakeholders (clients, partners, contractors, or listing presentations). Even basic 3D renders can look professional if you standardize a few choices.
Simple settings that improve clarity
- Use consistent camera angles: one corner view + one straight-on view per room.
- Keep materials restrained: neutral walls and floors reduce visual noise while validating proportions.
- Use daylight-first lighting: bright, natural lighting shows shape and spacing clearly.
- Label versions: “Kitchen_A_Island” vs “Kitchen_B_Peninsula” to avoid confusion.
A practical naming convention (copy/paste)
ProjectName_Room_Variant_View_Resolution
Hillcrest_Kitchen_B_Corner_4K
Hillcrest_Living_A_Straight_1080p
Common pitfalls when converting a floor plan to 3D (and quick fixes)
-
Pitfall: The model “feels off” even though dimensions match.
Fix: verify ceiling height and wall thickness. A correct footprint can still look wrong with unrealistic vertical proportions.
-
Pitfall: Windows look misaligned on the exterior.
Fix: check plan symbols. Some plans show window extents differently than the wall opening. Align to the opening, not the trim mark.
-
Pitfall: AI layout suggestions block circulation.
Fix: set clearance constraints and remove oversized furniture assets. Re-run with a smaller sofa or narrower island.
-
Pitfall: Room boundaries aren’t detected correctly.
Fix: close tiny wall gaps near doors and confirm walls are continuous. Room detection typically fails at breaks.
Optional: Create a “room data” checklist for consistent redesigns
If you’re iterating multiple design options, it helps to record room requirements in a structured way. Even a simple JSON-style list keeps decisions consistent across variants.
{
  "room": "Living Room",
  "must_keep": ["sofa_84in", "tv_wall"],
  "priorities": ["circulation", "storage", "natural_light"],
  "clearances": {
    "main_walkway_in": 36,
    "sofa_to_coffee_table_in": 18
  }
}
When 3D conversion is most valuable (use cases)
- Renovation previews: compare “open concept” vs “partial wall” before structural estimates.
- Interior design: test furniture sizes, rug scale, and layout flow quickly.
- Empty-room staging: visualize furnished rooms for listings without physical staging.
- Exterior refresh: explore siding, trim, and entry updates in a consistent visual style.
FAQ: Convert floor plan to 3D
Do I need perfect architectural drawings to get a usable 3D model?
No. You need a consistent plan with at least one reliable measurement for scale. You can refine doors, windows, and wall thickness as you validate the model.
What’s the fastest way to spot a scale mistake?
Drop in a few standard reference items (a bed, a sofa, a dining table) and check clearances. If everyday objects look wrong, scale is usually the cause.
How many design options should I generate?
Typically 2–4 strong variants per space. Beyond that, decision-making slows down. Use constraints and clearance checks to keep options realistic.
Wrap-up: A repeatable workflow that stays realistic
The goal isn’t just to create a pretty model—it’s to create a trustworthy one. If you convert a floor plan to 3D with scale validation, room-by-room checks, and practical clearance rules, you can explore redesign ideas confidently and communicate them clearly to anyone involved in the project.
If you want a lightweight way to turn black-and-white plans into clean 3D previews and test AI-guided layouts, an app like Floor Plan to 3D & Home Redesign can fit neatly into this workflow—especially for quick iterations and exportable presentation images.
