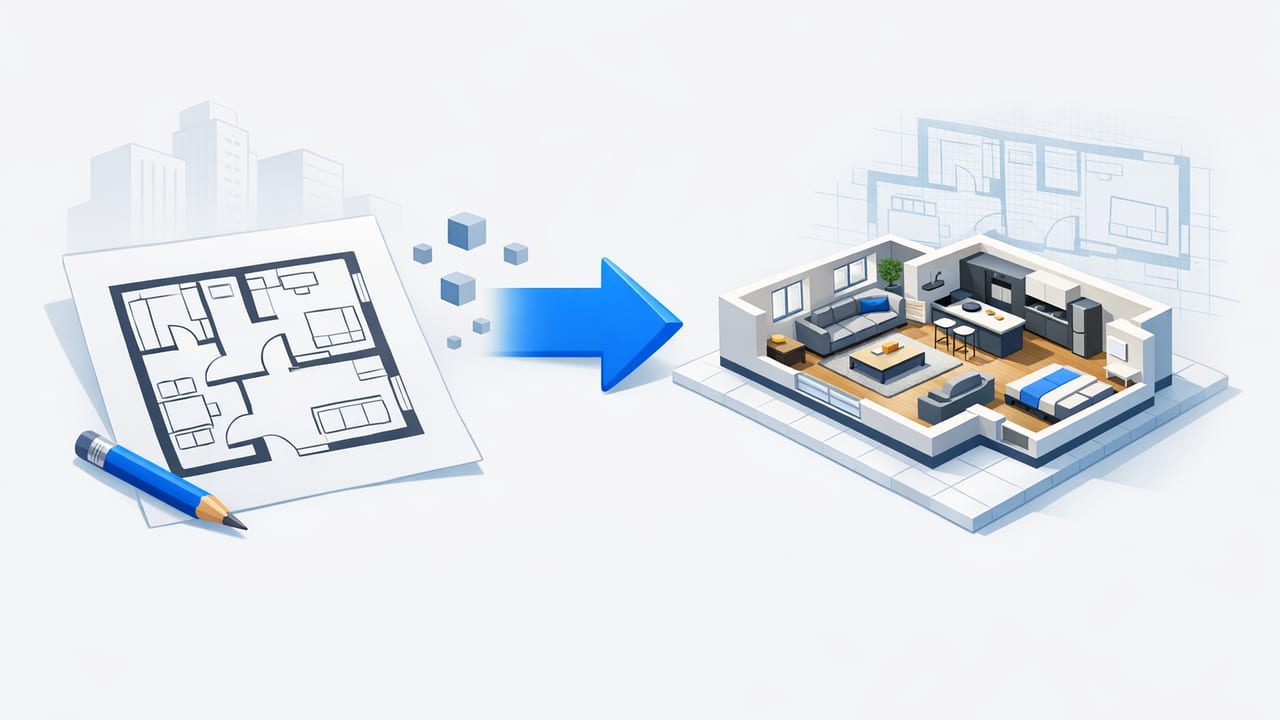
When you convert floor plan to 3D, the goal isn’t just a pretty picture—it’s a model you can trust for decisions: furniture fit, renovation feasibility, circulation, sightlines, and stakeholder approvals. The challenge is that many floor plans begin as imperfect inputs: photos taken at an angle, scanned PDFs with thick wall lines, hand-drawn sketches, or plans that omit key dimensions.
This guide walks through an accuracy-first workflow for turning a black-and-white 2D plan into a clean, dimension-faithful 3D representation—whether you’re using an AI-powered converter, a traditional 3D modeling tool, or a hybrid approach.
What “accurate” means in 2D-to-3D conversion
Before you start, define accuracy in practical terms. For most home and room planning, you want:
- Correct scale: the model matches real-world dimensions (not “close enough”).
- Consistent wall thickness: walls align cleanly at intersections and corners.
- True openings: doors/windows are placed on the correct wall, with believable sizes and swing direction where relevant.
- Room boundaries that close: no gaps, overlaps, or broken polygons that create impossible geometry.
- Export-ready visuals: usable images for presentations and proposals.
A 3D render is persuasive; a dimension-true 3D model is actionable.
Step 1: Choose the best input you can (scan vs photo vs PDF)
AI and manual tools both benefit from clean input. Use this priority order when possible:
- Vector PDF (best): crisp lines, consistent geometry, less noise.
- High-resolution scan: flat, evenly lit, minimal distortion.
- Photo of a printed plan (last resort): perspective and glare can introduce measurable errors.
Quick input-prep checklist
- Crop to include only the plan (remove notes, title blocks if they confuse detection).
- Rotate so walls are orthogonal (straight up/down/left/right where intended).
- Increase contrast so walls are clearly darker than the background.
- If a photo, correct perspective (many phone editors offer “perspective” correction).
Step 2: Establish scale (the make-or-break step)
Most conversion errors come from missing or incorrect scale. You need at least one reliable real-world reference:
- A labeled dimension on the plan (e.g., “12'-6"”).
- A known standard size (e.g., typical interior door width is often ~30–36 in / 760–915 mm, but verify).
- A measurement you take on-site (laser measure or tape).
When using AI tools, the scale step is often a “calibration” action: you mark two points and tell the app the real distance. In manual tools, you set drawing units and scale the imported image.
Simple scale math (if you need it)
If you know the real length of a wall and can measure the same wall on the image, compute a scale factor:
// scaleFactor = realWorldLength / imageMeasuredLength
// Example: wall is 4.20m in reality, and 210px on the image
scaleFactor = 4.20 / 210  // 0.02 meters per pixel
This is also a good way to sanity-check whether your plan was stretched during scanning.
Step 3: Confirm wall intent (especially with thick lines)
Black-and-white plans often use thick wall strokes that hide the “true” wall centerline. For clean 3D, decide early:
- Are you modeling walls by centerline (common in CAD workflows), or
- By inner face (useful for furniture fit), or
- By outer face (useful for footprint/exterior massing)?
If your output is room planning, inner face accuracy typically matters most (clearances, furniture, cabinetry). If you’re coordinating with structural/exterior constraints, you may need both interior and exterior accuracy.
Wall thickness: pick a rule and keep it consistent
If the plan doesn’t specify wall types, choose a consistent default thickness (and adjust later where necessary). In many homes, interior partitions can vary; older buildings can be especially inconsistent. Consistency first, refinement second.
Step 4: Add doors and windows with constraints
Openings are where 3D models quickly diverge from reality. Treat openings as constrained objects:
- Door width and door swing (or sliding direction)
- Window width and approximate sill height (if interior views matter)
- Placement rules: openings must sit fully within a single wall segment
Two practical tips:
- Resolve ambiguous symbols: some plans use similar marks for windows, openings, and closets—verify with context.
- Validate clearance: if a door swing collides with fixtures in 3D, it’s either a plan issue or a modeling misread that needs correction.
Step 5: Generate the 3D structure (and keep geometry “watertight”)
Whether you convert automatically or model manually, the 3D step should produce clean topology:
- Rooms should form closed loops.
- Walls should meet cleanly at corners—no overlaps or gaps.
- Floor and ceiling surfaces should be continuous per room (or per level).
If your plan includes multiple levels, treat each level as a separate conversion pass, then align them using shared reference points (stairs, core walls, or exterior corners).
Step 6: Apply materials and lighting for decision-grade renders
Materials and lighting don’t need to be “final design” quality to be useful. Aim for clarity:
- Neutral wall color and mid-tone flooring to reveal shape and scale.
- Consistent lighting across rooms so comparisons are fair.
- Simple furniture blocks (optional) to test layout, not décor.
If you’re presenting options, render the same camera angles across variants (e.g., “Option A kitchen,” “Option B kitchen”) to make differences obvious.
Manual vs AI vs hybrid: which approach fits your project?
| Approach | Best for | Strengths | Watch-outs |
|---|---|---|---|
| Manual 3D modeling | Complex geometry, custom construction details | Maximum control and precision | Time-intensive; requires skill |
| AI floor plan conversion | Fast visualization, early-stage planning | Speed; good for iteration and concepting | Needs clean inputs and careful scale validation |
| Hybrid (AI + manual edits) | Most renovation and real estate workflows | Fast base model + targeted corrections | Requires a QA pass to ensure accuracy |
Quality assurance: a 10-minute validation routine
After you convert floor plan to 3D, run a quick QA routine before sharing anything:
- Check two independent dimensions (not just the one used to scale).
- Verify door widths against your project standard.
- Confirm room adjacency: are the right rooms connected in the right places?
- Look for wall “drift”: slightly angled walls that should be straight.
- Confirm window count and placement (easy to misread on dense plans).
- Spot ceiling height assumptions: if unknown, document the assumed height.
If the model will inform purchasing decisions (cabinets, flooring quantities, furniture), consider a stricter validation pass or on-site measurements for critical areas.
Common pitfalls (and how to avoid them)
1) Perspective distortion from phone photos
If one side of the plan is farther from the camera, lengths won’t scale evenly. Fix with perspective correction or re-capture with the camera parallel to the page.
2) Plans that mix “overall” and “clear” dimensions
Some plans dimension to exterior faces; others dimension to interior finishes. Decide what your 3D model should represent (structural vs finished) and stick to it.
3) Missing thickness for interior partitions
AI may infer thickness; manual modeling forces a choice. If you don’t know, set a default and flag it as an assumption in your deliverable.
4) Symbol ambiguity
Closets, openings, and windows can look similar on low-resolution scans. Use context (room type, alignment, repeated patterns) and verify against any available elevation drawings.
Exporting: what to share with clients or stakeholders
Different stakeholders need different outputs. Consider exporting:
- High-resolution still renders for proposals and PDFs.
- Top-down 3D view for quick layout comprehension.
- Multiple camera angles per key room (kitchen, living, primary bedroom).
- A short assumptions list (scale reference, ceiling height, wall thickness rules).
Even when the 3D is accurate, documenting assumptions prevents confusion later—especially during renovation planning or when comparing multiple layout options.
A practical mini-workflow example (start to finish)
Here’s a simple, repeatable sequence you can use on most residential plans:
- Capture/import the plan (scan or PDF preferred).
- Clean the image: crop, rotate, boost contrast.
- Set scale using a known labeled dimension.
- Generate walls, then correct any misaligned corners.
- Place openings (doors/windows), resolving ambiguous symbols.
- Apply neutral materials and consistent lighting.
- Run QA (two extra dimensions + door/window sanity checks).
- Export high-res images for presentation.
When an iOS AI app makes sense
If you’re iterating quickly—testing furniture layouts, exploring renovation concepts, or creating presentation-ready visuals—an AI-based mobile workflow can reduce friction. The key is still the same: clean input, verified scale, and a short QA pass before sharing.
If you’re looking for an iOS option that focuses on keeping proportions true to the original plan, Floor Plan to 3D is one example of an app designed for converting black-and-white layouts into 3D renders with exportable high-resolution images.
