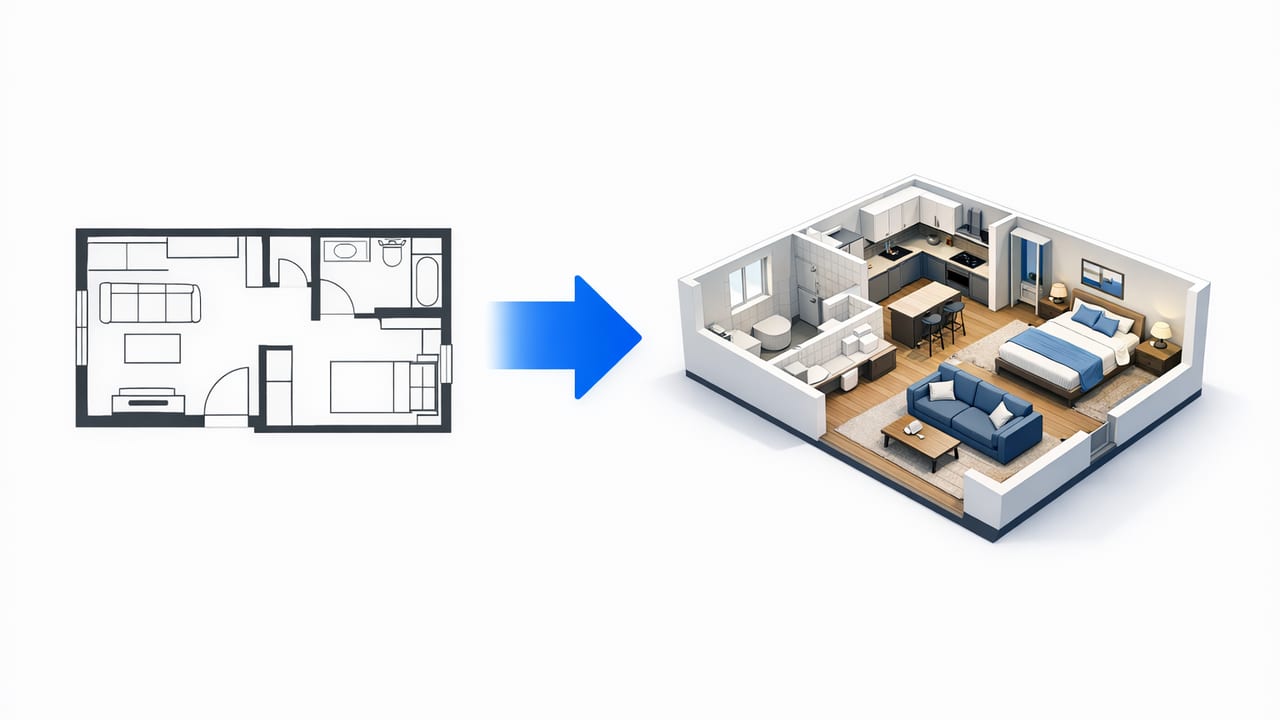
Being able to convert 2D floor plan to 3D is no longer just a “nice-to-have” for design teams. It’s a practical way to reduce misunderstandings, validate proportions, and communicate layout ideas to clients, contractors, and stakeholders who don’t naturally read technical drawings. A clean 3D view makes circulation, furniture fit, and sightlines obvious—often revealing issues that hide inside a flat plan.
This guide walks through a reliable, repeatable workflow for turning a black-and-white 2D plan (paper, PDF, or image) into a dimension-true 3D model and render—without drifting from the original layout. The emphasis is on accuracy first, presentation second.
Why 3D from a 2D floor plan changes decision-making
A 2D floor plan is excellent for measurements and documentation, but it’s abstract. Converting it to 3D adds immediate clarity in a few high-impact areas:
- Scale reality check: Hallways that look fine in 2D can feel tight in 3D once walls, doors, and furniture have thickness.
- Flow and usability: Door swings, pinch points, and circulation paths become easier to evaluate.
- Stakeholder alignment: Non-technical reviewers can approve (or flag) changes faster when they can “see” the space.
- Presentation quality: High-resolution renders help proposals, listings, remodel options, and internal planning.
What you need before you start
The quality of your 3D result depends heavily on your input. Before modeling, collect:
- The best available plan source: vector PDF/CAD is ideal, then high-resolution scan, then phone photo.
- At least one known measurement: a labeled dimension on the plan (e.g., overall width), or a verified real-world measurement.
- Assumptions list: wall thickness, ceiling height, door height, window sill height—anything not specified.
Plan quality checklist (fast)
- Lines are crisp and not distorted (no trapezoid “camera angle” warping).
- Room labels and dimensions are legible.
- Exterior boundary is continuous (no gaps).
- Doors/windows are identifiable.
Input types and how to prep them
Different sources require different preparation steps. Use this table to choose the quickest path to a clean 3D conversion.
| Input type | Best for | Prep steps | Common pitfalls |
|---|---|---|---|
| Vector PDF (from CAD) | Highest accuracy, clean geometry | Export at 1:1 scale if possible; keep layers simple | Hidden layers, inconsistent line weights |
| High-res scan (300–600 DPI) | Printed plans, marked-up drawings | Crop, straighten, boost contrast; remove shadows | Skew from scanner lid, faint dimension text |
| Phone photo | Fast capture in the field | Shoot square-on; even lighting; correct perspective | Perspective distortion, glare, curled paper edges |
Step-by-step workflow to convert 2D floor plan to 3D
The most dependable process is: clean → scale → trace/recognize → validate → extrude → detail → render → export. Here’s how to do each step with minimal rework.
1) Clean the plan image (reduce noise before modeling)
Whether you use desktop tools or an app workflow, the objective is the same: make the plan readable for humans and machines.
- Crop to the plan boundary (remove title blocks if they confuse recognition).
- Straighten so walls are truly horizontal/vertical.
- Increase contrast so walls are darker than annotations.
- Remove artifacts like folds, shadows, or coffee stains.
2) Set scale using a known dimension (your anchor)
Scaling is where many 3D conversions go wrong. Pick one trustworthy measurement and calibrate everything against it. Good anchors include overall exterior width, a long corridor length, or a labeled room dimension.
If your workflow requires converting pixel distance to real-world units, the relationship is:
// pseudo-formula
scale = real_world_length / measured_image_length
point_real = point_image * scale
After scaling, validate at least two other dimensions on the plan. If they don’t match closely, your image may be distorted (especially with phone photos).
3) Identify walls, openings, and room boundaries
At this stage, you either trace manually or rely on AI-assisted recognition. Regardless of method, focus on:
- Wall continuity: ensure corners meet and lines connect cleanly.
- Wall thickness: apply a consistent value unless the plan indicates structural vs partition differences.
- Door/window placement: confirm openings are centered correctly and swings don’t collide.
4) Run an “accuracy pass” before you go 3D
Do not extrude yet. First, confirm the 2D geometry is internally consistent. A short QA pass here prevents painful fixes later.
| Check | What to verify | Quick fix if wrong |
|---|---|---|
| Overall footprint | Exterior dimensions match the plan | Recalibrate scale, then re-check |
| Room closure | Rooms form closed polygons (no gaps) | Snap endpoints; repair broken corners |
| Wall thickness consistency | Partitions look uniform where expected | Standardize thickness and re-trim openings |
| Door clearances | Door swings don’t hit fixtures/furniture | Swap hinge side or adjust opening placement |
5) Extrude to 3D with realistic heights
Once the 2D plan is clean, extrude walls to a ceiling height that fits the project. If you don’t have specs, choose a reasonable default and document it as an assumption.
- Ceiling height: confirm whether the space is standard, lofted, or has dropped areas.
- Door height: keep consistent across the model unless noted.
- Window head/sill heights: align across rooms for a believable elevation.
Tip: If you’re presenting options, keep the base model constant and only change one variable at a time (wall move, opening size, furniture layout). This makes comparisons fair and easy to approve.
6) Add “just enough” detail for the decision you need
The level of detail should match the purpose:
- Layout planning: walls, openings, key furniture footprints, circulation zones.
- Remodel concept: add kitchen/bath fixtures, built-ins, and major appliances.
- Marketing render: materials, lighting, décor, and a polished camera composition.
A common mistake is over-modeling early. If the goal is to validate layout, prioritize dimensions and clearances over finishes.
7) Place furniture using rules of thumb (to prevent unrealistic layouts)
When you convert a 2D floor plan to 3D, furniture is where scale errors become obvious. A few practical rules help:
- Maintain walkways: keep primary paths comfortable and unblocked (entry to living, kitchen triangle, bed access).
- Respect door swings: don’t place furniture inside the swing arc.
- Use true-to-size assets: avoid “pretty” models that aren’t dimensioned accurately.
- Check alignment: center beds on walls, align dining tables with lighting points, keep sofas facing focal points.
8) Choose camera angles that communicate, not confuse
For approvals, include views that answer specific questions:
- Top-down 3D (dollhouse or axonometric) to show overall adjacency.
- Eye-level from entries to reveal perceived space and sightlines.
- Critical junctions (kitchen-to-living, hallway pinch points, bath entries) to validate clearances.
9) Export and share in the right format
Match your export to the audience:
- High-resolution images: proposals, presentations, emails, client sign-off documents.
- PDF sheets: combine 2D plan + 3D views + key dimensions for a single source of truth.
- Model files (when needed): for downstream work in CAD/BIM or visualization pipelines.
Common problems (and how to fix them)
The 3D model feels “stretched” compared to the plan
This usually comes from perspective distortion in photos or a scan that’s slightly skewed. Fix by re-capturing square-on, applying perspective correction, and re-scaling using a long known dimension.
Rooms don’t close or walls overlap
Gaps happen when wall endpoints aren’t snapped or when line detection misses faint edges. Manually connect corners and simplify messy intersections before extruding.
Doors/windows are in the wrong place
Check whether you’re interpreting symbols correctly (especially in older architectural drawings). Validate against dimension strings rather than visual guesswork.
A lightweight checklist for dimension-true results
- Scale set from a trusted measurement and verified against two others
- Exterior footprint matches the plan
- All rooms are closed; no micro-gaps at corners
- Wall thickness consistent and intentional
- Openings placed by dimension, not by eye
- Ceiling/door/window heights documented as assumptions if unknown
- Furniture placed with clearances and realistic sizes
- Exports include at least one overview and one eye-level view
Where AI helps most (and where you still need judgment)
AI-assisted tools can speed up recognition of walls and openings, keep proportions aligned to the source plan, and generate presentable 3D views quickly. But human judgment remains essential for:
- Ambiguity: unclear symbols, missing dimensions, partial scans.
- Design intent: choosing which elements matter for the decision.
- Validation: confirming that the 3D output is truly faithful to the 2D plan.
Conclusion
To convert 2D floor plan to 3D successfully, prioritize input quality, lock scale early, validate geometry before extruding, and add only the level of detail needed for your goal. With a consistent QA routine, your 3D views become more than visuals—they become reliable decision tools.
If you prefer an iPhone-first workflow, an app like Floor Plan to 3D can help turn a black-and-white plan into a dimension-faithful 3D render and export high-resolution images for presentations.
