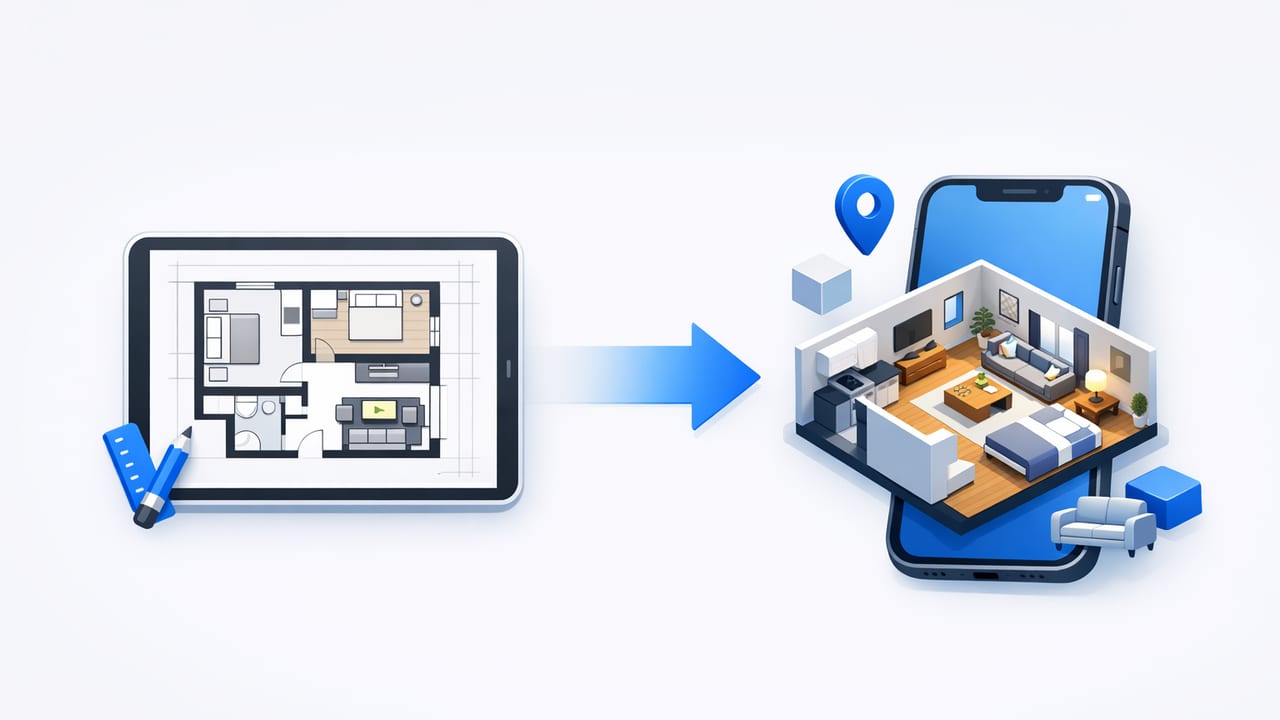
If you’re trying to compare floor plan to 3d iOS apps, you’ll quickly notice a problem: most apps look great in screenshots, but their results can vary dramatically once you upload a real plan—especially a photo of a printed PDF, a hand sketch, or a plan with faint lines and tiny dimensions.
This guide gives you a practical, repeatable way to evaluate iOS apps that convert 2D floor plans into 3D. Instead of ranking “the best” (which changes constantly), you’ll learn how to compare options using the same inputs, the same checks, and a simple scoring method. The goal is to help you choose the right tool for your workflow—remodel planning, real estate marketing, or early concept design—without wasting time.
What “Floor Plan to 3D” Apps Actually Do (And Where They Fail)
Most iOS “floor plan to 3D” tools fall into one of these categories:
- Image-to-3D converters: You upload a scan/photo/PDF image; the app detects walls, rooms, openings, and sometimes labels.
- Manual modelers: You trace or redraw the plan on a grid, then extrude to 3D.
- LiDAR/room scanning apps: They scan an existing space (great for as-built capture) but may not ingest a 2D plan directly.
When you compare floor plan to 3d iOS apps, the biggest differences usually come from:
- Plan interpretation: How reliably the app detects wall thickness, door swings, and room boundaries.
- Dimension fidelity: Whether the 3D model preserves real measurements (or drifts after edits).
- Editing tools: How fast you can fix mistakes (misread doors, merged rooms, missing windows).
- Export quality: Resolution, file formats, and whether exports are usable in presentations.
A Fair Test Setup: Use the Same Inputs for Every App
To compare apps accurately, test them with three plan types that represent real-world variability. Create a folder on your iPhone/iPad with these:
- Clean plan PDF (high contrast): crisp black lines, labeled rooms, dimension strings.
- Messy scan/photo: slight perspective distortion, shadows, or a crease—what you’d actually receive from a client or listing.
- Hand sketch: imperfect lines and approximate dimensions (the hardest case, but common in early planning).
Use the same success criteria for all tests. Otherwise, you’ll end up choosing the app that merely worked best on an “easy” plan.
Control Variables (So Your Comparison Is Honest)
- Same device model (processing and LiDAR capabilities can affect performance).
- Same export target (e.g., one hero render + one top-down 3D view).
- Same time box (e.g., 30 minutes per plan per app).
- Same measurement reference (pick one known dimension like a 10 ft wall).
The Comparison Checklist: 7 Criteria That Actually Matter
Below are the criteria professionals use to judge whether a plan-to-3D workflow will hold up beyond a quick demo.
1) Import Options and Pre-Processing
Check whether the app supports:
- PDF import vs. image-only upload
- Auto-cropping and perspective correction
- Multi-page plans (or at least selecting one page)
Why it matters: Many “bad conversions” start with a skewed photo or low contrast scan. If the app can’t correct that, your 3D model begins with a handicap.
2) Wall and Room Detection Accuracy
Run this quick validation:
- Do walls connect cleanly at corners (no gaps/overlaps)?
- Are small closets or angled walls detected, or simplified away?
- Does the app mistakenly treat furniture symbols as walls?
Red flag: If you spend more time fixing wall geometry than you would tracing the plan manually, the automation isn’t helping.
3) Dimension Fidelity (Scaling and Drift)
Dimension fidelity is the #1 reason people regret their choice after the first project. Test it like this:
- Pick a known dimension (e.g., “3.00 m” or “10’-0””).
- Set the scale using that wall.
- Measure 3–5 other walls inside the model.
What to look for: A good app stays consistent after edits. A weaker app looks correct initially, but measurements “drift” when you move walls or add openings.
4) Openings: Doors, Windows, and Stairs
Doors and windows are where conversions often break. Evaluate:
- Door placement on the correct wall and correct side
- Window widths matching the plan symbol
- Ability to add missing openings quickly
- Stair recognition (or at least stair modeling tools)
Tip: If the app offers “snap to wall” and numeric input for width/offset, corrections become predictable instead of fiddly.
5) Editing Speed and Ergonomics (The Hidden Cost)
The best app isn’t always the one with the most features—it’s the one you can fix fastest. Time yourself on three common fixes:
- Split one room into two (add a wall + doorway)
- Correct wall thickness or move a wall by a precise amount
- Add two windows with exact widths
If these take multiple menus and imprecise dragging, your real project time will balloon.
6) Visualization Quality and Rendering Controls
For presentation-grade output, check:
- Lighting presets (day/night, soft shadows)
- Material controls (flooring, wall colors) without breaking dimensions
- Furniture libraries that scale properly and don’t clip through walls
Remember: Visualization should be “on top of” accurate geometry, not a tradeoff against it.
7) Export Formats, Resolution, and Ownership
Exports determine whether your work is usable outside the app. Look for:
- High-resolution images (suitable for print/PDF proposals)
- 2D + 3D outputs (top-down, perspective, dollhouse)
- 3D file export (when needed): OBJ/FBX/GLB/USDA, etc.
- Clear licensing: what you can share commercially
Privacy note: If your plans are sensitive (client homes, security layouts), confirm whether processing happens on-device or in the cloud, and what data is stored.
Comparison Table: Score Apps the Same Way
Use this table as a template. Score each category 1–5 (5 is best). Weight accuracy higher than aesthetics for most use cases.
| Category | What to Measure | Suggested Weight |
|---|---|---|
| Import & cleanup | PDF support, crop, perspective correction | 10% |
| Wall/room detection | Corner joins, odd shapes, small rooms | 20% |
| Dimension fidelity | Scale accuracy + stability after edits | 25% |
| Openings & stairs | Door/window correctness + editing tools | 15% |
| Editing workflow | Time to fix common errors | 15% |
| Visualization | Materials, lighting, furniture realism | 5% |
| Exports & sharing | Image resolution, formats, licensing | 10% |
A Simple Weighted Scoring Method
If you want a consistent “winner” for your needs, calculate a weighted score. Here’s a tiny example you can adapt in any spreadsheet or script:
// ratings are 1..5
weights = {
  import: 0.10,
  detection: 0.20,
  dimensions: 0.25,
  openings: 0.15,
  editing: 0.15,
  viz: 0.05,
  export: 0.10
}

score = 0
for each category in weights:
  score += rating[category] * weights[category]

// final score is 1..5
Pro tip: If your primary goal is marketing visuals (real estate listings), increase the visualization weight. If your goal is remodel planning, increase dimension fidelity and editing speed.
Use-Case Fit: Match the App to the Job
When people compare floor plan to 3d iOS apps, they often assume one tool should do everything. In practice, the “best” choice depends on your output and tolerance for manual cleanup.
Remodel Planning (Kitchens, Baths, Additions)
- Prioritize: dimension fidelity, openings accuracy, precise editing
- Nice to have: 3D exports to CAD/BIM tools
- Avoid: apps that only provide approximate room shapes
Real Estate Marketing (Listings and Pre-Sale Visualization)
- Prioritize: fast turnaround, high-res exports, good lighting/materials
- Nice to have: consistent “dollhouse” view presets
- Acceptable: slightly simplified geometry if it looks clean
Early Concept Design (Exploring Layout Options)
- Prioritize: fast edits, easy duplication/variants, furniture placement
- Nice to have: room labels, quick recolors
- Watch for: tools that make scaling changes cumbersome
Common Pitfalls (And How to Avoid Them)
“Automation saves time only if correction is faster than manual creation.”
- Over-trusting auto-detection: Always verify at least 3–5 measurements after scaling.
- Ignoring plan quality: A quick contrast boost and crop before upload can improve results substantially.
- Choosing by render style alone: Pretty visuals can hide incorrect proportions.
- Export surprises: Test one full export before committing to an app—especially if you need print-ready resolution.
A Practical 30-Minute Trial Workflow
Here’s a repeatable way to trial any app in under half an hour:
- Import your clean PDF and generate the initial 3D.
- Scale using one known wall; check 3 other walls.
- Fix openings for one room (e.g., living room + hallway).
- Apply basic materials (floor + wall) and add minimal furniture.
- Export one hero perspective and one top-down 3D view.
- Repeat quickly with the messy scan to see how robust it is.
After doing this across two or three apps, patterns become obvious: one will be fastest to correct, one will export best, and one will keep dimensions most trustworthy.
What to Look For in Reviews (Beyond Star Ratings)
App Store ratings rarely reflect your exact needs. When reading reviews, search for keywords tied to your priority:
- Accuracy: “measurements,” “scale,” “dimensions,” “to scale”
- Imports: “PDF,” “scan,” “photo,” “blueprint”
- Exports: “high resolution,” “print,” “OBJ/FBX/GLB,” “share”
- Reliability: “crash,” “lag,” “save,” “sync”
Also note whether reviewers mention their use case (real estate vs remodel vs student projects). A “perfect” app for one can be frustrating for another.
Wrap-Up: Make Your Comparison Repeatable
To compare floor plan to 3d iOS apps effectively, use the same plan inputs, validate dimensions early, and score apps with weighted criteria tied to your job. Most users get the best outcomes by prioritizing:
- Dimension fidelity (trustworthy scale)
- Editing speed (fast correction)
- Export quality (usable outside the app)
If you want a straightforward starting point for image-to-3D conversion on iOS with an emphasis on keeping layouts true to the original plan, you can explore Floor Plan to 3D as one option among the tools you test using the checklist above.
