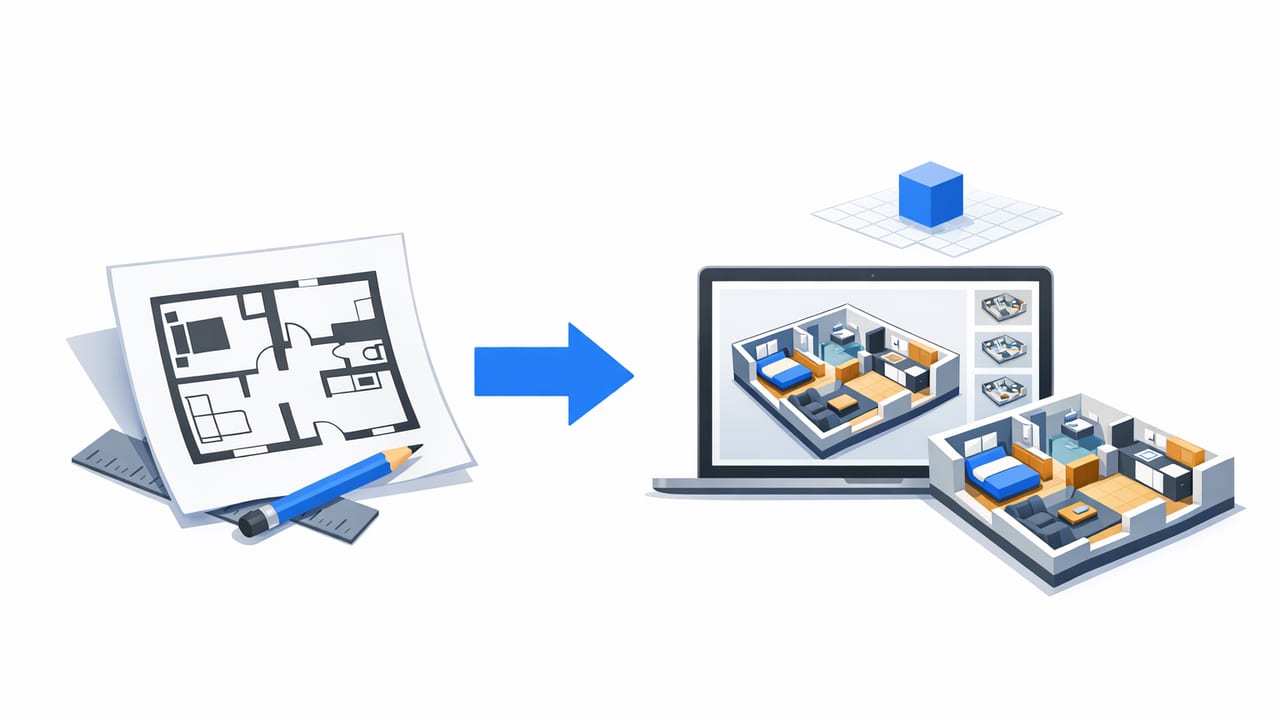
A floor plan converter can turn a static 2D drawing into a 3D view you can actually reason about: sightlines, furniture fit, circulation paths, and how spaces relate in volume—not just on paper. But “conversion” isn’t one feature. It’s a pipeline: input quality, line recognition, wall inference, dimension preservation, object placement, and export reliability.
This guide explains how to evaluate a floor plan converter (especially AI-based tools) so you can get dimension-true results that hold up for presentations, planning, and design iteration.
What a floor plan converter should do (beyond making it look 3D)
Many tools can generate a visually pleasing 3D render. Fewer can generate a model that remains faithful to the original plan. When comparing a floor plan converter, separate visualization quality from geometric accuracy.
- Recognition: Detect walls, openings, rooms, stairs, and annotations from an image/PDF.
- Reconstruction: Build a structured model (walls with thickness, door swings, window extents).
- Scale handling: Infer or accept a known scale so lengths remain consistent.
- Editing: Let you correct mistakes efficiently (snap, constraints, dimension input).
- Export: Produce high-res images and/or shareable assets suitable for stakeholders.
Rule of thumb: If a tool can’t tell you what it thinks the scale is—or let you set it—it’s not a reliable floor plan converter for planning decisions.
Input types: what you can feed a converter (and what breaks it)
AI floor plan conversion starts with the input. Different sources have different failure modes: camera distortion, compression artifacts, faint lines, or non-standard symbology. Use this quick reference when choosing and using a floor plan converter.
| Input Type | Pros | Common Problems | Best Practice |
|---|---|---|---|
| Photo of printed plan | Fast, accessible | Perspective skew, shadows | Shoot straight-on, good lighting, crop tightly |
| Scan (flatbed / scanner app) | High clarity, minimal skew | Faint lines, low contrast | Boost contrast, ensure 300+ DPI equivalent |
| PDF export | Cleanest geometry | Rasterized pages, mixed layers | Export as vector when possible; avoid heavy compression |
| Screenshot | Convenient | Low resolution, clipped dimensions | Use the highest zoom, capture full page including scale info |
Pre-flight checks before you upload
Do these three steps and you’ll significantly improve recognition accuracy:
- Crop: Remove borders, legends, and unrelated pages when possible.
- Increase contrast: Walls should be clearly darker than furniture lines or hatches.
- Preserve dimensions: If the plan has a scale bar or labeled wall lengths, keep them visible.
Accuracy criteria: how to judge a floor plan converter objectively
When a floor plan converter outputs a 3D model, don’t judge it by realism alone. Evaluate it like you would any measurement tool. Here are practical checks you can run in minutes.
1) Scale and dimension fidelity
- Pick 3 known distances (e.g., a labeled wall length, a standard door width, corridor width).
- Confirm the model matches within a tolerance you define (for early concepting, a small percentage may be acceptable; for renovation coordination, tighter is better).
- Watch for compounding error: a small mismatch can become a big problem across multiple rooms.
2) Wall thickness and alignment
Walls are not just lines. A good floor plan converter handles thickness consistently and keeps corners clean.
- Check that exterior walls aren’t thinner than interior partitions (unless the plan indicates otherwise).
- Verify corners meet without gaps or overlaps.
- Look for “double walls” created by misreading hatch patterns.
3) Openings: doors and windows
Openings affect layout decisions more than many people realize (furniture clearance, natural light, and circulation). Validate:
- Door swings (or at least correct door positions if swing is unknown).
- Window placement on the correct wall and with plausible widths.
- Stairs orientation and landing locations if present.
4) Room boundaries and labels
Room detection is helpful for quick edits and materials, but it can fail on open plans or unusual layouts. Confirm the converter:
- Doesn’t “close” open spaces incorrectly.
- Doesn’t split a single room into multiple zones because of furniture or hatch marks.
- Lets you merge/split rooms without redoing the whole model.
Feature checklist: what to look for in an AI floor plan converter
Use this checklist to compare tools without getting lost in marketing language.
| Category | Must-Have | Nice-to-Have |
|---|---|---|
| Scale | Set scale by known dimension | Auto-scale with confidence indicator |
| Editing | Snap-to-wall, move openings, adjust thickness | Constraint-based editing (locks angles/lengths) |
| Recognition | Walls, doors, windows | Stairs, columns, built-ins, symbols |
| Outputs | High-res images | Multiple camera views, style presets |
| Workflow | Versioning or easy duplication for options | Side-by-side comparisons |
| Trust | Clear error correction tools | Confidence heatmaps for detected geometry |
A practical workflow: from 2D image to decision-ready 3D
If you want consistent results, treat conversion like a repeatable process rather than a one-click miracle. This workflow works well with most floor plan converter apps and services.
Step 1: Prepare the plan
- Use the cleanest source available (PDF or scan).
- Crop to a single level and remove distractions.
- Confirm at least one known measurement is visible.
Step 2: Convert and immediately set scale
Even if the tool auto-detects scale, set or verify it yourself using a labeled dimension. This prevents subtle drift.
Step 3: Correct structural geometry first
Before you place furniture or materials, lock the “bones”:
- Fix wall alignment and thickness
- Correct missing/extra walls
- Validate openings (doors/windows)
Step 4: Validate with a mini audit
Run quick checks on 3–5 measurements across the plan (not just one). If one area is off, you may have perspective distortion or a misread scale reference.
Step 5: Create option variants
This is where 3D becomes valuable: duplicate the model and explore alternatives (e.g., kitchen island sizes, sofa orientation, bedroom storage wall). A strong floor plan converter makes iteration cheap.
Step 6: Export for feedback
Export images that answer specific questions:
- Top-down 3D: for layout clarity
- Eye-level views: for feel, openness, and sightlines
- Close-ups: for tight zones (entries, bathrooms, galley kitchens)
Common failure cases (and how to avoid them)
Faint or broken wall lines
AI may interpret gaps as doors or missing walls. Increase contrast and, if possible, use a cleaner source file.
Hatches and textures misread as walls
Flooring patterns or section hatches can create false positives. Prefer plans with clear line weights, or remove fills before exporting.
Curved walls and angled geometry
Some floor plan converter tools approximate curves poorly. If your layout includes arcs, bay windows, or non-orthogonal walls, prioritize a converter with robust manual correction tools.
Multi-level plans on one sheet
Converters can blend levels together. Split pages/levels into separate images before uploading.
Lightweight file hygiene for repeatable results
If you work with multiple plans (client revisions, units in a building, or iterations), naming and organizing your inputs improves traceability. Here’s a simple naming approach you can reuse:
project-name__level-01__source-scan__scale-known-yes__v03.png
project-name__level-01__source-pdf__scale-known-no__v01.pdf
project-name__level-02__source-scan__scale-known-yes__v02.jpg
This makes it easier to remember which file was converted, whether scale was confirmed, and which version you should trust when comparing exports.
Privacy and data considerations
Floor plans can be sensitive (addresses, owner names, security details). Before using a floor plan converter, check:
- Whether uploads are stored, and for how long
- Whether data is used to train models (and if you can opt out)
- Whether exports include hidden metadata you should remove before sharing
If you’re converting plans for clients, build a habit of stripping identifying details from the image (crop out title blocks) unless they’re required for the workflow.
How to decide: the “best” floor plan converter depends on your goal
Choose based on your primary use case:
- Early concepting: prioritize speed, easy edits, and quick variants.
- Renovation planning: prioritize scale controls, dimension checks, and reliable openings.
- Client presentations: prioritize export quality, consistent viewpoints, and lighting/style controls.
- Real estate visualization: prioritize clarity, room labeling, and shareable outputs.
A good floor plan converter is the one that minimizes your “correction time” while preserving the plan’s intent and measurements.
Final takeaway
The fastest way to trust a floor plan converter is to validate it like a measurement tool: confirm scale, spot-check dimensions, fix structural geometry first, then iterate on layout options. When the pipeline is solid, 3D conversion stops being a novelty and becomes a practical decision aid.
If you’re looking for an iOS option to try this workflow, Floor Plan to 3D is one example of an app focused on converting black-and-white 2D plans into dimension-aware 3D renders you can export for presentations.
