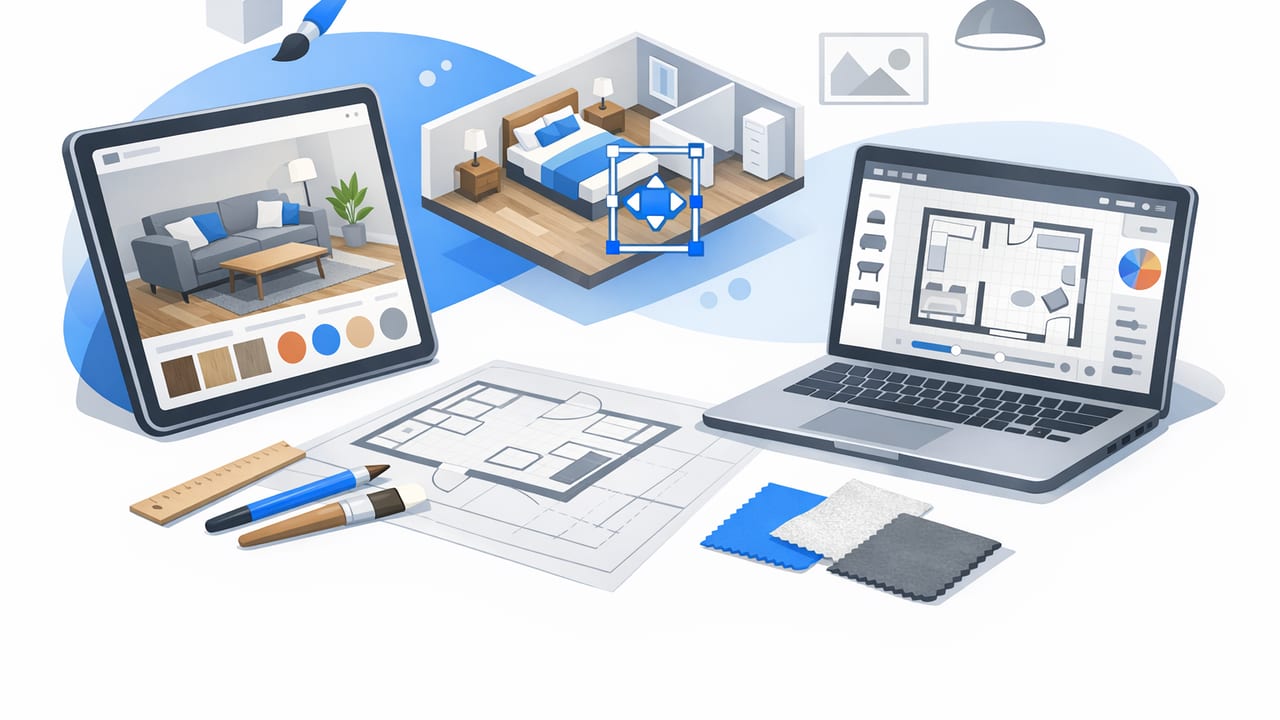
An interior design app can be the fastest way to turn “I think this will work” into “I know this will work”—before you spend money on demolition, cabinetry, flooring, or paint. The best apps do more than place a sofa on a grid: they help you validate layout, scale, and sightlines, and they create 3D renders you can share with contractors, clients, or family.
This guide breaks down what to look for in an interior design app, how to evaluate accuracy when converting a floor plan to 3D, and a practical workflow for renovation previews (interior, exterior refresh, and even empty-room staging).
What “good” looks like in an interior design app
Most apps can drag-and-drop furniture. What separates a truly useful renovation tool is whether it supports decisions that involve real-world constraints: dimensions, circulation space, openings, and how changes ripple through adjacent rooms.
Core capabilities worth prioritizing
- Floor plan conversion: Import a scanned plan or blueprint and convert it to editable 2D/3D.
- Accurate 3D renders: Clean geometry, consistent walls, and believable lighting/materials.
- AI room planner suggestions: Layout ideas that respect room type and typical clearances.
- Dimension-aware editing: Wall lengths, door widths, and furniture sizes you can verify.
- Export options: High-resolution images or shareable files for proposals and presentations.
Key selection criteria: a buyer’s checklist
Use the checklist below when comparing apps—especially if you’re working from a black-and-white plan and need reliable conversion.
1) Accuracy and scale (the deal-breaker)
If the app can’t preserve scale, a beautiful render can still produce expensive mistakes. Look for:
- Dimension capture (reads or lets you enter known measurements)
- Proportion preservation (rooms match the plan, not “auto-corrected” into generic rectangles)
- Label support (room names, notes, and key annotations survive the conversion)
Accuracy is a feature, not an assumption. If you can’t confirm scale in two minutes, you’ll spend hours fixing downstream issues.
2) Floor plan to 3D conversion quality
When importing a blueprint, apps vary widely in how well they detect walls, doors, windows, and stairs. Evaluate:
- Wall continuity: Are walls straight, connected, and consistent in thickness?
- Openings detection: Are doors/windows placed correctly and oriented the right way?
- Room boundaries: Are rooms properly segmented so you can style them independently?
3) Editing speed for real renovation iteration
Renovation planning is iterative: you test, measure, revise, and test again. A strong interior design app should make it easy to:
- Move walls and resize rooms without breaking the model
- Swap materials quickly (flooring, paint, backsplash, siding)
- Duplicate versions (Option A / Option B / Option C)
4) Room planning intelligence (AI that helps, not distracts)
An AI room planner is most useful when it suggests layouts that respect clearances and typical use. Check whether it supports:
- Common layout templates (living room seating groups, bedroom circulation)
- Furniture snapping/alignment tools
- Reasonable defaults for spacing (walkways, door swing clearance)
5) Render realism vs. clarity
For decision-making, you often need both:
- Clarity for layout approvals (clean lines, legible edges)
- Realism for finishes and mood (materials, lighting)
6) Exports for collaboration
Plan ahead for who needs to see your results:
- Contractors may want annotated images and dimensions.
- Clients/family often prefer high-res visuals and simple comparisons.
- Real estate/staging benefits from consistent angles and lighting.
Comparison table: features that matter most
| Feature | Why it matters | What to look for |
|---|---|---|
| Floor plan conversion | Saves hours of manual tracing | Accurate wall detection, door/window recognition, label retention |
| Scale verification | Prevents costly build errors | Dimension entry, measurement tools, consistent units |
| AI room planner | Speeds up layout ideation | Functional suggestions, editable results, spacing-aware placement |
| Material library | Makes finish decisions faster | Floor/wall/cabinet options, easy swaps, cohesive palettes |
| High-res exports | Improves approvals and presentations | HD images, consistent camera views, before/after comparisons |
A practical workflow: from plan to renovation preview
Whether you’re a homeowner, designer, or contractor, this workflow helps you move from “floor plan” to “decision-ready visuals” quickly.
Step 1: Start with the cleanest input you can
- Scan at a readable resolution (avoid skew and heavy shadows).
- Include the entire plan border so scale cues aren’t cropped.
- If possible, use a plan that shows at least one known dimension (e.g., a room length).
Step 2: Convert the plan and immediately validate scale
After conversion, verify one or two known measurements (like a hallway width or a bedroom length). If you don’t have a known measurement, take one quick real-world measurement on-site (laser measure or tape) and use it as your anchor.
Here’s a simple way to sanity-check scale using a single known wall length:
# Pseudocode for a scale sanity-check
known_wall_m = 4.20
measured_in_app_m = 4.05
scale_error = abs(known_wall_m - measured_in_app_m) / known_wall_m

if scale_error > 0.02:
    print("Recalibrate scale before designing")
else:
    print("Scale looks acceptable for layout testing")
Tip: For many renovation decisions (furniture fit, circulation, cabinetry runs), keeping error within ~2% is a practical threshold—then refine as needed for construction docs.
Step 3: Lock the structural layout before decorating
Do your “hard” decisions first:
- Wall moves (open concept, closet expansions, mudroom additions)
- Door swings and openings
- Window placements (especially if you’re changing elevations)
- Built-ins and fixed elements (kitchen runs, vanities, fireplaces)
Step 4: Use AI room planning to generate options—then edit
AI is best for generating a starting point. Treat outputs as drafts and adjust for real constraints:
- Ensure walkways stay comfortable (especially around islands and dining tables).
- Confirm seating sightlines (TV, fireplace, windows).
- Check functional zones (entry drop zone, work-from-home corner, kids’ play area).
Step 5: Test finishes with controlled comparisons
When comparing materials, keep the camera angle consistent. Create “Finish Boards” as versions:
- Option A: light floors + warm white walls + matte black hardware
- Option B: medium oak floors + greige walls + brushed nickel
- Option C: darker floors + bright walls + brass accents
Step 6: Export and annotate for decision-making
Before you send anything out, make the output easier to approve:
- Add labels (Room, Option name, key dimensions)
- Export 2–3 consistent camera angles per room
- Include one “plan view” image alongside perspectives
Common pitfalls (and how to avoid them)
Over-trusting automatic door/window detection
Apps can misread symbols, especially on older plans. Always confirm:
- Door swing direction
- Window height/placement (important for kitchen backsplashes and headboards)
- Stair direction and landings
Ignoring wall thickness and interior clearances
A layout can “fit” on paper but fail in reality when you account for wall thickness, trim, and appliance clearances. If your app supports it, set:
- Wall thickness appropriate to the structure
- Appliance dimensions from manufacturer specs
- Door clearances and furniture pull-out space
Designing in a vacuum (without context)
Interior and exterior decisions connect. A small exterior refresh (paint, siding tone, trim color) can influence interior palette choices, and vice versa. If your app allows exterior visualization, use it to ensure your changes feel cohesive.
Use cases where an interior design app pays off fastest
- Kitchen remodels: test aisle widths, island size, and appliance door swings
- Bathroom layouts: validate shower clearances and vanity spacing
- Open-plan living: define zones with rugs/furniture before moving walls
- Empty-room staging: generate listing visuals that feel proportional
- Exterior refresh: preview color/texture combinations before committing
Quick decision rubric: is this the right app for you?
If you’re choosing between multiple tools, ask:
- Do I need floor plan conversion? If yes, prioritize conversion accuracy and scale tools over furniture libraries.
- Am I presenting to others? If yes, prioritize high-res exports and clean renders.
- Am I testing layout options fast? If yes, prioritize versioning, fast edits, and AI room planner features.
- Is this for construction? If yes, ensure dimensions, measurement tools, and annotation support are strong.
Final thoughts
The best interior design app is the one that keeps your project moving: it converts your plan reliably, helps you test layout and finishes quickly, and exports visuals that make approvals easy. Start by validating scale, lock your structural decisions, then iterate on layout and materials with controlled comparisons.
If you’re specifically looking for an iOS tool that focuses on converting black-and-white floor plans into clean 3D renders with AI-guided redesign ideas, you can explore Floor Plan to 3D & Home Redesign as one option.
