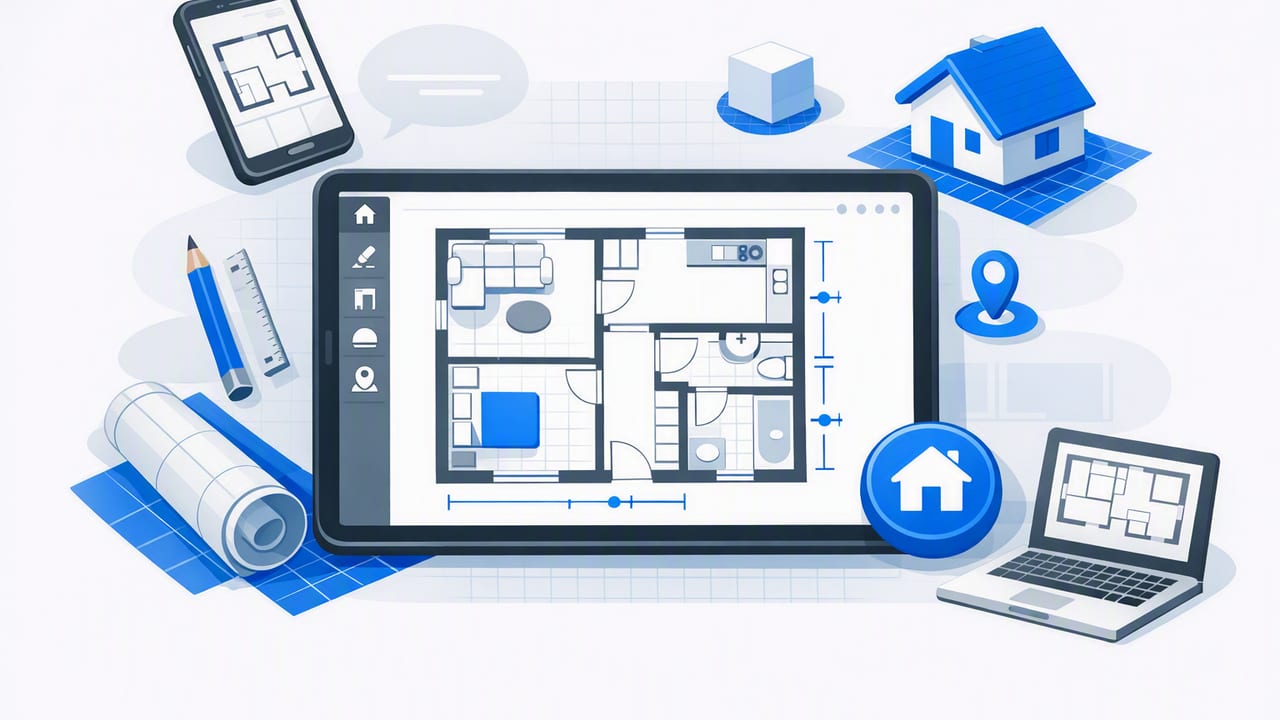
A good floor plan app can save hours of back-and-forth in renovation planning by turning a simple 2D plan into a clear 3D preview you can actually make decisions from. But not all apps treat floor plans the same way. Some focus on drawing from scratch, some focus on scanning and “guessing,” and others prioritize accuracy—preserving dimensions, labels, and proportions so your 3D renders stay faithful to the original layout.
This guide explains how to evaluate a floor plan app for reliable floor plan conversion, realistic 3D renders, and practical home redesign testing—without needing heavy CAD or complex 3D software.
What a floor plan app should help you do (in real life)
Most people don’t need a perfect BIM model. They need a clear way to answer questions like:
- Will opening this wall make the space feel larger?
- Does a sectional fit without blocking circulation?
- What happens if we swap the kitchen layout or add an island?
- How would a new exterior color or cladding look from the street?
That’s why the best floor plan apps combine three capabilities:
- Conversion: bring in a blueprint or black-and-white plan and rebuild it cleanly
- Planning: explore room layouts with guidance (often an AI room planner)
- Visualization: generate fast 3D previews you can share and iterate on
Rule of thumb: If the app can’t preserve scale, it can’t support confident renovation decisions.
Key features to look for in a floor plan app
1) Accuracy controls (scale, dimensions, proportions)
Accuracy is the difference between “inspiration” and “planning.” Look for:
- Scale calibration (set a known measurement so the rest aligns)
- Dimension visibility (so you can verify walls and openings)
- Proportion preservation (rooms shouldn’t subtly stretch when converted)
- Door/window recognition or easy tools to correct openings
If you can’t quickly confirm that a room is 12' x 14' (or 3.6m x 4.2m), your furniture tests and remodel previews can become misleading.
2) Clean floor plan conversion from common inputs
Many renovation projects start with imperfect inputs: scanned PDFs, photos of printed plans, or older drawings with faded lines. A strong floor plan app should handle:
- Black-and-white floor plans with varying line weights
- Blueprint PDFs (including rotated or skewed pages)
- Photos taken at an angle (with correction tools)
- Clutter like notes, hatching, stamps, and symbols
Conversion doesn’t have to be fully automatic—but it should be fast to clean up. The best workflow feels like: import → confirm scale → fix walls/openings → validate dimensions → render.
3) AI room planner guidance that respects constraints
An AI room planner can speed up layout exploration, but only if it respects real constraints. Evaluate whether the app can:
- Suggest layouts based on room type (bedroom, kitchen, living room)
- Consider circulation paths (walkways that don’t get blocked)
- Support multiple options you can compare side-by-side
- Let you lock elements you can’t change (structural walls, plumbing zones)
If the AI ignores your fixed conditions, it becomes a source of attractive but unusable ideas.
4) Renovation previews for both interior and exterior
Many apps are strong indoors but weak outdoors (or vice versa). If your project includes curb appeal changes, check for:
- Exterior refresh options (materials, colors, landscaping context)
- Interior redesign controls (finishes, lighting, furniture, style presets)
- Empty-room staging for listings or concept presentations
5) Export quality and shareability
Even if you’re not a pro designer, you’ll likely share outputs with a partner, contractor, or client. Look for:
- High-resolution 3D images suitable for proposals
- Multiple viewpoints (top-down, eye-level, corners)
- Consistent labeling (room names, dimensions when needed)
- Simple file formats (image/PDF exports) and easy sharing
Quick comparison table: common floor plan app types
| App type | Best for | Strength | Limitations to watch |
|---|---|---|---|
| Draw-from-scratch planner | New layouts, simple rooms | Full control | Time-consuming; easy to lose real-world accuracy |
| Scan-to-3D converter | Fast concepting from existing plans | Speed from PDFs/photos | May “guess” walls; needs dimension checks |
| AI room planner + 3D renderer | Exploring multiple redesign options | Rapid iterations | Can ignore constraints unless you can lock/validate |
| Pro CAD/BIM software | Construction documentation | Highest control and precision | Steep learning curve; heavy workflow for quick previews |
A practical workflow for accurate 3D previews (step-by-step)
Use this workflow to evaluate any floor plan app and to reduce errors in your own conversions.
-
Start with the cleanest input you can
If you have options, prefer a PDF export over a photo. If you must use a photo, shoot in even lighting, square to the page, and high resolution.
-
Calibrate scale using a known dimension
Pick a dimension you trust (e.g., a labeled wall length). Set it first so the rest of the plan stays consistent.
-
Confirm wall thickness and openings early
Wall thickness affects usable space and furniture fit. Double-check door swings and window placements because they drive layout decisions.
-
Validate room sizes before styling
It’s tempting to jump straight to finishes and furniture. Instead, verify that key rooms match the plan. Fix geometry first; decorate second.
-
Create 2–3 layout options
Use AI suggestions (if available) as a starting point, then make manual adjustments. Save each option separately so comparisons stay clear.
-
Render from consistent viewpoints
Choose a repeatable set of camera angles (e.g., entry view, corner view, kitchen-to-living view). Consistency makes differences obvious.
-
Export and review with a checklist
Before sharing, verify dimensions, clearances, and any notes you rely on (like room labels).
Accuracy checklist: what to verify before you trust the 3D render
- Overall footprint matches the plan (length/width proportions)
- Room count and adjacency match (no swapped rooms)
- Door locations and swings are correct
- Window sizes/placement align with elevations or plan notes
- Stairs are placed correctly (rise/run approximations if available)
- Circulation clearance (common targets: ~30–36 in / 76–91 cm paths)
- Kitchen/bath constraints (appliance zones, plumbing walls, ventilation)
Common mistakes when using a floor plan app (and how to avoid them)
Mistake: Trusting “auto-detect” without measuring
Auto-conversion is convenient, but small errors add up. Always anchor your model with at least one verified dimension and spot-check several others.
Mistake: Ignoring wall thickness
If an app defaults to generic walls, you can lose inches/centimeters that matter—especially in compact kitchens, bathrooms, and hallways.
Mistake: Choosing furniture that isn’t to scale
Some asset libraries look great but vary in real-world sizing. Confirm standard sizes (e.g., queen bed, sofa depth, dining clearances) so your staged scenes remain realistic.
Mistake: Using a single render to decide
One pretty angle can hide problems. Render from multiple viewpoints and compare options with consistent camera angles.
Naming and organizing exports for easy collaboration
If you’re creating multiple renovation previews, file organization prevents confusion. Here’s a simple naming scheme you can adopt:
ProjectName_Room_Option_View_Rev
MapleSt_Kitchen_OptionB_View2_R03.png
MapleSt_LivingRoom_OptionA_Entry_R01.png
This makes it easier to review changes with contractors or family members without mixing up versions.
How to test whether a floor plan app fits your needs in 15 minutes
Before committing time to a full remodel concept, do a quick trial:
- Import a plan you know well (even a single room).
- Set scale using one labeled dimension.
- Confirm doors and windows.
- Place two large items (sofa + coffee table, bed + nightstands).
- Generate one 3D render and export it.
If you can complete that flow smoothly—and the result matches reality—you’ve likely found a floor plan app that’s suitable for renovation previews.
Closing thoughts
The best floor plan app is the one that helps you move from “idea” to “decision” with minimal friction and maximum confidence. Prioritize scale accuracy, easy cleanup after conversion, and exports you can share. Then use AI-guided planning as an accelerator—not a replacement—for constraints and common-sense checks.
If you’re looking for a workflow that converts black-and-white plans into clean 3D renders while keeping key details like proportions and labels intact, an iOS tool such as Floor Plan to 3D & Home Redesign can be a practical place to start.
