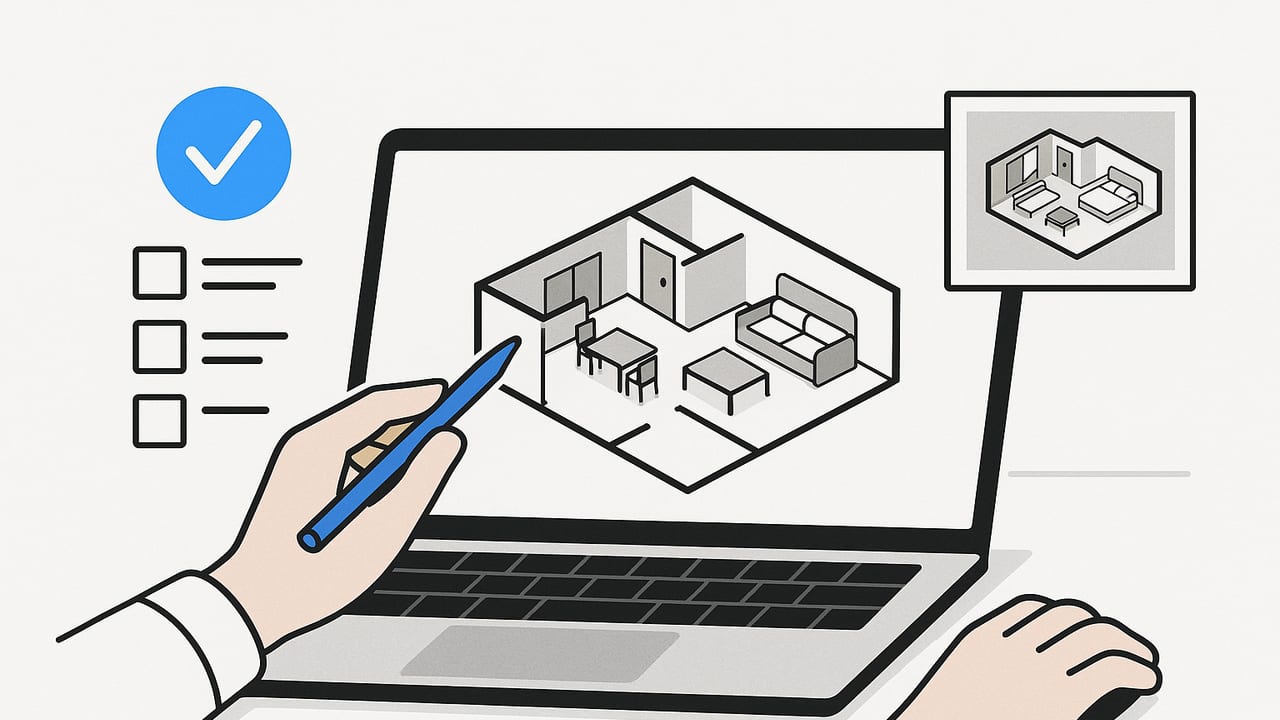
A great 3d floorplan app does more than draw walls. It translates a 2D layout into a true‑scale, navigable space you can understand at a glance, whether you’re a homeowner planning a remodel, a real‑estate professional preparing a listing, or a designer communicating ideas. The right tool saves hours, reduces surprises on site, and creates compelling visuals that match the original plan. This guide explains how to evaluate features, verify accuracy, streamline your workflow, and export high‑quality deliverables—without turning your process into a CAD project.
Core outcomes a 3D floor plan app should deliver
Before you compare buttons and buzzwords, define the outcomes you need. A capable tool should:
- Preserve true scale: Walls, openings, and furniture should match real dimensions within a known tolerance.
- Import 2D sources: Accept scans or photos of black‑and‑white floor plans; ideally detect walls, doors, and windows with AI and let you correct them.
- Handle rooms and levels: Easily model multi‑room layouts, staircases, and multi‑floor projects.
- Offer material and finish controls: Assign flooring, paint, tile, and custom materials to communicate design intent.
- Include a furniture library with real sizes: Place couches, cabinets, and appliances with parametric dimensions or manufacturer‑level measurements.
- Support lighting and shadows: Toggle daylight and interior lighting to create believable renders.
- Export high‑resolution images: Produce top‑down and perspective renders suitable for web, print, and presentations.
- Run smoothly on mobile: Instant feedback as you edit, with reliable autosave and simple sharing.
Accuracy matters: how to verify scale and geometry
Even the most beautiful render is useless if it hides a bad dimension. Treat accuracy as a measurable requirement. Here’s a simple process to validate a new app or a new project:
- Start with a clean plan: Use a high‑contrast, black‑and‑white floor plan. Crop margins, de‑skew, and ensure a known scale (e.g., a labeled dimension line).
- Set the scale once: In the app, use a printed dimension (e.g., a 10' or 3000 mm span) to calibrate. Avoid scaling to small objects like door widths.
- Check three critical spans: Measure a long wall, a medium interior wall, and the total room width. Record the app’s values vs. the plan.
- Stress‑test openings: Verify door and window sizes and their offset from corners; these are frequent error sources.
- Document tolerance: Calculate percentage error: (|measured − plan| ÷ plan) × 100. Decide if it’s acceptable for your use case.
| Use case | Recommended tolerance | Notes |
|---|---|---|
| Real estate listing visuals | ±2–3% | Emphasis on clarity and speed; exact millwork fit not required. |
| Homeowner remodel planning | ±1–2% | Helps decide layouts and furniture; contractor will field‑verify. |
| Interior design concepts | ±1% | Critical for furniture fit and circulation paths. |
| Joinery/cabinet fit checks | ±0.5–1% | Requires careful calibration and manual dimension overrides. |
Pro tip: Always lock scale before furnishing. A 2% error makes a 10' sofa appear 2.4 inches off—just enough to hide a clearance problem.
A streamlined workflow: from 2D plan to polished 3D
1) Prepare the input
- Scan or photograph: Use bright, even light. If photographing, hold the camera parallel to the page to avoid keystone distortion.
- Resolution: Aim for 300 DPI for letter/A4, or at least 3000 px on the long edge for photos. Sharper lines improve AI wall detection.
- Clean the image: Crop borders, rotate if needed, and increase contrast so walls are clearly black/gray on white.
2) Convert and correct geometry
- Run auto‑detection: Let AI detect walls, doors, and windows.
- Fix the essentials: Snap misaligned corners, verify wall thicknesses, and confirm opening swing/size.
- Set ceiling height: Apply typical values room by room if the plan doesn’t specify (e.g., 8'–10' or 2400–3000 mm).
- Name rooms: Label spaces (Kitchen, Bed 2, Hall) for a smoother export and stakeholder review.
3) Furnish with real dimensions
- Use dimensioned assets: Choose furniture with editable width/depth/height to match manufacturer specs.
- Test circulation: Maintain clearances (e.g., 36" around dining tables, 40" for main walkways, 24" for side access).
- Appliances and fixtures: Validate critical fits: refrigerator door swing, washer/dryer clearance, and vanity depths.
4) Apply finishes and lighting
- Materials: Use neutral finishes first for layout evaluation, then swap to proposed materials for presentation.
- Lighting: Compare daytime and night renders. Use soft shadows and avoid over‑saturated lights that distort color.
5) Quality check
- Dimension audit: Re‑measure two long spans and one door set.
- View check: Generate a top‑down plan plus two perspectives per room (one wide, one focal).
- Asset audit: Confirm consistent scale by comparing a known reference (e.g., standard door at 80"/2032 mm).
Speed vs. fidelity: choose by intent
| Scenario | Priority | Recommended features | Suggested outputs |
|---|---|---|---|
| Real estate listing | Speed, clarity | Auto wall detection, quick finishes, daylight render | Top‑down plan + 2–3 hero perspectives at 3000–4000 px |
| Home makeover planning | Accuracy, try‑outs | Editable furniture sizes, material swaps, daylight/night toggle | Top‑down, alt layouts A/B, kitchen/bath close‑ups |
| Design proposal | Fidelity, mood | Advanced materials, soft shadows, camera controls | 6K stills, annotated plan, mood perspectives |
| Contractor coordination | Clarity, references | Room labels, dimension overlays, door/window schedules | Top‑down with dimensions, detailed shots of problem areas |
Mobile vs. desktop: which platform suits you?
Mobile 3D floor plan tools shine for speed and convenience. You can snap a plan, convert it, make edits, and export while on site. They’re ideal for realtors, homeowners, and designers who need to iterate quickly and share results instantly. On the other hand, desktop tools can offer heavier customization, larger libraries, and more rendering controls, which suit photoreal marketing images or complex multi‑unit projects.
- Choose mobile if you prioritize speed, simplicity, and field‑to‑render workflows.
- Choose desktop if you need deep material layers, ultra‑high‑end rendering, or integration with larger BIM/CAD pipelines.
- Hybrid approach: Convert and block on mobile; refine and render on desktop if required.
Exporting deliverables: sizes, views, and naming
Exports should match your audience and channel. Consider these targets:
- Web/listings: 3000–4000 px on the long edge; JPEG at high quality for manageable file size.
- Print presentations: 5000–6000 px; PNG or high‑quality JPEG; avoid over‑compression.
- Top‑down plan: Include room labels and dimensions if the audience expects them; keep line weights crisp.
- Perspectives: One wide shot per room, one focal shot for key features (island, built‑in, view window).
Use consistent, searchable file names and an optional manifest for teams:
{
  "project": "Pinecrest_Reno",
  "units": "imperial",
  "scale_reference": "Living wall 18'-0"",
  "exports": [
    {"view": "Plan_Top", "pixels": 5000, "labels": true},
    {"view": "Kitchen_Wide", "pixels": 4000},
    {"view": "Primary_Bed_Focal", "pixels": 4000}
  ]
}
Common mistakes—and how to avoid them
- Skipping scale calibration: Always set at least one trusted dimension before modeling.
- Modeling from blurry scans: Low contrast confuses wall detection and drifts dimensions. Rescan or enhance first.
- Forgetting wall thickness: Plans often show centerlines; convert to true thickness or you’ll misplace doors/windows.
- Using generic furniture sizes: Replace placeholder pieces with correctly sized assets before finalizing.
- Over‑rendering: If the goal is layout clarity, keep materials neutral and lighting simple to avoid visual noise.
- No QA pass: Measure two spans and one opening every time; it takes a minute and prevents rework.
Privacy, security, and data ownership
Floor plans can be sensitive. Look for:
- On‑device processing or encrypted upload when AI is involved.
- Clear data policies: Your plans and renders shouldn’t be used to train models without consent.
- Local export controls: Ability to delete cloud projects and keep only local copies if required.
A buyer’s checklist for your next 3D floorplan app
- Inputs: Accepts photo/scans; handles skew and contrast; supports multi‑page plans.
- Conversion: Accurate AI wall/opening detection with easy manual fixes.
- Scale: Single‑click calibration using a known dimension; persistent throughout edits.
- Editing: Room naming, multi‑floor support, ceiling heights, wall thickness, stair tools.
- Furnishing: Real‑size library; parametric dimensions; custom objects if needed.
- Materials & lighting: Simple defaults with optional depth for presentations.
- Exports: High‑res stills, top‑down and perspective views, clear labels, predictable file sizes.
- Performance: Smooth on current mobile devices; resilient to large plans; autosave.
- Privacy: Transparent data handling; on‑device or encrypted processing.
- Support: Tutorials, in‑app tips, and responsive help if something goes off the rails.
Putting it all together
A carefully chosen 3D floor plan app gives you confidence in both the idea and the inches. Start with clean inputs, calibrate to a known dimension, verify a few spans, and stage with correctly sized furniture. Export a top‑down plan to communicate layout, then add two or three perspectives to tell the story. Keep it simple when you need speed, and dial up materials and lighting when you need persuasion. If you’re evaluating an iOS option that converts black‑and‑white plans into accurate 3D with high‑resolution exports, consider Floor Plan to 3D as one of the tools to test against your workflow and tolerance targets.
