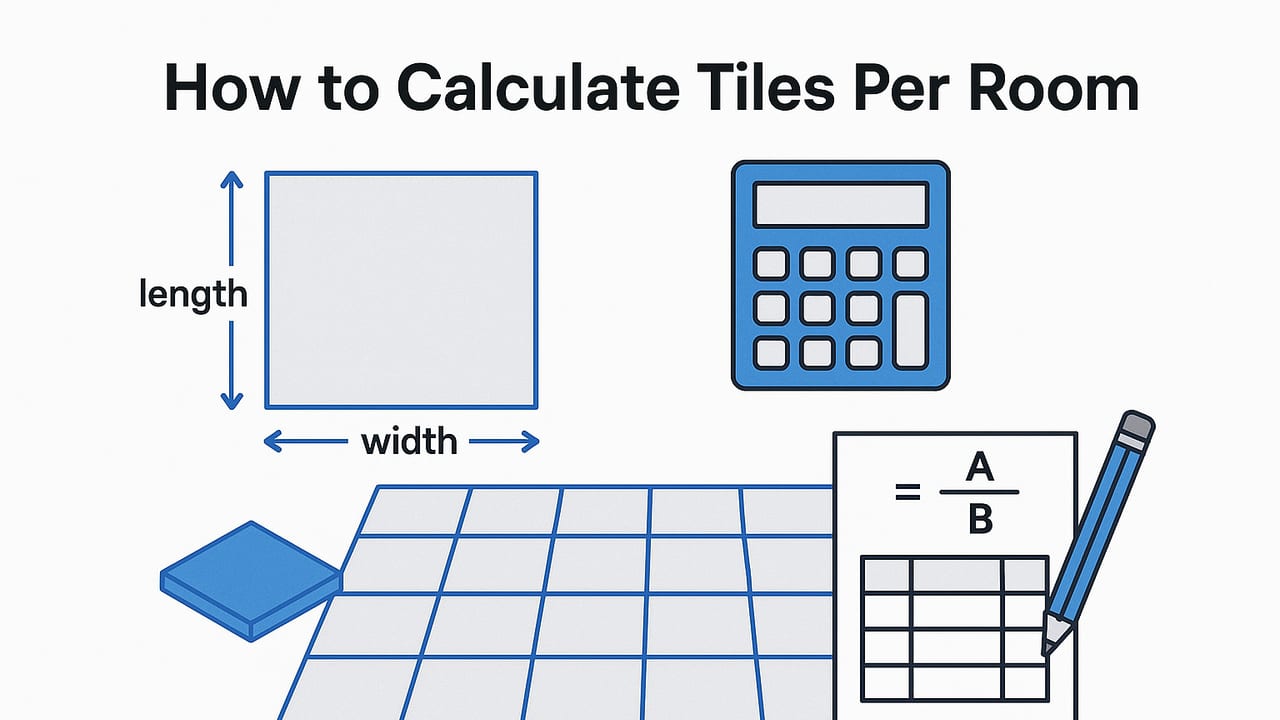
If you’ve ever stood in a tile aisle wondering how many boxes to buy, you’re not alone. Learning how to calculate tiles per room is straightforward once you break it into steps: measure, choose a method (area-based or grid-based), add waste, and convert to boxes. This guide explains both quick and precise approaches, includes real-world examples, and shares waste factors for different patterns so you can buy confidently with minimal overage.
What to Collect Before You Start
- Room dimensions: overall length and width; note any niches, closets, or areas you won’t tile.
- Tile size: length and width of a single tile (use consistent units).
- Grout joint width: needed for the precise grid method.
- Layout pattern: straight (stacked), running bond (brick), diagonal, herringbone, chevron, mosaic sheets, etc.
- Tile orientation and starting point: affects cuts and waste, especially across thresholds.
- Tiles per box or coverage per box: printed on the carton.
Method 1: The Quick Area Method (Fast, Reliable)
This approach is ideal for most rooms and patterns. You calculate total tileable area, divide by the area of one tile, then add a waste percentage for cuts, breakage, and spares.
Formula (use one unit system consistently)
- Room area = length × width (minus any non-tiled areas)
- Tile area = tile length × tile width
- Tiles needed = ceil((Room area ÷ Tile area) × (1 + waste%))
Notes:
- In imperial, convert inches to feet: inches ÷ 12.
- In metric, convert millimeters to meters: millimeters ÷ 1000.
- Waste depends on pattern and room complexity (see table below). For straight layouts in simple rooms, 5–10% is typical; for diagonal or herringbone, 10–20% is common.
Example A (Imperial, rectangular floor)
Room: 12 ft × 10 ft → Area = 120 sq ft
Tile: 12 in × 24 in → 1 ft × 2 ft → Tile area = 2 sq ft
Base tiles = 120 ÷ 2 = 60
Waste (10% for running bond) → 60 × 1.10 = 66
Order at least 66 tiles (then convert to boxes).
Example B (Metric, with exclusions)
Room: 3.5 m × 2.4 m → 8.40 m²
Exclude cabinet footprint: 0.9 m × 0.8 m → 0.72 m²
Tileable area: 8.40 − 0.72 = 7.68 m²
Tile: 600 × 600 mm → 0.6 × 0.6 m → 0.36 m² per tile
Base tiles = 7.68 ÷ 0.36 = 21.33 → round up to 22
Waste (10%) → 22 × 1.10 = 24.2 → round up
Order 25 tiles.
Method 2: The Grid Method With Grout (Most Precise)
The grid method estimates full tiles across each dimension by including grout width in the module size. It’s especially useful when you must align tiles to specific starting points or thresholds.
Formula
- Module length = tile length + grout width
- Module width = tile width + grout width
- Tiles along length = ceil(room length ÷ module length)
- Tiles along width = ceil(room width ÷ module width)
- Base tiles = Tiles along length × Tiles along width
- Total tiles = ceil(Base tiles × (1 + waste%))
Tip: For diagonal or herringbone, use the area method for the base and apply higher waste, or run a quick layout in a design tool and adjust.
Example C (Metric, grid method)
Room: 4.0 m × 3.0 m
Tile: 300 × 300 mm (0.3 m × 0.3 m)
Grout: 3 mm (0.003 m)
Module = 0.303 m
Tiles along length = ceil(4.0 ÷ 0.303) = ceil(13.20) = 14
Tiles along width = ceil(3.0 ÷ 0.303) = ceil(9.90) = 10
Base tiles = 14 × 10 = 140
Waste (5% for straight) → 140 × 1.05 = 147
Order 147 tiles.
Check against area method: 12 m² ÷ 0.09 = 133.33 → 134; plus 5% → 141. The grid method yields a slightly higher count because of how rows and columns round up—useful for ensuring coverage.
How Much Waste Should You Add?
Waste covers offcuts, breakage, color sorting, and a few spare tiles for future repairs. Use the guide below and increase by 5% in rooms with many obstacles (angles, niches, many doorways).
| Layout/Condition | Typical waste allowance | Notes |
|---|---|---|
| Straight (stacked) | 5–7% | Simple rectangular rooms |
| Running bond (brick) | 7–10% | Common with 12×24 or planks |
| Diagonal (45°) | 10–15% | More corner cuts around edges |
| Herringbone/Chevron | 15–20% | Patterned cuts and alignment |
| Large-format tiles | 10–15% | Fewer tiles but bigger offcuts |
| Mosaic sheets | 5–10% | Sheets adapt easily to edges |
Convert Tile Count to Boxes
After you calculate tiles per room, convert to boxes so you can place the order:
- Find tiles per box or coverage per box on the label.
- If you have tiles per box: Boxes = ceil(Total tiles ÷ tiles per box).
- If you have coverage per box: Boxes = ceil(Total area × (1 + waste%) ÷ coverage per box).
It’s smart to keep 2–5 spare tiles after installation for future repairs. Store them labeled with dye lot and brand.
Special Cases and Adjustments
- Diagonal layouts: Use the area method and bump waste to 10–15%.
- Herringbone/chevron: Increase waste to 15–20%; confirm the tile is rectified and suitable for the pattern.
- Plank tiles (e.g., 8×48 in): Warpage limits offset; many installers use ≤33% stagger. Expect 10–15% waste.
- Mosaics on sheets: Counting by area is easiest; sheets usually list coverage per sheet and per box.
- Rooms with niches, islands, or pillars: Subtract non-tiled footprints from area before calculating.
- Transitions: If you’re centering on a focal element (e.g., a tub or doorway), you may prefer the grid method to ensure full tile placements and predictable cuts.
- Walls and showers: For wall tiling, calculate each wall’s area (width × height), subtract openings (windows, niches), and add waste. Ceiling tiling follows the floor process.
Common Tile Sizes and Coverage
Metric reference (no waste)
| Tile size (mm) | Area per tile (m²) | Tiles per m² |
|---|---|---|
| 100 × 200 | 0.02 | 50.0 |
| 200 × 200 | 0.04 | 25.0 |
| 300 × 300 | 0.09 | 11.11 |
| 600 × 600 | 0.36 | 2.78 |
| 600 × 1200 | 0.72 | 1.39 |
Imperial reference (no waste)
| Tile size (in) | Area per tile (sq ft) | Tiles per 100 sq ft |
|---|---|---|
| 12 × 12 | 1.00 | 100 |
| 12 × 24 | 2.00 | 50 |
| 24 × 24 | 4.00 | 25 |
| 6 × 24 | 1.00 | 100 |
| 18 × 18 | 2.25 | 44.44 |
Add your chosen waste percentage to the counts above to estimate actual quantities.
DIY Calculator Snippets (Excel/Sheets and Code)
Excel or Google Sheets (Area Method, Imperial)
Assume:
- A2 = Room length (ft)
- B2 = Room width (ft)
- C2 = Tile length (in)
- D2 = Tile width (in)
- E2 = Waste as decimal (e.g., 0.10 for 10%)
=CEILING( ((A2*B2) / ((C2/12)*(D2/12))) * (1+E2), 1 )Excel/Sheets (Grid Method, Imperial)
Assume:
- A2 = Room length (ft)
- B2 = Room width (ft)
- C2 = Tile length (in)
- D2 = Tile width (in)
- G2 = Grout width (in)
- E2 = Waste as decimal
=CEILING(A2/((C2+G2)/12),1) * CEILING(B2/((D2+G2)/12),1) * (1+E2)Wrap the whole expression with CEILING(…,1) if you want a rounded-up final integer.
Simple Code (Python-like pseudocode)
def tiles_needed_area(room_len, room_wid, tile_len, tile_wid, waste=0.1):
    # All inputs in same unit (ft or m)
    room_area = room_len * room_wid
    tile_area = tile_len * tile_wid
    base = room_area / tile_area
    return math.ceil(base * (1 + waste))

def tiles_needed_grid(room_len, room_wid, tile_len, tile_wid, grout, waste=0.1):
    module_len = tile_len + grout
    module_wid = tile_wid + grout
    n_len = math.ceil(room_len / module_len)
    n_wid = math.ceil(room_wid / module_wid)
    return math.ceil(n_len * n_wid * (1 + waste))
Frequent Mistakes to Avoid
- Mixing units: Keep everything in feet/inches or meters/millimeters—never both in one formula.
- Forgetting exclusions: Subtract areas you won’t tile (built-ins, hearths, stair openings).
- Underestimating waste: Complex patterns and irregular rooms require more overage.
- Ignoring grout in precise counts: For the grid method, always add grout width to the module size.
- Not checking box coverage: Tiles per box and box coverage vary by brand and thickness.
- Skipping spares: Keep 2–5 extra tiles for future repairs; dye lots change and future matches are hard.
- Assuming perfect walls: Out-of-square rooms can shift cut sizes; a dry layout helps validate counts.
Should You Center or Start From a Wall?
Centering on a focal axis often creates balanced cuts on both sides of a room. Starting from the most visible wall can minimize small slivers in conspicuous places. Either choice doesn’t change the total area but affects how many full tiles fit across a dimension—this is where the grid method or a quick dry layout can refine your estimate.
Visualize the Layout Before You Buy
A fast way to check your pattern, grout width, and starting point is to visualize the floor in 3D. If you have a simple black‑and‑white floor plan, the iOS app Floor Plan to 3D can turn it into a dimensionally accurate 3D model so you can test tile orientations and export high‑resolution views for proposals.
Quick Checklist
- Measure room length and width; subtract non-tiled areas.
- Choose tile size and pattern; pick a waste percentage from the table.
- Use the area method for speed; use the grid method for precision with grout.
- Convert final tile count to boxes; add a few spare tiles.
- Validate with a dry layout or a simple 3D visualization.
With these steps and formulas, you can calculate tiles per room accurately, avoid costly shortfalls, and keep leftovers to a reasonable minimum—all while ensuring your layout looks intentional and balanced.
