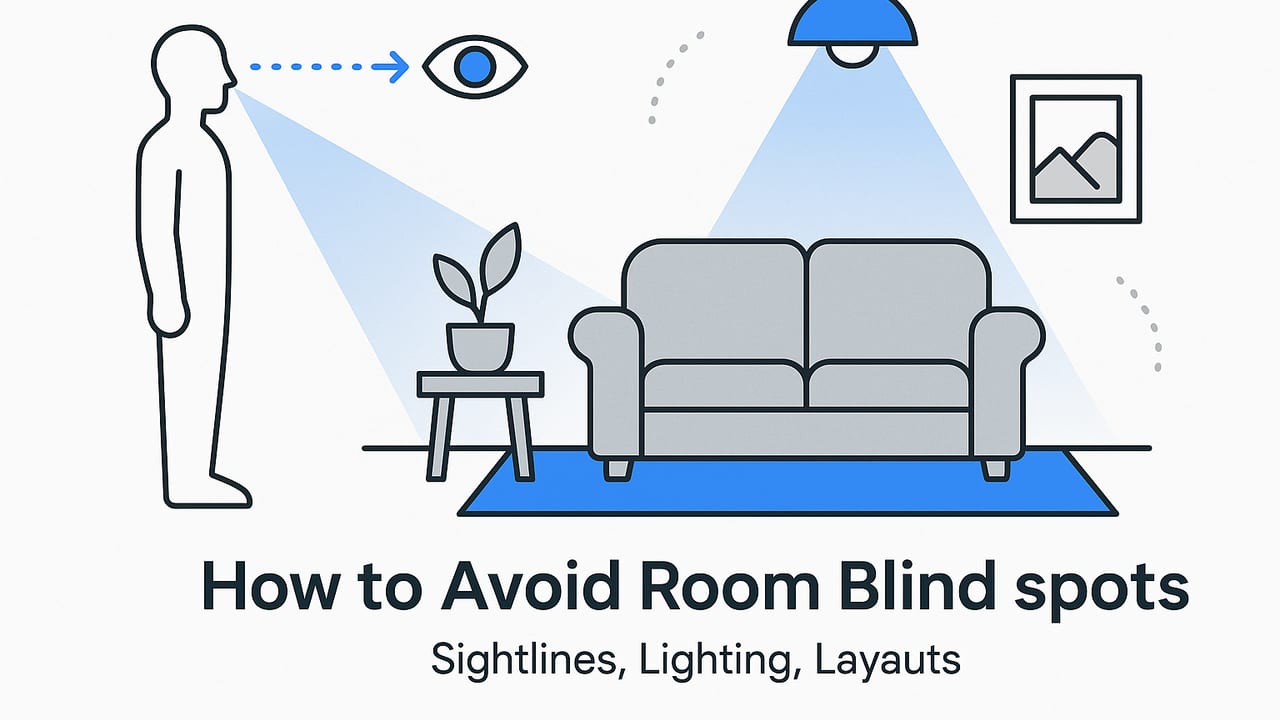
Room blind spots are the hidden corners, blocked views, and dim zones that reduce comfort, safety, and usability. They make it harder to supervise kids, navigate at night, find things on shelves, or enjoy a clean, open feel. Whether you’re planning furniture, renovating, or preparing a space for photos or presentations, learning how to avoid room blind spots pays off with better flow, clearer views, and happier everyday living.
This guide covers how to identify blind spots, model sightlines with simple math, layer lighting to eliminate dark patches, and apply practical layout rules that work in real homes.
What Counts as a Room Blind Spot?
“Blind spot” isn’t only about security cameras. In interior design and planning, it includes:
- Blocked sightlines: Tall furniture or partitions that prevent you from seeing entrances, play zones, or the TV from seated or kitchen work positions.
- Lighting dead zones: Corners, alcoves, and surfaces that stay underlit, creating shadows, poor task visibility, or a gloomy mood.
- Functional blind corners: Cabinet corners that hide items, stair landings you can’t see from the top or bottom, or hallway turns with poor preview of oncoming traffic.
To avoid room blind spots, you’ll map sightlines and light, then tune furniture, fixtures, and finishes to keep views continuous and illumination even.
Map Sightlines First (Isovists Made Simple)
Isovist is a fancy word for the region you can see from a given point. You don’t need complex software to use the concept—just pick key viewing positions (sofa, dining chair, cook’s position, desk chair, entry) and ask: Which parts of the floor, doors, and focal points are visible from there?
To reduce blind spots, plan from two heights:
- Standing eye level: about 62–66 in (157–168 cm)
- Seated eye level: about 44–48 in (112–122 cm)
Trace cones of vision (roughly 60–90° wide) from these points. Where the cones shrink, collide with furniture, or end in darkness, blind spots often lurk.
Design axiom: Keep tall objects at the perimeter, low objects in the center, and ensure at least one clear view path to each door and focal point.
Quick Math to Check Obstruction Heights
You can estimate the tallest object that won’t block a view using similar triangles. If a viewer’s eye height is hv, an obstruction sits L1 away, and the target point behind it is an additional L2 away at height ht (use 0 for the floor), then the maximum obstruction height that preserves sight is:
hmax = hv − (hv − ht) × (L1 / (L1 + L2))
Example: Eye height 60 in; you want to see the floor 10 ft (120 in) behind an object that’s 4 ft (48 in) away. hmax = 60 × (120 / (48 + 120)) ≈ 42.9 in. Keep the obstruction at or below ~43 in to avoid room blind spots in that line of sight. That’s why counter-height islands (~36 in) typically preserve views to play areas or entries.
Simple Visibility Check (Pseudocode)
For the technically curious, here’s a tiny ray-cast concept you can apply on a grid plan to flag occlusions:
# grid: 0 = open, 1 = wall/furniture
# eye at (ex, ey, h_v), target at (tx, ty, h_t)
# obstacles list contains (x, y, h_o, footprint)

def visible(ex, ey, h_v, tx, ty, h_t, obstacles):
    path = sample_points_along_line((ex, ey), (tx, ty), step=0.1)
    total_d = distance((ex, ey), (tx, ty))
    for p in path:
        d = distance((ex, ey), p)
        # height of sightline at point p
        h_line = h_v - (h_v - h_t) * (d / total_d)
        for (ox, oy, h_o, fp) in obstacles:
            if point_in_footprint(p, fp) and h_o >= h_line:
                return False
    return True
You don’t need to code this to benefit from the idea: evaluate a few key lines—couch to entry, cook to couch, parent desk to play area, top-of-stairs to bottom—and adjust obstructing heights or positions.
Furniture Rules to Reduce Visual Occlusion
- Perimeter tall, center low: Place bookcases, wardrobes, and tall plants against walls. Keep center masses (sofas, islands) at or below 36–42 in depending on your critical sightlines.
- Open-backed or low-profile seating: Sofas with low backs or open legs allow deeper views. Use chaises carefully; their high backs can create wedges of blind space.
- Transparent or perforated pieces: Glass, cane, mesh, or open shelving maintains some visibility while zoning space.
- Staggered heights at corners: Step furniture heights down as you approach doorways and corners to keep peripheral views open.
- Door swing awareness: A door parked behind a tall console can hide the approach. Consider pocket, barn, or outswing options if swing arcs create blind zones.
- Mirrors with intent: Mirrors aren’t just decorative; they reflect both views and light. Aim them to reveal entries or brighten alcoves—avoid reflecting glare sources like bare bulbs.
Light the Dead Zones
Even perfect sightlines fail if parts of the room disappear into darkness. Layer your lighting:
- Ambient: General fill light for uniform visibility.
- Task: Focused light on counters, desks, reading chairs, and vanities.
- Accent: Wall washing and highlighting to flatten strong shadows in corners.
Plan for both horizontal illuminance (light on floors and worktops) and vertical illuminance (light on faces and walls). Vertical light improves facial recognition and depth perception—key for safety on stairs and clarity of sightlines through the space.
| Space | Target (fc) | Target (lux) | Notes |
|---|---|---|---|
| Living room | 10–20 | 100–200 | Add wall-wash or floor lamps in corners to avoid dark patches. |
| Hallways | 5–10 | 50–100 | Use spaced sconces for vertical light; keep turns visible. |
| Stairs | 10–20 | 100–200 | Light treads and faces; consider step lights or wall grazers. |
| Kitchen general | 30–50 | 300–500 | Ambient plus undercabinet task lighting for even counters. |
| Kitchen task | 50–100 | 500–1000 | Avoid shadows from pendants by spacing and beam angle. |
| Bathroom | 20–50 | 200–500 | Vertical face lighting at mirrors reduces harsh shadows. |
Notes: Values are typical targets; always consider user needs and local codes.
Daylight Strategy to Reduce Blind Spots
- Diffuse, don’t just add: Sheers, top-down/bottom-up shades, and light-colored walls spread daylight deeper into rooms.
- High reflectance surfaces: Matte light ceilings and upper walls help bounce light into corners without glare.
- Wall-washing near corners: Recessed wall-wash trims or linear grazers soften corner contrast, making edges legible and reducing “black holes.”
- Window adjacency: Avoid tall, dark furniture directly beside windows; it creates stark contrast and perceived blind zones.
Kitchens, Workspaces, and Stairs: Special Cases
Kitchens: Counter-height islands typically preserve views across living spaces, but oversized range hoods or high-backed stools can block lines of sight. Use clear or open-backed stools and right-size hoods. For cabinets, eliminate functional blind corners with solutions like diagonal corners, lazy susan, or LeMans pull-outs. Undercabinet lights aligned near the front edge reduce shadows from upper cabinets.
Workspaces: Position monitors and shelving to maintain a clear view of the door without turning the entire desk away from daylight. Use bias lighting behind monitors to reduce stark contrast that makes surrounding space feel darker.
Stairs: Illuminate both treads and risers with low-glare fixtures. Keep newel posts and railings visually slender near landings to preserve views to the next flight. A window or sconce at the turn removes the sense of a hidden pocket.
Doors, Partitions, and Corners
- Pocket doors: Great for clearing swing arcs that create temporary blind zones. Use full-height or glazed panels to carry sightlines.
- Glazed partitions: Frame views while keeping sound in check. Frosted bands preserve privacy without losing openness.
- Rounded or chamfered corners: Softening corners in millwork or islands improves peripheral visibility and movement flow.
- Corner mirrors or artwork lighting: A small mirror or lit artwork at a turn makes spaces beyond feel present, reducing the sense of hidden space.
Simple Workflow to Audit and Fix Blind Spots
- Mark vantage points: Sofa seats, cook’s zone, desk chair, bed, entries, top/bottom of stairs.
- Draw cones: 60–90° cones from each vantage at seated and standing eye heights. Identify blocked areas.
- Measure critical lines: From each vantage to doors, play zones, TV, and stairs. Use the obstruction-height formula to approve or lower items in the way.
- Re-zone furniture: Push tall pieces to perimeters; keep center low. Check door swings for temporary occlusion.
- Add vertical light: Sconces, wall-washers, or tall lamps at corners, landings, and hallway turns.
- Balance daylight: Use sheers, reflective paints, and avoid bulky items beside windows.
- Test night mode: Walk at night with only pathway and accent lights on. Adjust dimmer scenes to reveal edges and transitions.
- Iterate: Small shifts—3–6 inches in furniture placement or moving a lamp a foot—often remove blind zones entirely.
Common Mistakes That Create Blind Spots
- Oversized sectional backs placed directly between main seating and entries.
- Tall hutches near room corners that already need light and visibility.
- Single overhead fixture trying to do all tasks, causing dark corners and harsh contrasts.
- Door swings that hide corridors or bump into furniture.
- Heavy drapery that steals daylight from side walls and corners.
- Too many opaque screens used to “zone” open plans; prefer low or perforated elements instead.
Quick Reference: Beam Angles, Spacing, Heights
- Wall washing: Use wide beams (60–90°) 18–36 in off the wall to flatten shadows.
- Pendants over islands: Center beams near the island edges to minimize hand shadows; mix with undercabinet lights.
- Corner uplighting: A slim uplight or cove brightens the upper corner, visually eliminating “black holes.”
- Sconce heights: 60–66 in AFF is common to illuminate faces and wall planes evenly.
Why Avoiding Room Blind Spots Improves Everything
- Safety: Better visibility at stairs, doors, and thresholds reduces trips and collisions.
- Supervision: Parents can watch kids from kitchens or desks.
- Comfort: Even light and open sightlines reduce visual fatigue.
- Perceived space: Rooms feel larger when you can see farther and walls are softly lit.
- Photography and listings: Fewer dark corners and cleaner views show spaces at their best.
Tools that Make It Easier
Even a sketch on graph paper helps you avoid room blind spots. For more clarity, visualize your plan in 3D and test different eye heights, furniture heights, and lighting scenes. Many apps can do this; for example, you can import a black-and-white layout and generate a true-to-scale model with Floor Plan to 3D to preview sightlines and lighting before moving a single piece.
Wrapping Up
To avoid room blind spots, start with visibility and light. Keep tall elements at the perimeter, protect key lines of sight with quick obstruction math, and layer ambient plus vertical lighting to fill dark zones. Use mirrors deliberately, choose doors and partitions that don’t create hidden pockets, and audit night and day scenarios separately. Small, precise adjustments often deliver outsized improvements—and transform a room from visually choppy to effortlessly legible.
