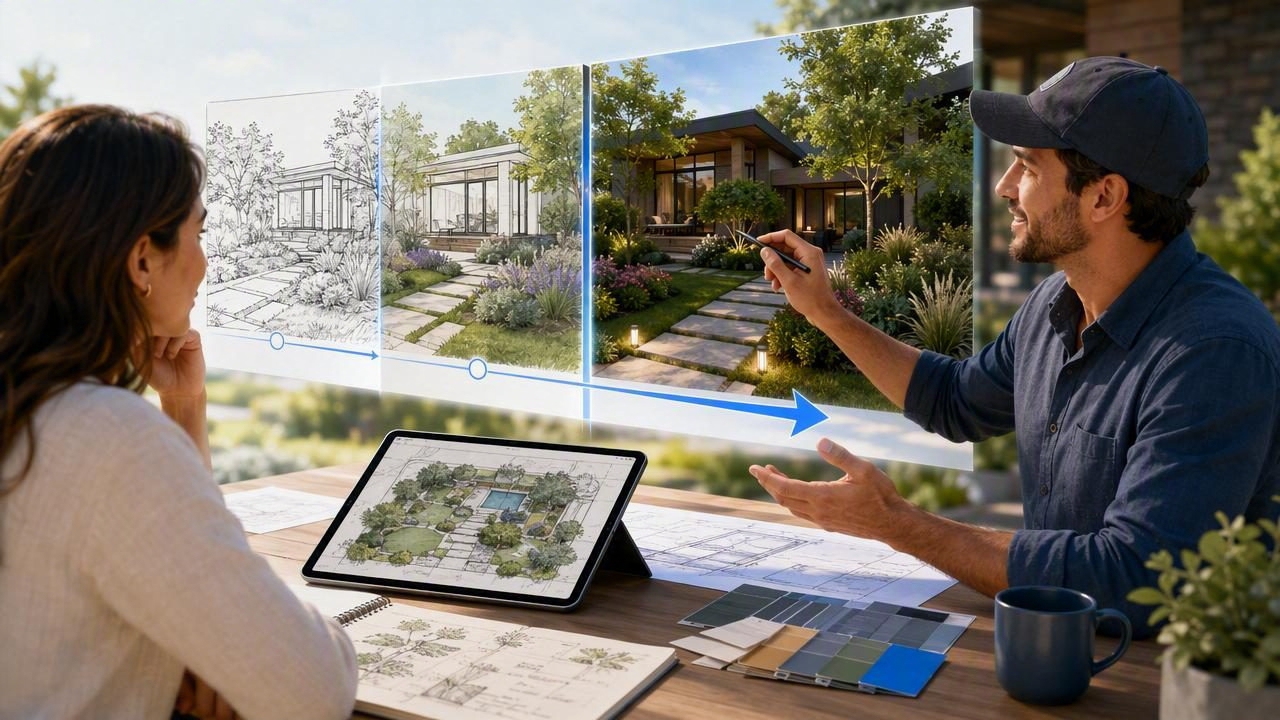
A home style visualizer for landscapers helps turn a client conversation into a clear visual direction. Instead of asking homeowners to imagine a new patio, updated planting beds, refreshed siding, or a redesigned entryway, landscape professionals can show a realistic concept before work begins.
That matters because most landscaping decisions affect more than the yard. A new walkway changes curb appeal. A pergola can alter how a backyard feels. New stone, paint colors, outdoor lighting, and planting choices need to work with the home’s existing architecture. When clients can see those elements together, they can make decisions with more confidence.
This guide explains how landscapers can use home style visualization in their design, sales, and client-approval workflows. It also covers what to include in a concept preview, how to avoid common misunderstandings, and how to use 3D renders and AI-guided ideas without replacing professional judgment.
Why Landscape Clients Need to See the Whole Property
Landscape projects are often difficult for clients to evaluate from plans, material samples, and verbal explanations alone. A homeowner may understand that a contractor proposes pavers, ornamental grasses, and low-voltage lighting, yet still struggle to picture how those choices will look against their roofline, windows, exterior paint, and neighboring structures.
A visualizer bridges that gap. It makes the relationship between the home and the outdoor space easier to understand. This can be especially useful for projects involving:
- Front-yard curb appeal improvements
- Driveway borders, retaining walls, and entry paths
- Patios, decks, fire features, and outdoor kitchens
- Pool surrounds and backyard entertaining areas
- Planting plans that need to complement the home’s style
- Exterior refreshes such as shutters, cladding, trim, or front-door colors
- Vacant new-build yards that need an initial landscape direction
For example, a modern home with dark window frames may benefit from clean-lined concrete pavers, restrained planting masses, and architectural lighting. A cottage-style house may call for curved paths, natural stone, layered perennials, and softer materials. Showing these relationships visually helps clients understand why a particular landscape approach fits their property.
What Is a Home Style Visualizer for Landscapers?
A home style visualizer is a digital planning tool that helps users explore how design changes may look on or around a residential property. Depending on the tool, a landscaper can begin with a photo, a property layout, a floor plan, or a basic site concept. The output may include style suggestions, exterior redesign concepts, room-to-yard connections, or rendered views of proposed upgrades.
For landscaping professionals, the best visualizer is not simply a source of attractive images. It should support a practical workflow: capture existing conditions, define the project scope, test alternatives, present a concept, and document the decisions that move into estimating and installation.
| Planning Method | Best Use | Potential Limitation |
|---|---|---|
| Hand sketch | Fast early discussion and rough ideas | Clients may misread scale or materials |
| 2D landscape plan | Dimensions, planting locations, construction notes | Harder for non-designers to visualize |
| Mood board | Establishing colors, textures, and style | Does not show the actual property layout |
| 3D or AI visualizer | Communicating appearance and comparing options | Must be checked against real measurements |
In many cases, the strongest presentation combines methods. A 2D plan communicates layout and build information, while a visual concept helps the homeowner understand atmosphere, proportion, and style.
How Visualization Improves the Landscape Sales Process
Landscape clients commonly hesitate because they fear making an expensive permanent choice. A clear preview reduces uncertainty by giving them something specific to react to. Rather than saying, “I am not sure about the patio,” a homeowner can say, “I like this layout, but I want warmer stone and more privacy near the fence.” That feedback is useful, measurable, and easier to revise.
Visualization can improve the sales process in several ways:
- It creates a shared design language. Terms such as transitional, contemporary, lush, naturalistic, or formal mean different things to different people. Images clarify intent.
- It reveals objections early. Clients may dislike a color palette, wall height, or planting density before materials are ordered.
- It makes upgrades easier to explain. Lighting, edging, specimen trees, privacy screens, and premium hardscape finishes are easier to assess in context.
- It supports faster approvals. A client with a clear preview is often better prepared to approve a final scope and budget.
- It documents design direction. Approved visuals can serve as a helpful reference alongside construction drawings and written specifications.
A good landscape visual is not a promise that every leaf, shadow, or stone will look identical after installation. It is a communication tool that makes the intended direction easier to understand.
Build a Reliable Visualization Workflow
A professional workflow starts with accurate information. AI-generated concepts can be useful during ideation, but they should not replace site measurement, drainage analysis, utility checks, grading requirements, local codes, or horticultural expertise.
1. Document Existing Conditions
Take straight-on photos of the front and rear elevations, plus wide-angle views that show gates, fences, slopes, mature trees, utility equipment, and neighboring sightlines. Record essential dimensions, including lot boundaries, patio depth, pathway widths, door locations, elevation changes, and fixed features that will remain.
2. Define the Client’s Priorities
Ask questions that connect appearance to use. Does the household want a play area, a low-maintenance garden, better nighttime visibility, more privacy, or a dining area? Is the priority curb appeal for resale, everyday family use, or entertaining? The visual should answer the most important problem first.
3. Choose a Style Direction
Use a small number of clear style references. Examples include modern desert, classic colonial, coastal casual, farmhouse, Mediterranean, or native meadow. Match hardscape textures, planting forms, furniture, and exterior finishes to that direction rather than mixing unrelated ideas.
4. Create Two or Three Meaningful Options
Do not overwhelm clients with endless alternatives. Present options with a purpose: a budget-conscious refresh, a balanced mid-range solution, and a premium transformation. Keep the core site constraints consistent so the client can compare materials, features, and planting intensity fairly.
5. Confirm What Is Conceptual
Label preliminary visuals clearly. Note that plant maturity, seasonal color, lighting conditions, exact product availability, and construction details may change. This protects expectations and reinforces the value of the final plan, estimate, and site review.
Essential Details to Include in an Outdoor Concept
A polished exterior image is useful, but a landscape concept becomes more actionable when it highlights the details a client needs to evaluate. Include the elements that directly influence cost, maintenance, and day-to-day enjoyment:
- Hardscape: patio size, paver or stone direction, steps, edging, and retaining walls
- Planting: tree placement, screening, massing, flower color, and maintenance level
- Function: dining zones, circulation routes, play areas, storage, and gathering spaces
- Lighting: path fixtures, uplights, step lights, and focal-point illumination
- Exterior coordination: paint, trim, doors, fencing, and architectural accents
- Seasonal considerations: shade, drainage, leaf drop, winter structure, and irrigation needs
When relevant, show the view from indoors as well. A patio may look excellent from the property line but block an important sightline from the kitchen, living room, or primary bedroom. Linking interior design and exterior planning creates a more complete home redesign conversation.
Use 3D Renders Without Overpromising
3D renders are valuable because they provide depth, material context, and a better sense of spatial relationships than a flat sketch. However, they need careful presentation. A render should support decision-making, not imply a level of exactness that the project has not yet reached.
Before presenting a visual, verify the basics: house proportions, window and door locations, driveway placement, major trees, and the proposed footprint of patios or structures. If the starting point is a floor plan conversion, confirm that labels, dimensions, and room connections remain accurate before using it to plan indoor-outdoor circulation.
Then separate three categories of information:
- Fixed: measured boundaries, existing structures, and approved project dimensions
- Selected: confirmed materials, fixtures, or plant varieties
- Illustrative: conceptual furniture, mature plant scale, weather, and decorative accessories
This approach makes the presentation more trustworthy. It also reduces costly revisions caused by clients treating a preliminary image as a final construction document.
Common Mistakes When Using AI Landscape Visuals
AI tools can generate inspiring concepts quickly, but they can also introduce errors. Avoid relying on an image that ignores the actual site, local climate, or construction realities.
- Using plants that will not thrive in the client’s hardiness zone or sun exposure
- Showing a mature landscape without explaining the growth timeline
- Ignoring slopes, drainage paths, access routes, and setbacks
- Adding features that do not fit the available space or budget
- Creating a concept that conflicts with homeowners association rules or local regulations
- Failing to distinguish an inspirational image from an approved design
Use AI for brainstorming, visual communication, and rapid style exploration. Use field expertise, measured plans, and detailed specifications for final decisions.
Make Visualization Part of a Repeatable Client Experience
A repeatable process helps a landscaping business deliver consistent presentations without making every project feel generic. Create a simple intake checklist, a library of common style directions, and standard presentation templates. Save approved concept images with notes about the selected materials, desired revisions, and scope assumptions.
For a homeowner, this feels organized and collaborative. For the landscaping team, it reduces back-and-forth messages, gives estimators clearer direction, and helps installation crews understand the intended character of the finished space.
Tools such as Floor Plan to 3D & Home Redesign can be useful when a project needs a quick way to connect an existing plan with interior, exterior, and home redesign ideas before a more detailed landscape package is developed.
Final Takeaway
A home style visualizer for landscapers is most effective when it combines compelling visuals with real-world planning discipline. It helps clients see how outdoor upgrades relate to their house, compare design directions, and make more informed decisions before construction begins.
Use visualization to start a better conversation, not to replace measurement or professional design review. When supported by accurate site information and a clear scope, it can turn a vague wish for a “better backyard” into a practical, confident plan for a more functional and attractive property.
