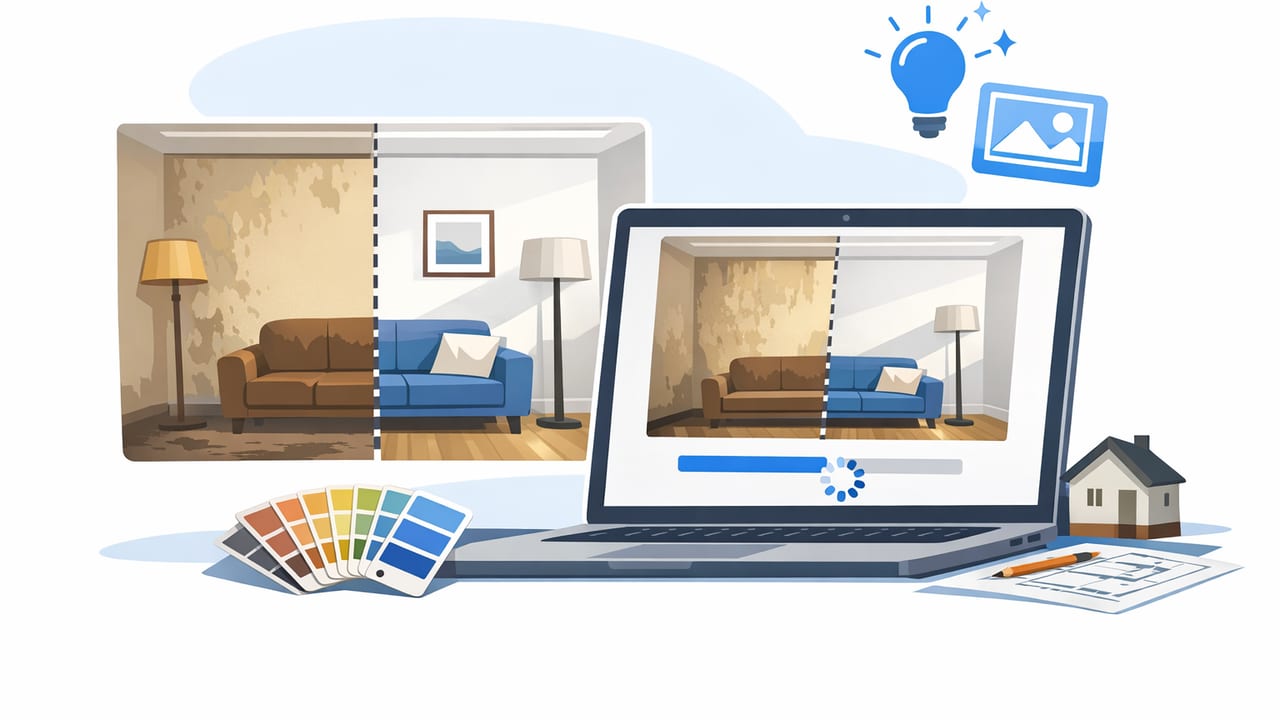
Most renovation regrets come from one problem: you can’t truly see the change until it’s already built. Floor plan PDFs, mood boards, and “trust me” explanations help, but they rarely answer the questions that matter: Will the new kitchen feel cramped? Does the sofa block the walkway? Will the exterior color read too dark in shade?
The good news: you can get a home renovation preview without 3D software—without learning complex CAD tools or paying for weeks of drafting. With modern floor plan conversion, AI room planner workflows, and quick 3D renders, you can test layout and design options early, then share clear visuals with contractors and family before you commit.
What a “renovation preview” should actually show
A useful preview isn’t just a pretty image. It should help you make decisions across four layers:
- Layout: walls, doors, circulation paths, clearances, and room relationships
- Scale: whether furniture and fixtures fit with realistic proportions
- Look & feel: materials, colors, and style direction (interior design and exterior refresh)
- Constraints: structural walls, plumbing stacks, windows, and any “must-keep” elements
When your preview covers these layers, it becomes a decision tool—not just inspiration.
When you want a home renovation preview without 3D software
This approach is especially useful if you:
- Have a black-and-white floor plan, blueprint scan, or real estate listing plan and want a quick 3D sense of space
- Need to compare multiple layout ideas (e.g., open-plan vs. partial wall removal)
- Want AI-guided room planning to try furniture layouts before buying anything
- Need renovation previews for planning, budgeting, or contractor conversations—fast
What you need before you start (simple inputs that boost accuracy)
You can get far with minimal data, but these inputs dramatically improve results:
- A readable plan: PDF, image, or photo scan with dimensions if available
- At least one “known” measurement: a door width, room width, or overall building width for scale checks
- Photos of key rooms: especially kitchens/baths, window walls, and exterior facade angles
- Your constraints list: what must stay (e.g., fireplace, load-bearing wall, plumbing)
- Decision goals: “seat 6 in dining,” “add pantry storage,” “make entry less cramped,” etc.
Tip: If your plan has no dimensions, pick one real-world reference (like a standard 36-inch entry door) and use it as a calibration point when you review the 3D output.
A practical workflow: from floor plan to renovation preview (no heavy tools)
Below is a repeatable process that mirrors how designers think—just simplified and faster.
1) Convert the floor plan into a clean, navigable 3D base
Start with floor plan conversion to generate a basic 3D model: walls, openings, and labeled rooms. The goal is a trustworthy shell you can iterate on. At this stage, avoid getting distracted by finishes—focus on geometry.
2) Verify scale and circulation before choosing finishes
Do a “walkthrough check” using the 3D view:
- Door swings: do doors collide with furniture or each other?
- Main paths: can two people pass in hallways and kitchen work zones?
- Clearances: around island seating, dining chairs, bed sides, and shower doors
If something feels tight in 3D now, it will feel tighter in real life. Fix layout issues before you fall in love with tile.
3) Run AI room planner iterations (layout-first, then style)
Use an AI room planner mindset: generate a few layout variants, then test them. Don’t aim for perfection on the first pass—aim for three decent options you can compare.
Examples of layout iterations worth testing:
- Kitchen: L-shape vs. galley vs. U-shape, island size changes, pantry location
- Living room: TV wall options, sectional orientation, walkway improvements
- Bedroom: wardrobe wall vs. closet expansion, desk placement, bed centering
4) Add finishes and lighting in controlled “packages”
To keep decision-making clear, apply design choices in grouped packages instead of random one-offs:
- Package A (Warm Modern): light oak, warm white walls, brushed nickel, soft black accents
- Package B (Classic): painted cabinets, marble-look surfaces, traditional trim, warmer brass
- Package C (High Contrast): darker base cabinets, lighter uppers, bold lighting, statement tile
This creates consistent renovation previews you can evaluate fairly.
5) Create side-by-side comparisons you can decide from
Don’t rely on memory. Export stills of the same angles for each option (kitchen view to dining, entry to living, primary bedroom from door, exterior front elevation). Then compare them with a simple decision matrix.
| Decision Factor | Option A | Option B | Option C |
|---|---|---|---|
| Walkway flow | Good | Best | Fair |
| Storage gain | Best | Good | Good |
| Daylight feel | Good | Good | Best |
| Estimated complexity | Medium | High | Low |
Comparing preview methods (and why lightweight 3D wins)
Here’s how common approaches stack up when you want speed and clarity.
| Method | Best For | Limitations |
|---|---|---|
| Hand sketches | Early brainstorming | Hard to judge scale and sightlines |
| Mood boards | Style direction | Doesn’t prove layout works |
| Full CAD/3D modeling | Construction-ready precision | Time-consuming; steep learning curve |
| Floor plan to 3D + AI room planner | Fast renovation previews and option testing | Not a substitute for engineering or permit drawings |
Common mistakes that make previews misleading (and how to avoid them)
- Ignoring a single scale anchor: Always verify at least one real measurement so proportions don’t drift.
- Forgetting door and drawer clearances: A kitchen can “fit” but still function poorly.
- Overfurnishing the render: Too much furniture makes any room feel smaller than it is. Start minimal.
- Chasing finishes before layout: If the plan is wrong, the prettiest materials won’t save it.
- Assuming structural changes are simple: Use the preview to explore, then confirm feasibility with a pro.
Practical example: kitchen remodel preview in under an hour
Let’s say you have a dated kitchen and want an island. A fast, no-heavy-software preview could look like this:
- Convert your existing plan to 3D and confirm room size and window positions.
- Make three island variants: 5 ft, 6 ft, and 7 ft lengths; keep 36–42 inches clearance around.
- Export the same camera angle (from the main entry) for each variant.
- Test appliance door swings (fridge, oven, dishwasher) in each option.
- Apply two finish packages only after layout wins (e.g., light vs. mid-tone cabinetry).
The result: you don’t just “like an island”—you pick an island that doesn’t choke circulation.
AI prompt pack (copy/paste) for better redesign ideas
If you’re generating redesign concepts, specificity improves output. Use prompts like these and swap details:
Goal: Create 3 layout options for a small living room.
Constraints: Keep the window wall clear; maintain a 36-inch walkway from entry to kitchen.
Must-have: Seating for 4, space for a 65-inch TV, closed storage for toys.
Style: Warm modern, light wood, neutral textiles.
Output: Label each option and explain the tradeoffs.
Goal: Exterior refresh concept.
Constraints: Keep the roof color; avoid replacing windows.
Must-have: More contrast and better curb appeal.
Style: Clean contemporary with natural textures.
Output: 2 color palettes + where to use each color (siding, trim, door, accents).How to use your previews with contractors and stakeholders
Once you have renovation previews you trust, make them actionable:
- Export a small set of key views: 6–10 images beat 40 random screenshots.
- Annotate decisions: “Keep this wall,” “new opening here,” “cabinet run ends here.”
- Pair visuals with a scope list: what changes vs. what stays.
- Use the preview to ask smarter questions: “Is this wall load-bearing?” “Can plumbing move to this corner?”
FAQ: fast renovation previews
Is a quick 3D preview accurate enough to build from?
It’s accurate enough to choose a direction and catch obvious layout issues early. For construction, you’ll still need verified measurements and professional drawings where required.
What if my floor plan is messy or low-quality?
Prioritize readability: straighten the scan, increase contrast, and ensure walls and room boundaries are visible. Even partial dimension data helps stabilize proportions.
Can I preview both interior design and exterior refresh options?
Yes—interior layouts benefit most from scale and circulation checks, while exterior previews help you evaluate color blocking, material balance, and style coherence before spending on finishes.
Closing: the fastest path to confident renovation decisions
If you want a home renovation preview without 3D software, focus on a reliable 3D base from your floor plan, validate scale early, iterate in a few controlled options, and compare exports side-by-side. That workflow keeps decisions grounded in space and function—not just inspiration.
If you’re looking for an iOS tool that supports floor plan conversion, quick 3D renders, and AI-guided room planning in one place, Floor Plan to 3D & Home Redesign is one option to explore.
