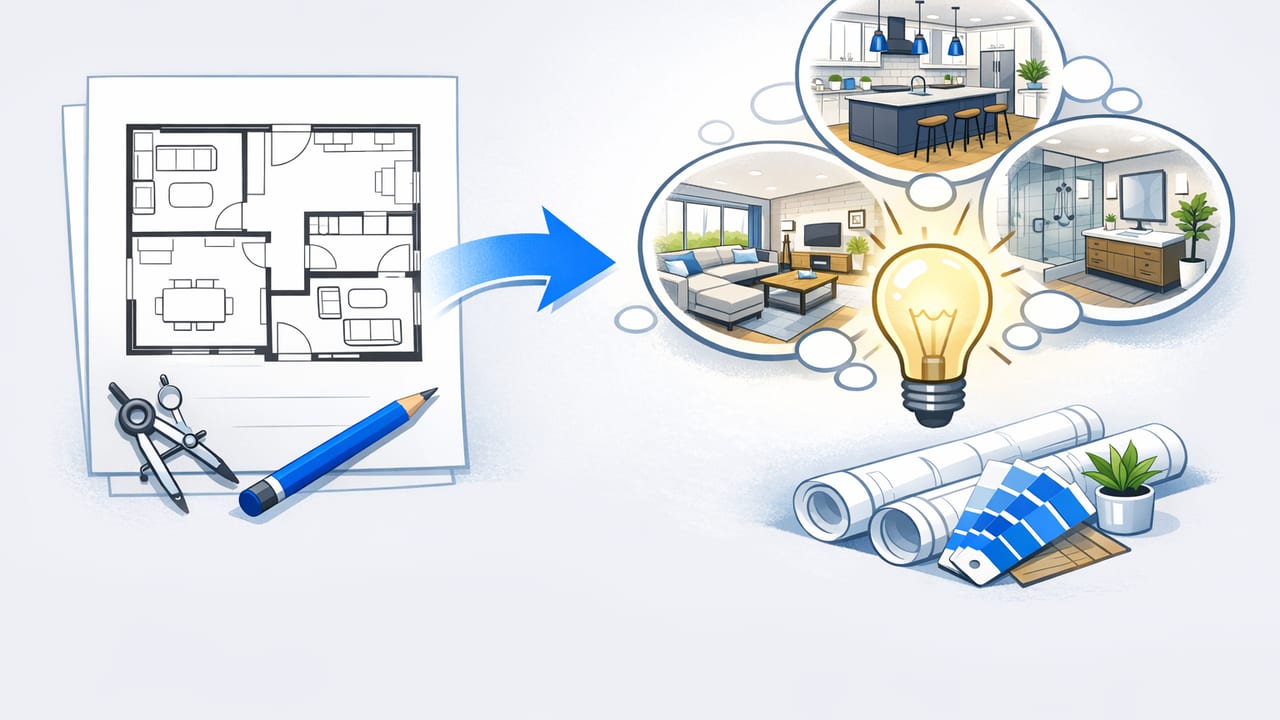
A floor plan is more than a diagram—it’s a decision map. If you know what to look for, you can generate home renovation ideas from a floor plan that are realistic, budget-aware, and less likely to trigger expensive surprises during construction. This guide shows how to read your plan like a designer, translate it into renovation options, and validate those options with quick 3D previews (without needing heavy CAD skills).
Whether you’re renovating a condo, refreshing a family home, or planning a staged redesign for resale, the workflow below helps you move from “What should we change?” to “Here’s the best change for this layout.”
Why a floor plan is the best starting point for renovation ideas
Most renovation regrets happen when ideas are chosen in isolation—picking finishes before confirming flow, storage, light, or furniture fit. A floor plan keeps you grounded in constraints like:
- Circulation: how people move through rooms and hallways
- Adjacencies: what sits next to what (kitchen ↔ dining, bath ↔ bedrooms)
- Proportions: room sizes that determine what furniture and layouts are possible
- Fixed elements: stairs, plumbing walls, columns, window/door placements
Good renovation ideas don’t fight the plan—they amplify what the plan already wants to do well.
Step 1: Mark up your plan for “signals” before you redesign anything
Start by making a copy of your floor plan (printed or digital) and do a quick diagnostic pass. You’re looking for signals—features that suggest high-impact renovation moves.
What to highlight on the plan
- Door swings and pinch points (tight corners, awkward entries)
- Window sizes and which rooms get daylight
- Plumbing clusters (kitchen/bath back-to-back often means cheaper upgrades)
- Underused zones (wide hallways, dead corners, oversize foyers)
- Long sightlines (entry-to-living views can be enhanced with focal points)
Quick “fit test” you can do immediately
Without redesigning, you can validate whether rooms are underperforming by overlaying basic furniture footprints. Here are common minimum clearances to sanity-check:
- Main walkways: ~36 in / 90 cm
- Around beds (one side): ~24–30 in / 60–75 cm
- Dining chair pull-back: ~36 in / 90 cm behind chairs
- Kitchen aisle (work zone): ~42–48 in / 105–120 cm
Step 2: Turn plan signals into targeted renovation ideas (room by room)
This is where home renovation ideas from a floor plan become concrete. Use the plan to generate options that directly solve layout issues, improve function, or add resale value.
| Floor plan signal | What it often means | Renovation ideas to explore |
|---|---|---|
| Oversized hallway or corridor | Wasted square footage | Built-in storage wall, study niche, laundry closet, gallery lighting |
| Kitchen far from dining | Inefficient serving and daily flow | Create pass-through, add pantry near dining, reorient island, widen opening |
| Small bathroom near bedrooms | High-use space with low comfort | Reframe door placement, pocket door, shower conversion, vanity wall optimization |
| Living room with long, narrow proportions | Furniture fights circulation | Two-zone layout, built-in media wall, rotate seating, add slim storage |
| Entry opens straight into main space | Low privacy + clutter | Foyer bench + closet upgrade, slatted divider, drop zone cabinetry |
| Many doors competing on one wall | Hard to place furniture | Change swings, use pocket doors, consolidate openings, add cased openings |
Kitchen: ideas driven by plumbing and clearances
From a plan, the fastest kitchen wins often come from keeping plumbing near its current location while improving work flow.
- Rebalance the work triangle (sink–cooktop–fridge) by shifting appliance placement within the same wall run.
- Add a pantry in underused space: if your plan shows a wide corridor or an adjacent closet, it may convert into tall pantry storage.
- Island vs. peninsula decision: if the plan shows a narrow kitchen, a peninsula can add seating without blocking circulation.
Bathrooms: “door and wall” changes that matter more than tile
Bathrooms look small on plans, but layout tweaks have outsized comfort impact.
- Swap to a pocket door when the swing conflicts with the vanity or toilet clearance.
- Upgrade to a walk-in shower if the plan shows a cramped tub zone but decent shower length.
- Stack plumbing: if a bath shares a wall with laundry or kitchen, prioritize upgrades there for lower cost.
Bedrooms: storage and light, not just paint
- Closet reconfiguration: if your plan shows a shallow closet, consider a reach-in system with sliding doors, or combine two small closets into one functional run.
- Bed wall selection: use the plan to choose the wall that keeps door clearance and avoids blocking windows; this often eliminates “awkward bedroom” feelings.
Living areas: fix the “TV wall” problem using the plan
If your plan has multiple openings (doors, hallways) cutting up the living room perimeter, a renovation idea is to create a continuous wall with built-ins or a partial partition to establish a clear media/focal point.
Exterior refresh: infer facade opportunities from openings
Even if your plan is mostly interior, door and window patterns hint at exterior improvements:
- Entry emphasis: if the entry is recessed or visually weak, add a porch light pair, canopy, or new door style.
- Window rhythm: align curtains, shades, or exterior trim treatments where window sizes vary.
Step 3: Convert your floor plan into a quick 3D test (and why it reduces mistakes)
Once you’ve chosen 2–3 renovation directions, validate them in 3D. A simple 3D render can reveal issues that are hard to see in 2D:
- Does the new kitchen island block the fridge or dishwasher?
- Do sightlines from the entry reveal clutter zones?
- Do room proportions support the furniture you want?
- Do lighting and windows make the space feel balanced?
How to run a “3-option test”
- Option A (minimal change): keep walls, adjust fixtures and furniture layouts.
- Option B (moderate change): widen an opening, rework storage, adjust one functional wall.
- Option C (transformational): open a wall, relocate a door, re-zone the space.
Seeing these side by side helps you avoid spending big money for a change that doesn’t actually improve daily life.
Step 4: Use an AI room planner checklist to keep ideas realistic
An AI room planner can speed up iteration, but the best results come from clear constraints. Before generating or accepting redesign suggestions, confirm these fundamentals:
- Dimensions are readable (or measured) so furniture isn’t scaled incorrectly.
- Labels match reality (bedroom vs. office, storage vs. closet).
- Doors and windows are correct because they control furniture placement and natural light.
- Structural walls are treated as fixed unless you have professional approval.
A simple constraint format (copy/paste) for layout prompts
If you’re using any AI tool to brainstorm layouts, you’ll get better outputs if you describe requirements in a structured way. Example:
Room: Living + Dining (open plan)
Must keep: sliding door to patio clear
Need: seating for 5, dining for 6, hidden storage
Avoid: blocking walkway from entry to kitchen
Style: warm modern, light wood, neutral textiles
Priority: better TV wall + more storage
Step 5: Prioritize renovation ideas with a scoring method
When you have multiple home renovation ideas from a floor plan, choose based on value—not excitement. Use a quick scoring system from 1 (low) to 5 (high):
- Function gain (daily improvement)
- Cost efficiency (impact per dollar)
- Construction complexity (lower is better)
- Resale appeal (if relevant)
- Risk (permits, structural changes, unknowns)
Tip: Many homeowners overvalue “transformational” ideas. The plan often reveals that a door relocation, storage wall, or kitchen flow fix can outperform a full open-concept demo.
Common floor-plan-based renovation mistakes (and how to avoid them)
1) Removing walls without checking what they do
Walls may be structural, contain HVAC, or provide essential furniture placement. In 3D, “open” sometimes reads as “now we have nowhere to put anything.”
2) Designing rooms as islands
A floor plan is a system. A larger kitchen that creates a cramped dining path is not an upgrade. Always re-check circulation after every change.
3) Ignoring door swings
Door swings are a stealth problem: they kill storage potential and ruin furniture layouts. If your plan doesn’t show swings, add them before deciding layouts.
4) Choosing finishes before layout decisions are locked
Finishes are easy to change; plumbing and wall changes are not. Use your plan to lock layout first, then move to materials.
Mini case examples: renovation ideas you can infer quickly
Example A: Wide hallway near bedrooms
Plan clue: hallway width looks generous; bedrooms are standard size.
Ideas: add a linen cabinet, wall-to-wall built-ins, or a compact desk niche. In 3D, test whether it feels like a purposeful “gallery” instead of leftover space.
Example B: Small kitchen with adjacent closet
Plan clue: closet shares a wall with kitchen.
Ideas: convert closet to pantry, or create a coffee/bar station. This often improves function without moving plumbing.
Example C: Living room chopped by multiple doorways
Plan clue: too many openings reduce continuous wall length.
Ideas: change one doorway to a cased opening, add a partial-height divider, or consolidate circulation to one side to “free” a media wall.
FAQ: quick answers for planning from a floor plan
Do I need exact measurements to get useful renovation ideas?
For brainstorming, approximate proportions help. For decisions (cabinetry, built-ins, island sizing), you need accurate dimensions. If your plan is older, verify critical measurements on site.
What’s the fastest way to validate a layout change?
Run a 3D preview with basic furniture and clearances, then do a circulation check (entry → kitchen, bedroom → bath, etc.). If it “pinches” anywhere, revise before pricing.
How many renovation options should I explore?
Three is usually enough: minimal, moderate, and transformational. Beyond that, you often get diminishing returns and decision fatigue.
Putting it all together
A floor plan can generate better renovation decisions than any inspiration board—because it forces ideas to be feasible. Start by marking plan signals, turn them into room-by-room moves, then validate your top options in 3D. This approach keeps your redesign grounded in flow, proportion, and daily function while still leaving room for creativity.
If you want a lightweight way to convert a black-and-white plan into clean 3D renders and iterate on redesign options, an iOS tool like Floor Plan to 3D & Home Redesign can help you test ideas quickly before you commit to drawings or contractor bids.
