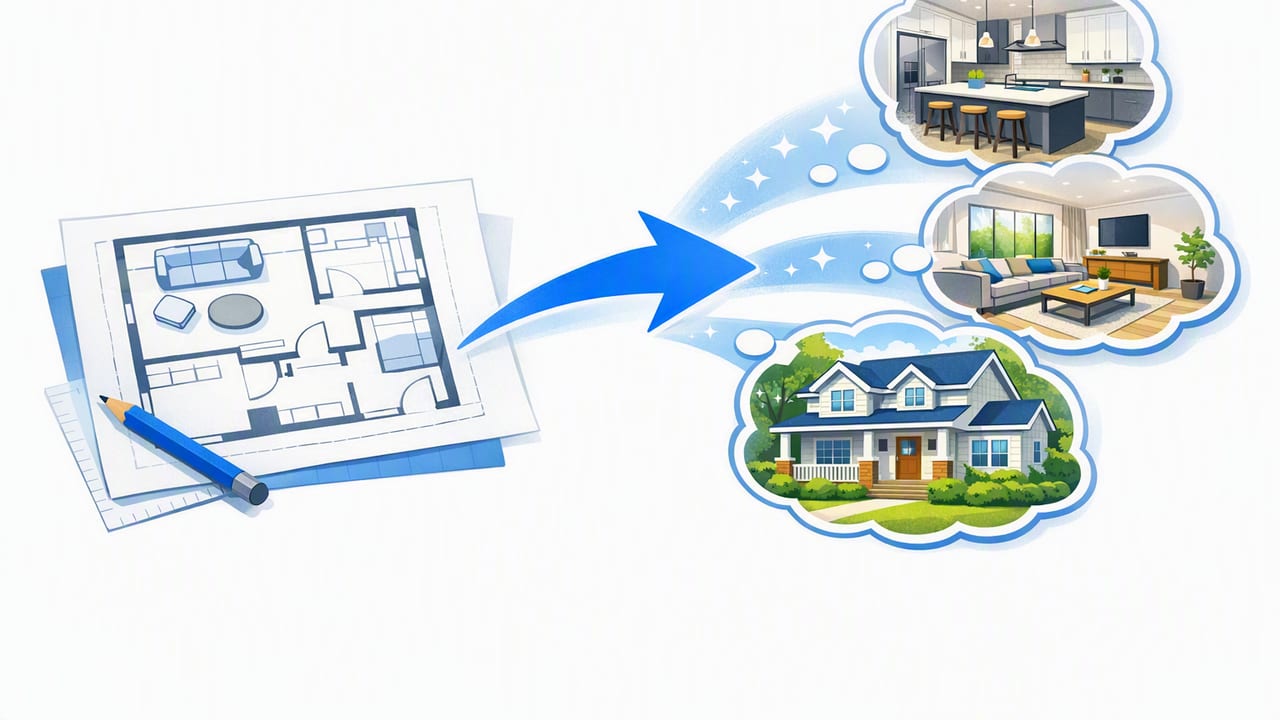
A floor plan isn’t just a drawing—it’s a decision map. If you know how to read it, you can generate home renovation ideas from a floor plan that are realistic, code-aware, and budget-aligned before you pick finishes or call contractors. This guide shows a practical way to go from a black-and-white plan to renovation concepts you can actually test, compare, and present.
Why start with the floor plan (not Pinterest)
Inspiration boards are great for style, but they rarely respect constraints: plumbing stacks, bearing walls, door swings, circulation widths, or window placements. A floor plan already contains the “rules” of your home. When you use those rules first, your ideas become:
- More feasible: You avoid layouts that fight structure or utilities.
- Faster to evaluate: You can compare options by square footage and adjacency.
- Cheaper to iterate: Early changes are easier than mid-construction corrections.
- Easier to communicate: Trades, designers, and lenders understand plans.
Step 1: Extract “non-negotiables” from your floor plan
Before you brainstorm, identify the elements that are expensive or risky to move. Mark them on a copy of the plan (digital or printed) with simple symbols or color codes.
What to mark first
- Plumbing zones: kitchens, bathrooms, laundry, wet bars (look for fixtures, drains, or labeled stacks).
- Structural indicators: thick walls, columns, beams, long spans, stair cores.
- Openings: windows, exterior doors, sliders; note their widths and swing directions.
- Vertical circulation: stairs, elevators, split-level connections.
- Mechanical areas: furnace rooms, closets for air handlers, chimneys/fireplaces.
Renovation creativity increases when constraints are explicit—because you stop redesigning the whole house and start redesigning the right 20%.
Step 2: Turn plan details into renovation opportunities
Once your constraints are visible, use the floor plan to spot typical “value zones” where small layout changes can have a big impact. The table below shows common plan cues and the renovation ideas they unlock.
| Floor plan cue | What it usually means | Renovation ideas to test |
|---|---|---|
| Long hallway with multiple doors | High circulation, low usable area | Borrow space for storage; add cased openings; widen key pinch points; convert to gallery wall + lighting plan |
| Tight kitchen triangle (sink–range–fridge) | Workflow friction | Shift fridge to an outer edge; add prep landing zones; consider peninsula instead of island |
| Bathroom backs up to kitchen/laundry | Shared plumbing wall | Low-cost bath upgrade; add a powder room; stack laundry nearby; create a linen tower |
| Living room “dead corners” | Furniture layout inefficiency | Built-ins; reading nook; fireplace surround refresh; re-center openings to improve seating |
| Small bedrooms with shallow closets | Storage mismatch | Reframe closets; add wardrobe wall; pocket door; combine two small closets into one reach-in |
| Sliding door to backyard near kitchen | Strong indoor-outdoor potential | Create “drop zone” near exterior door; extend patio; add covered pergola; improve sightlines from kitchen |
Step 3: Define your renovation goals as measurable rules
To generate better ideas from a floor plan, translate your goals into rules you can verify on the plan or in a 3D preview.
- Circulation: “Main walkway paths stay at least 36 in (91 cm).”
- Storage: “Add 20 linear feet of closed storage across entry + kitchen.”
- Light: “Primary living area gets layered lighting (ambient + task + accent).”
- Flex space: “Create one room that can be office/guest with a door.”
- Resale: “If adding a bath, keep it near existing plumbing wall.”
Room-by-room renovation ideas you can derive directly from a plan
Entry + circulation: make the first 30 seconds work
Look at the entry door, adjacent walls, and how quickly you hit the living area. If the plan shows a straight shot into the main room or a cramped vestibule, consider:
- Drop zone planning: allocate 18–24 in depth for a bench + hooks, even if it’s a shallow built-in.
- Door swing fixes: if the door collides with a closet or traffic path, test a pocket door or swing reversal.
- Storage wall: convert a long blank wall along a hallway into floor-to-ceiling cabinetry.
Kitchen: improve flow before you change finishes
Most expensive kitchen mistakes are layout mistakes. Use the plan to check distances and landing zones:
- Add landing space: aim for landing zones beside the sink, cooktop, and fridge.
- Rethink islands: on many plans, a peninsula provides similar seating with fewer clearance issues.
- Pantry placement: if the plan shows unused corner area, test a pantry cabinet run instead of deeper counters.
Plan-based tip: If moving the sink requires rerouting a long drain line, keep the sink near the existing plumbing wall and upgrade function with better prep zones instead.
Dining + living: fix furniture logic using dimensions
A floor plan reveals whether your main room can support two zones (seating + dining) without squeezing circulation. Renovation ideas include:
- Widen a key opening: replacing a narrow doorway with a cased opening can make rooms feel connected without fully open-concept demolition.
- Create built-in anchors: media wall, bookcases, or a shallow storage credenza to reduce clutter.
- Relocate a single door: moving a door 12–24 in can unlock a full sofa wall or a larger dining table.
Bathrooms: upgrade impact without moving plumbing far
Floor plans often show bathrooms stacked or adjacent—your best opportunity for cost-effective upgrades. Ideas to test:
- Swap tub/shower configuration: keep drain location but change enclosure type (tub-to-shower, larger shower, niche placement).
- Add a linen tower: reclaim space from an oversized vanity run.
- Create a powder room: if a closet backs to plumbing, it may be a candidate.
Bedrooms: add function by editing closets and doors
When bedrooms feel small, it’s often a closet or door-swing problem rather than pure square footage. Use the plan to locate conflicts and try:
- Reach-in optimization: widen the closet and switch to sliding doors to reduce swing conflicts.
- Wall-bed or daybed layout: in a guest/office, the plan can confirm whether a Murphy bed leaves enough aisle width.
- Sound improvements: if a bedroom wall borders the living room, consider adding insulation during remodel.
Laundry + utility: reclaim “invisible” square footage
On many plans, laundry is placed for convenience, not quiet. If it sits on a main path, consider a reconfiguration that reduces noise and visual clutter:
- Closet laundry: stack units behind doors with overhead storage.
- Mudroom hybrid: combine laundry + entry storage if the plan shows a door from garage/backyard.
- Add a folding counter: even 18–24 in depth can change usability.
Exterior refresh ideas you can infer from the plan
Even without elevations, a floor plan tells you where the facade “works” and where it doesn’t—based on door/window rhythm and how rooms connect to outside.
- Improve indoor-outdoor use: if the plan shows the kitchen near the backyard, consider widening the opening (where feasible) or adding a larger slider.
- Create a defined entry: if the front door opens into a large room, a small covered porch or sidelight arrangement can make the entry feel intentional.
- Outdoor zones: align patio or deck zones with interior functions (dining near kitchen, lounge near living room).
How to test ideas quickly with 3D previews (without heavy software)
Once you have 2–3 layout concepts, it helps to preview them in 3D so you can judge proportion, sightlines, and furniture fit. A simple workflow:
- Clean the plan: ensure walls and labels are readable, and dimensions are visible.
- Create variants: duplicate the plan and make one change per version (e.g., “peninsula kitchen,” “island kitchen,” “kitchen + pantry wall”).
- Stage lightly: add only key furniture pieces to verify scale and circulation.
- Export a comparison set: one image per option, same camera angle, so trade-offs are obvious.
Optional: an AI room-planner prompt template
If you use an AI room planner or redesign assistant, your results improve when you describe constraints and measurements found on the floor plan. Here’s a reusable prompt structure:
Goal: Generate 3 layout options based on this floor plan.
Constraints:
- Keep plumbing fixtures on the same wall where possible.
- Maintain main walkways at least 36 in (91 cm).
- Do not remove structural walls/columns.
- Preserve window and exterior door locations.
Priorities:
1) Add storage near entry and in kitchen.
2) Improve kitchen workflow and dining seating for 6.
3) Create a flexible office/guest zone.
Output:
- Option A/B/C with a short rationale
- Key dimensions to verify
- Suggested furniture sizes
Common mistakes when generating renovation ideas from a floor plan
- Ignoring door swings: a perfect furniture plan fails if doors collide or block circulation.
- Over-opening walls: open concept can reduce usable wall space for storage and furniture.
- Moving wet areas too far: relocating kitchens/baths across the home can balloon cost and complexity.
- Underestimating clearance: islands, dining chairs, and bed access all need realistic spacing.
- Choosing finishes before layout: layout decisions drive the biggest performance gains.
A simple decision checklist before you commit
Use this quick checklist to choose between competing concepts:
- Function: Does the plan fix the top 2 daily frustrations?
- Flow: Are circulation paths clear without squeezing key rooms?
- Cost risk: How many structural or plumbing moves are required?
- Storage: Did you add storage where clutter currently forms?
- Light + views: Did the changes improve access to windows and outdoor connection?
Bring it together: from floor plan to confident renovation direction
The best home renovation ideas from a floor plan come from a repeatable method: extract constraints, translate goals into measurable rules, generate a few targeted layout variants, and preview them before committing. You don’t need to redesign the entire home—just identify the leverage points your plan reveals.
If you want to speed up the “plan-to-preview” step on iPhone, tools like Floor Plan to 3D & Home Redesign can help convert a scanned plan into quick 3D renders for comparing options and presenting concepts clearly.
