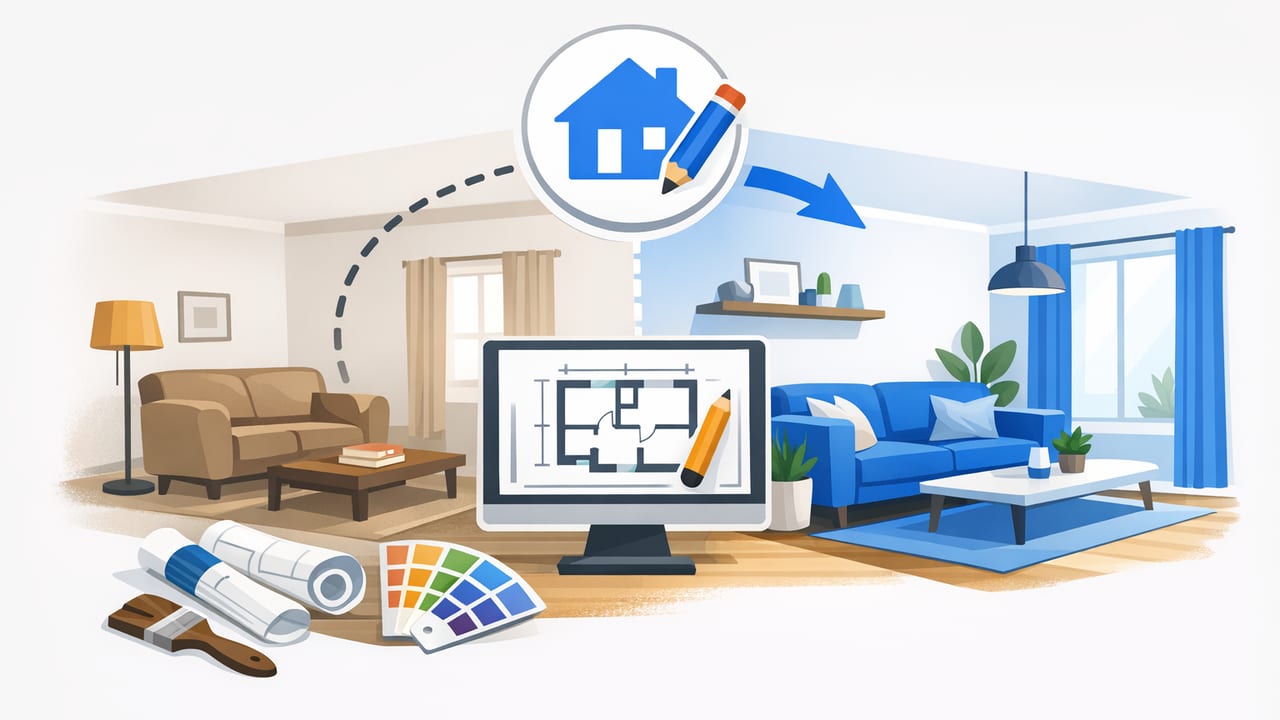
A successful home redesign is rarely about one big idea—it’s about a series of small, verifiable decisions that stack up: where walls really land, how circulation feels, whether furniture fits, and how materials read under light. The fastest way to reduce expensive surprises is to start from what’s already true: your existing floor plan (or blueprint), then move step-by-step into a 3D preview you can evaluate like a real space.
This guide walks through a practical workflow that designers, homeowners, and remodelers use to go from 2D plan to 3D decisions—without getting stuck in heavyweight modeling. You’ll learn what to validate first, what to ignore until later, and how to keep your redesign grounded in accurate dimensions.
Why “plan-first” beats “Pinterest-first” for home redesign
Inspiration boards are useful, but they’re not a layout. The most common redesign problems happen when style choices are made before spatial constraints are understood:
- Furniture that doesn’t clear walkways (especially around islands, dining tables, and sofas)
- Doors that collide with cabinets or fixtures
- Overbuilt features that shrink rooms (too-deep built-ins, oversized vanities)
- Lighting plans that don’t match ceiling heights or sightlines
A plan-first approach flips the order: validate the geometry, test the layout in 3D, then commit to finishes. You still get creativity—just with guardrails.
The core workflow: from 2D floor plan to confident redesign
Step 1: Start with a clean source plan (and fix the “usual” errors)
Your source might be a scanned black-and-white plan, a photo of a blueprint, or a PDF from a prior renovation. Before you convert anything into 3D renders, do a quick accuracy pass:
- Check scale: confirm at least one known dimension (e.g., a 36-inch door, a 60-inch tub).
- Confirm wall thickness assumptions: older plans may not match modern framing or may omit finishes.
- Verify openings: window and door widths are often “symbolic” on older drawings.
- Note ceiling heights: they drive lighting, cabinetry, and proportions in 3D.
Rule of thumb: If two or three dimensions on the plan don’t reconcile, treat the plan as a layout reference—not a measurement authority—until you field-verify.
Step 2: Convert the plan to a simple 3D massing model
For home redesign, your first 3D pass should be intentionally “boring.” Think walls, openings, and ceiling heights—no fancy decor yet. The goal is to answer: Does the space read the way we think it does?
This is where floor plan conversion pays off: by keeping proportions consistent, you can quickly evaluate sightlines, dead corners, and the true size of rooms.
Step 3: Define the redesign goal (one sentence only)
Most redesigns fail because the scope keeps mutating. Write a single sentence that can be used to say “no” to distractions. Examples:
- “Open the kitchen to the dining area while keeping a walk-in pantry.”
- “Create a primary suite with better storage and a larger shower.”
- “Improve curb appeal without changing the roofline.”
Everything you test in 3D should support that sentence.
Step 4: Test layout moves in order of impact (not aesthetics)
Use your 3D model to run layout experiments in a high-to-low impact sequence:
- Structural and plumbing constraints (load-bearing walls, stacks, venting)
- Circulation paths (main routes from entry → living → kitchen → bedrooms)
- Storage “truth” (closets, pantry depth, garage drop zones)
- Light and views (window alignment, furniture facing, TV glare)
- Furniture fit (sofas, beds, dining clearances)
Only after these are stable should you invest time in style exploration.
Clearances that make or break a redesign
If you want your home redesign to feel effortless, you need boring numbers. Below are practical clearance targets commonly used in planning. Treat these as starting points (local codes and accessibility needs may require more).
| Area | What to verify | Practical target |
|---|---|---|
| Hallways | Comfortable two-way movement | 36–42 in (wider feels premium) |
| Dining | Chair pull-back + pass-through | 36 in behind chairs (48 in ideal) |
| Kitchen aisles | Between counters/island | 42 in minimum, 48 in for two cooks |
| Living room | Main walk path around seating | 30–36 in clear |
| Bedroom | Bed side clearance | 24 in minimum, 30–36 in comfortable |
When you preview in 3D, these clearances are easier to feel than to compute—and that’s exactly the point.
Using an AI room planner without losing control
AI room planner tools can accelerate options for layouts, furniture groupings, and even exterior refresh concepts—but only if you treat suggestions as drafts, not answers. A reliable pattern is:
- Constrain inputs: room type, approximate dimensions, must-keep elements (windows, doors, fireplace).
- Generate multiple variants: aim for 6–12 quick options rather than perfecting one early.
- Score options against your one-sentence goal: if it doesn’t improve the core goal, discard it.
- Lock the layout, then iterate finishes: keep geometry stable while exploring materials.
The best use of AI in home redesign is reducing the “blank page” problem—so you can spend your human judgment on what matters: function and feel.
Interior vs. exterior redesign: what changes in your process
Interior redesign
Interior work benefits most from floor plan conversion and 3D renders because interior comfort is driven by adjacency and circulation. Prioritize:
- Room relationships (kitchen ↔ dining, laundry ↔ bedrooms)
- Storage strategy (built-ins, closets, drop zones)
- Lighting layers (ambient, task, accent)
Exterior refresh
Exterior home redesign is more about proportion, rhythm, and material continuity. A quick 3D preview helps you test:
- Color blocking (siding + trim + accent)
- Entry emphasis (porch, awning, stair geometry)
- Window trim and shutters (scale matters more than people expect)
- Landscaping massing (foundation plantings can “fix” awkward proportions)
If you’re choosing between interior and exterior first, pick the one that unlocks the biggest daily benefit (interior) or the biggest resale/perception impact (exterior). Many projects do both—but sequencing keeps decisions coherent.
A simple “options matrix” to avoid redesign paralysis
When you have several viable concepts, use a lightweight scoring table to decide. Here’s a framework you can copy:
| Option | Meets core goal (1–5) | Build complexity (1–5) | Cost risk (1–5) | Daily usability (1–5) | Total |
|---|---|---|---|---|---|
| A: Remove wall + add island | 5 | 3 | 3 | 5 | 16 |
| B: Keep wall + add pass-through | 3 | 2 | 2 | 3 | 10 |
| C: Full kitchen relocation | 4 | 5 | 5 | 4 | 18 |
Higher totals don’t automatically win—sometimes “complexity” and “cost risk” should be weighted more heavily. But scoring makes trade-offs visible and keeps the team aligned.
Practical example: redesigning an empty room without guessing
Imagine you have an empty 12' × 14' room that needs to serve as a guest room + office. In 2D, it’s easy to assume it will work. In 3D, you can quickly discover:
- The desk blocks the window if placed on the long wall.
- A queen bed leaves a tight pinch point at the door swing.
- Switching to a full bed restores circulation and allows a wardrobe.
This is the real advantage of 3D: it reveals conflicts early—before you buy furniture, run electrical, or commit to built-ins.
Document your redesign so contractors can build it
A clean concept can still fail if it isn’t communicated. As your home redesign stabilizes, capture these deliverables:
- Annotated floor plan: labels, key dimensions, and notes (what changes, what stays).
- 3D views: at least one view per room showing the intended layout.
- Finish schedule: flooring, paint, cabinetry, countertops, hardware.
- Lighting intent: fixture types and locations (even if final models change).
If you like structured documentation, you can maintain a simple “room spec” format. For example:
{
  "room": "Primary Bedroom",
  "must_keep": ["window location", "closet wall"],
  "layout": {
    "bed_size": "king",
    "nightstands": true,
    "dresser_wall": "north"
  },
  "finishes": {
    "floor": "oak (natural)",
    "walls": "warm white",
    "accent": "textured fabric panel"
  },
  "lighting": ["overhead ambient", "bedside reading", "closet LED"]
}
This level of clarity helps anyone—designer, builder, or spouse—understand what “done” looks like.
Common mistakes to avoid in home redesign previews
- Over-detailing too soon: finishes are fun, but lock layout first.
- Ignoring real furniture sizes: always use realistic dimensions, not “approx.”
- Forgetting door swings: doors are silent troublemakers in tight spaces.
- Designing in isolation: check how changes affect adjacent rooms and exterior elevations.
- Not saving versions: keep iterations so you can roll back when a “great idea” isn’t.
Putting it all together
The most reliable home redesign process is iterative and evidence-based: convert your plan, validate dimensions, preview layouts in 3D, and only then refine style. When you use 3D renders as a decision tool (not just a pretty picture), you reduce rework, protect your budget, and end up with a space that functions as well as it looks.
If you want a lightweight way to test this workflow on iOS—especially for floor plan conversion, quick 3D renders, and AI-guided layout ideas—an app like Floor Plan to 3D & Home Redesign can be a practical starting point for early-stage previews.
