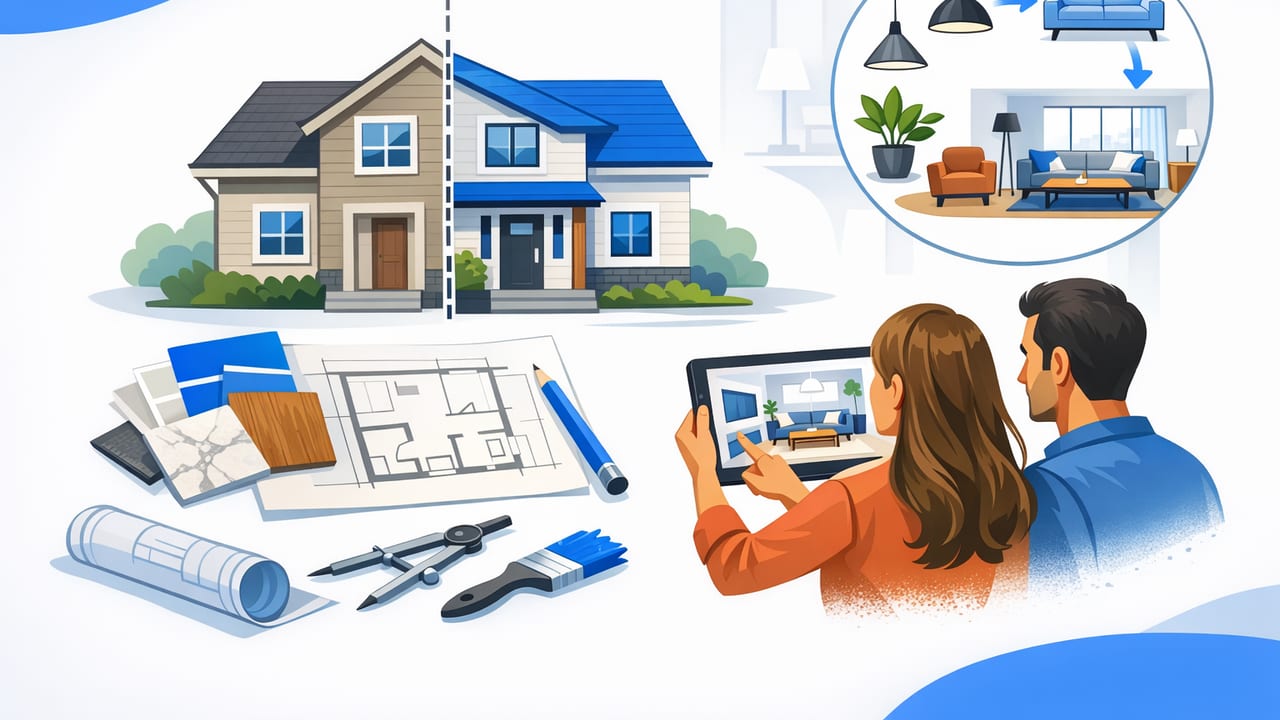
Home redesign is rarely limited by creativity—it’s limited by uncertainty. Will the new kitchen layout feel tight? Will opening a wall actually improve flow? Will a “simple” exterior refresh look balanced from the street? Most costly mistakes happen when decisions are made from flat references: a 2D floor plan, a mood board, or a few inspiration photos that don’t match your proportions.
A practical way to reduce that uncertainty is to shift your process to 3D-first planning: convert your existing plan into a clean 3D model, then test options (layout, storage, materials, lighting, and even exterior changes) before you commit to construction. This guide breaks down a realistic workflow that homeowners, agents, and renovation-minded teams can follow—without needing heavy 3D software.
Why “3D-first” is the missing step in many home redesign projects
Traditional redesign planning often jumps from “idea” to “demo” with a thin layer of drawings in between. A 3D-first approach adds a decision layer that’s easy to understand and easy to share with contractors and family members.
- Clarity: You can feel scale, circulation, and sightlines—things a 2D plan can’t communicate well.
- Faster iteration: Swapping layouts or finishes in 3D is quicker than revising drawings after bids.
- Fewer surprises: You catch “paper wins” that fail in real space (clearances, door swings, pinch points).
- Better alignment: Everyone reacts to the same visual reference, not their own mental picture.
“Most redesign friction isn’t about taste—it’s about two people picturing two different rooms.”
The core workflow: from existing layout to confident home redesign
The most dependable home redesign workflow has four phases: capture, convert, test, and communicate.
1) Capture: start with the best possible source plan
Your results depend on what you feed the process. If you have choices, use the most reliable source:
- As-built floor plan with dimensions (best)
- Builder blueprint / permit drawings
- Real estate floor plan (often simplified)
- Hand sketch with measurements (works if careful)
Capture tips that improve accuracy:
- Include at least one known measurement per major room (e.g., wall length).
- Keep scans high-contrast and squared (avoid angled photos that warp lines).
- Make sure labels are readable (Kitchen, Bath, etc.) so rooms don’t get misclassified.
- Note structural walls, columns, fireplaces, and stair directions—these drive redesign feasibility.
2) Convert: turn 2D information into a clean 3D baseline
The goal of conversion isn’t photorealism—it’s a truthful baseline that preserves proportions and key constraints. A good baseline 3D model should:
- Match the plan’s room sizes and wall positions.
- Respect openings (doors/windows) and circulation paths.
- Retain important labels and dimensions (so decisions stay anchored to reality).
- Use consistent wall thickness and ceiling height assumptions (or your known values).
Practical checkpoint: before exploring redesign ideas, validate two or three critical dimensions (kitchen run length, hallway width, living room span). If those are right, the rest of your iteration is far more reliable.
3) Test: run redesign scenarios in 3D (layout first, then finishes)
Home redesign feels exciting when you pick finishes—until you discover the layout doesn’t work. Flip the order: layout decisions first, finishes second.
Layout testing (the “function layer”)
- Clearances: Walkways, door swings, appliance openings, and seating pull-out space.
- Zones: Cooking vs. prep vs. storage; work vs. rest; guest vs. private areas.
- Sightlines: What you see from entry points and primary seating.
- Adjacencies: Pantry near kitchen, laundry near bedrooms, mudroom near entry, etc.
Finish testing (the “feel layer”)
- Value balance: Light vs. dark surfaces and how they distribute across the room.
- Material continuity: Floor transitions and repeated textures that calm the space.
- Lighting behavior: How daylight + fixture placement affects shadows and glare.
4) Communicate: export views that answer contractor questions
When you’re ready to share, export visuals that reduce back-and-forth:
- Top-down 3D view for layout clarity.
- Eye-level room views for cabinetry, built-ins, and focal walls.
- Before/after pairs for stakeholder alignment.
- Annotated screenshots (simple arrows + notes) to capture intent.
AI room planner vs. traditional planning: where each shines
AI-guided room planning can accelerate early exploration, but it works best when you treat it as a proposal generator and keep yourself in charge of constraints.
| Planning Method | Best For | Watch Outs |
|---|---|---|
| 2D floor plan only | Permitting basics, rough budgeting | Hard to judge feel, sightlines, and spatial comfort |
| Mood boards + inspiration photos | Style direction and material palette | Photos rarely match your proportions; can mislead scale expectations |
| Manual 3D modeling software | Maximum control, detailed documentation | Time-intensive; steeper learning curve |
| AI room planner + 3D renders | Fast concept iteration and layout experimentation | Needs good inputs and human validation for constraints and buildability |
A step-by-step checklist for smarter home redesign decisions
Use this checklist to keep your redesign grounded and avoid common rework.
Pre-design (30–60 minutes)
- Define the primary problem (storage, flow, light, privacy, resale appeal).
- Set a non-negotiables list (keep plumbing, preserve a wall, keep a window, etc.).
- Choose one success metric per room (e.g., “seat 6 comfortably” or “add pantry storage”).
Baseline validation (15–30 minutes)
- Confirm at least 3 critical measurements against reality.
- Mark likely-structural elements (beams, columns, bearing walls) as constraints.
Concept iteration (1–3 hours)
- Create 3 layout variants instead of searching for “the one” immediately.
- Test furniture placement at realistic sizes (sofa depth, table clearance, bed walkarounds).
- Run a quick “daily route” check: entry → drop zone → kitchen → dining → living.
Decision packaging (30–60 minutes)
- Export the minimum set of visuals that communicates intent.
- Write 5–10 bullet notes that explain what changed and why.
Mini example: redesigning an open-plan living + kitchen without regret
Imagine a common home redesign goal: “Make the kitchen feel bigger and improve entertaining.” In 2D, removing a wall can look like an obvious win. In 3D, you can test the tradeoffs quickly:
- Variant A: Remove wall + add island
Check aisle widths around the island, fridge door swing, and seating pull-out space. - Variant B: Keep partial wall + widen opening
Test whether the partial wall improves zoning (cooking mess hidden) while preserving light. - Variant C: Shift pantry + add tall storage wall
See whether “bigger” comes from better storage, not just openness.
In many homes, Variant B wins because it improves flow without sacrificing too much functional wall space for storage and outlets. The point isn’t which variant is “right”—it’s that 3D makes the tradeoffs visible early.
Exterior refresh: use the same 3D logic for curb appeal
Home redesign isn’t only interior. Exterior changes (siding color, trim contrast, porch elements, landscaping structure) are notoriously hard to judge from swatches and single photos.
In 3D, focus on three exterior variables first:
- Proportion: Do shutters, columns, and trim widths fit the facade scale?
- Value contrast: Is the front door a focal point or lost in the palette?
- Rhythm: Do repeated elements (lights, planters, rails) feel evenly spaced?
Common pitfalls (and how to avoid them)
- Pitfall: Designing to an incorrect scale.
Avoid it by validating a few real measurements before trusting any 3D output. - Pitfall: Over-indexing on photorealism.
A redesign decision needs clarity, not perfect reflections. Prioritize layout truth and readable materials. - Pitfall: Ignoring build constraints.
Treat 3D concepts as “intent,” then confirm structural/plumbing/electrical feasibility with a pro. - Pitfall: Testing only one idea.
Force three variants. The second or third often reveals the best compromise.
Optional: a quick scale-sanity check (simple formula)
If you have one known dimension from the plan (e.g., a 12-foot wall), you can sanity-check scale after conversion using a ratio. Here’s a simple pseudo-calculation you can apply in any tool that reports measured lengths:
// Known real-world length (in inches)
real = 12 * 12

// Measured length in the 3D model (in inches)
model = 141

scale_ratio = real / model

// If scale_ratio is not close to 1.0, your model is off-scale
Even a 3–5% scale drift can cause downstream layout errors (cabinet runs, island clearances, rug sizing). Correct it early.
FAQ: home redesign planning with 3D and AI
Do I need perfect measurements to start?
No. For early concepts, you need reasonable accuracy plus a few verified anchor measurements. As you move toward construction, tighten accuracy and confirm constraints.
Is an AI room planner “good enough” to finalize decisions?
It’s excellent for generating options and accelerating iteration. Final decisions should still be validated for code, structure, and mechanical realities—especially if you’re moving walls or fixtures.
What should I export to get useful contractor feedback?
Export a top-down 3D view, 2–4 interior angles per key room, and annotated notes that describe what stays, what moves, and what you’re trying to achieve.
Putting it all together
The fastest way to improve home redesign outcomes is to make decisions in the same medium you’ll live in: 3D space. Start with a trustworthy baseline, iterate through a few layout variants, then refine finishes and export clear visuals for feedback. You’ll spend less time debating hypotheticals and more time confirming what actually works.
If you want to try a lightweight 3D-first workflow on iOS, an app like Floor Plan to 3D & Home Redesign can help you convert an existing plan into clean 3D renders and explore room-planning ideas without heavy software.
