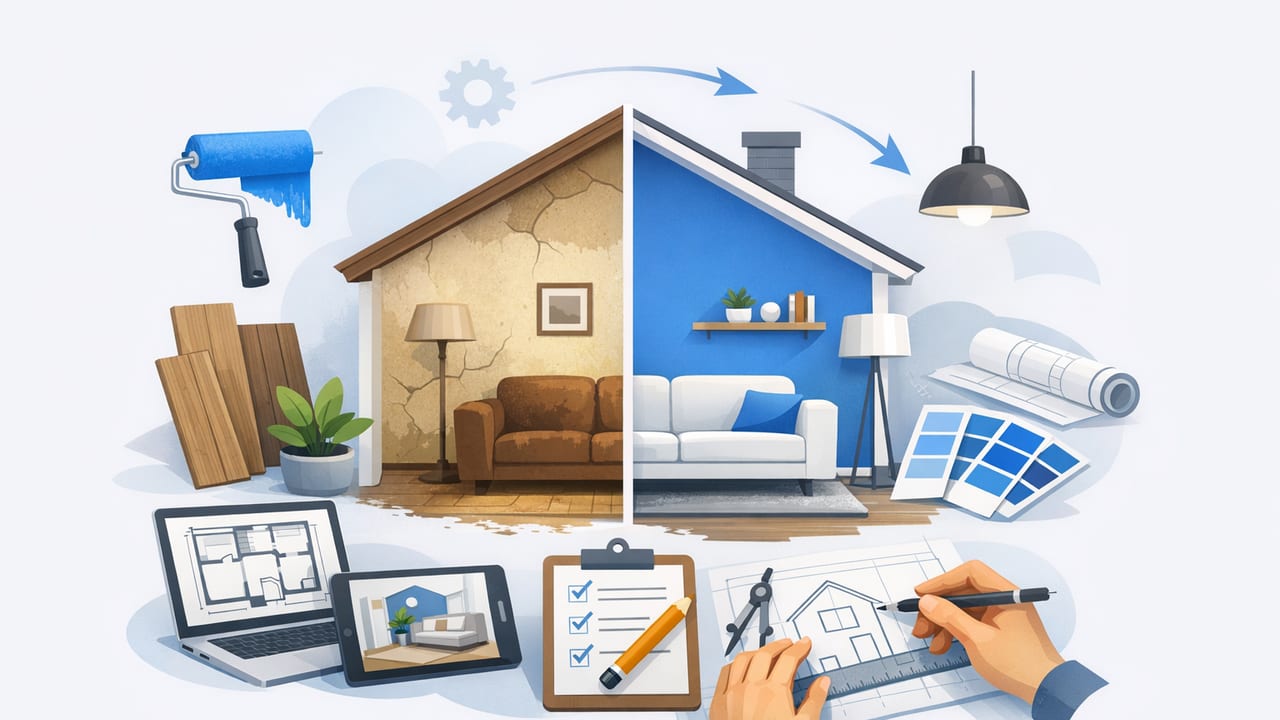
Most home redesign regrets come from the same root problem: making expensive decisions based on flat drawings, vague inspiration photos, or “we’ll figure it out on site.” A better approach is to treat your redesign like a small product prototype cycle—scan what exists, model it accurately, test ideas quickly, then commit.
This article walks through a 3D-first home redesign workflow that helps you validate layout changes, furniture fit, finishes, and renovation scope before contractors start. It’s designed for homeowners, real estate investors, and DIY remodelers who want faster decisions with fewer surprises.
Why a 3D-first workflow improves home redesign outcomes
Even if you have a good floor plan, it’s easy to misjudge “feel” and functionality. Small misunderstandings—door swing conflicts, narrow walkways, under-sized kitchen islands, window height issues—can ripple into change orders, delays, and frustration.
- 2D plans are precise but not intuitive for most people. 3D makes volume, sightlines, and proportion obvious.
- Redesign decisions are interdependent (layout affects lighting; lighting affects finishes; finishes affect budget).
- Iteration is cheaper than correction. Testing three layout options in 3D costs far less than relocating plumbing after demolition.
Rule of thumb: if a decision affects structure, plumbing, or built-ins, you should “see it in 3D” before you approve it.
The home redesign workflow (from plan to decisions)
Here’s a practical, repeatable sequence you can follow for a whole-home renovation or a single room refresh.
Step 1: Start with a trustworthy floor plan (or make one)
Your floor plan is the source of truth. If it’s inaccurate, every 3D concept built on it will drift from reality.
Minimum details to capture:
- Exterior walls, interior partitions, and wall thickness where relevant
- Door and window locations + approximate sizes
- Room labels and key dimensions (overall and critical spans)
- Stairs, fireplaces, columns, and soffits
Tip: If you’re working from an old blueprint, verify a few “anchor” dimensions on-site (e.g., overall width of the living room, kitchen run length). Small deviations add up fast in kitchens and baths.
Step 2: Convert 2D to a clean 3D baseline (before you redesign)
Don’t jump straight into finishes and furniture. First, build a “boring but accurate” 3D model of the current state. This baseline helps you compare options without losing the original constraints.
Baseline checklist:
- Correct room proportions and wall alignment
- Door swings and clearance zones
- Window height assumptions noted (sill height matters for desks, headboards, and counters)
- Ceiling height set (even approximate)
Step 3: Define your redesign goals (function first, style second)
Before you render anything “pretty,” write down what the home redesign must achieve. This prevents you from optimizing for aesthetics while missing usability.
- Function: What must work better? (storage, flow, seating, privacy, accessibility)
- Constraints: What cannot move? (load-bearing walls, plumbing stacks, window placements, budget limits)
- Style direction: What should it feel like? (warm modern, coastal, minimal, traditional)
- Timeline: Are you living in the home during work?
Step 4: Generate 2–4 layout options (and compare objectively)
The fastest way to improve a home redesign is to explore multiple layouts early. Even small changes—widening an entry, relocating a door, adjusting a peninsula—can transform daily use.
Common layout experiments worth testing:
- Kitchen: island vs. peninsula, appliance placement, pantry location, landing zones
- Living room: TV wall options, traffic paths, seating depth vs. circulation
- Bedroom: bed wall selection, closet door type, dresser clearance
- Bathroom: shower size trade-offs, door swing conflicts, vanity storage
When comparing options, use a simple scoring system to avoid “the prettiest render wins.”
| Criteria | Option A | Option B | Option C |
|---|---|---|---|
| Traffic flow (no bottlenecks) | 4/5 | 3/5 | 5/5 |
| Storage capacity | 3/5 | 5/5 | 4/5 |
| Natural light + sightlines | 4/5 | 4/5 | 3/5 |
| Build complexity (cost risk) | 5/5 | 3/5 | 2/5 |
Step 5: Use AI room planning to accelerate iteration (with guardrails)
AI room planners can produce fast layout ideas and style variations, but they work best when you constrain them with real dimensions and practical rules. Think of AI as a brainstorming partner—not an inspector.
Guardrails that keep AI suggestions realistic:
- Specify clearances (e.g., 36 in / 90 cm main walkways)
- Require specific furniture sizes (sofa length, bed size, dining table seats)
- State “do not move” elements (structural walls, window openings, plumbing)
- Ask for two solutions: a low-cost tweak and a higher-impact remodel
If your tool supports prompts or structured inputs, use a consistent template so each iteration is comparable. Here’s a simple example you can adapt:
{
  "room": "Living Room",
  "dimensions": {"width_ft": 14, "length_ft": 18, "ceiling_ft": 9},
  "fixed_elements": [
    "Fireplace on north wall (centered)",
    "Two windows on east wall",
    "Entry door at southwest corner"
  ],
  "needs": [
    "Seat 6 comfortably",
    "Clear path to hallway (min 36 in)",
    "TV viewing without blocking fireplace"
  ],
  "style": "warm modern, light oak, textured neutrals",
  "deliver": ["2 layout options", "lighting plan", "key measurements"]
}
Step 6: Move from layout to “finish systems” (not random materials)
Finishes are where many home redesign projects lose cohesion. Instead of choosing items one-by-one, define a small set of finish systems:
- Flooring system: one main material (plus wet-area exceptions)
- Wall system: primary paint + one accent strategy (paneling, wallpaper, limewash)
- Cabinetry system: door style + color + hardware tone
- Metal system: keep to 1–2 metal finishes (e.g., black + brushed brass)
- Lighting system: layered plan (ambient + task + accent)
Then render 2–3 finish directions over the same layout. This prevents you from confusing “better layout” with “better styling.”
Step 7: Validate buildability and budget before finalizing
3D visuals can be persuasive, but you still need practical validation. Use your 3D model and plan to confirm:
- Mechanical realities: Can ducts, drains, and vents route where your design assumes?
- Door/window conflicts: Are there clashes with cabinetry, curtains, or furniture?
- Code and safety: Stair/railing requirements, egress windows, wet-area waterproofing
- Cost risk zones: moving plumbing, altering structure, custom millwork, tile-heavy areas
Practical budgeting tip: Break your estimate into (1) layout/rough-in, (2) surfaces/fixtures, (3) labor complexity, and keep a contingency aligned to risk. Layout changes and custom work usually deserve the largest buffer.
Common home redesign mistakes this workflow prevents
- Oversized furniture plans that block circulation once walls and trim exist
- Kitchen islands that look right but fail clearance rules at stools and appliances
- Over-designing without priorities (spending on statement tile while storage remains unsolved)
- Inconsistent finishes that make a home feel visually fragmented
- Late changes that cause material waste and contractor downtime
Mini case example: redesigning an open-plan main level
Imagine a main level where the kitchen feels cramped, the dining area is underused, and the living room has awkward TV placement. A 3D-first home redesign process might look like this:
- Baseline 3D: Model existing walls, openings, and ceiling height.
- Option A (low construction): Keep plumbing, swap peninsula for a narrower island, add a pantry wall near fridge.
- Option B (medium): Shift a doorway 18 inches to straighten the kitchen run and improve the entry sightline.
- Option C (high): Remove a partial wall, rework lighting zones, create a built-in media wall opposite windows.
- Compare: Score flow, seating, storage, and complexity using the table approach.
- Finalize: Render two finish systems (light oak vs. walnut + warmer paint) on the winning layout.
The key is that each step narrows uncertainty. By the time you’re choosing fixtures, you’re no longer guessing whether the room works.
FAQ: quick answers for planning a redesign
How many layout options should I test?
Usually 2–4. Fewer than two limits creativity; more than four can cause decision fatigue. If none feel right, your constraints or priorities may be unclear.
Do I need photorealistic renders?
Not at first. For early home redesign decisions, clean 3D massing with accurate proportions is often better than polished visuals. Save high realism for final approval and presentations.
What measurements matter most for furniture planning?
Focus on walkway widths, door swings, and “use zones” (where stools pull out, where drawers open, where chairs slide back). These are the conflicts that cause daily frustration.
Putting it into practice
If you want a simple starting point: get an accurate plan, build a baseline 3D model, and force yourself to compare at least two layouts before picking finishes. That small discipline is often the difference between a redesign that photographs well and a redesign that lives well.
If you prefer doing this on an iPhone or iPad, tools such as Floor Plan to 3D & Home Redesign can help convert a floor plan into 3D and explore redesign concepts without heavy software.
