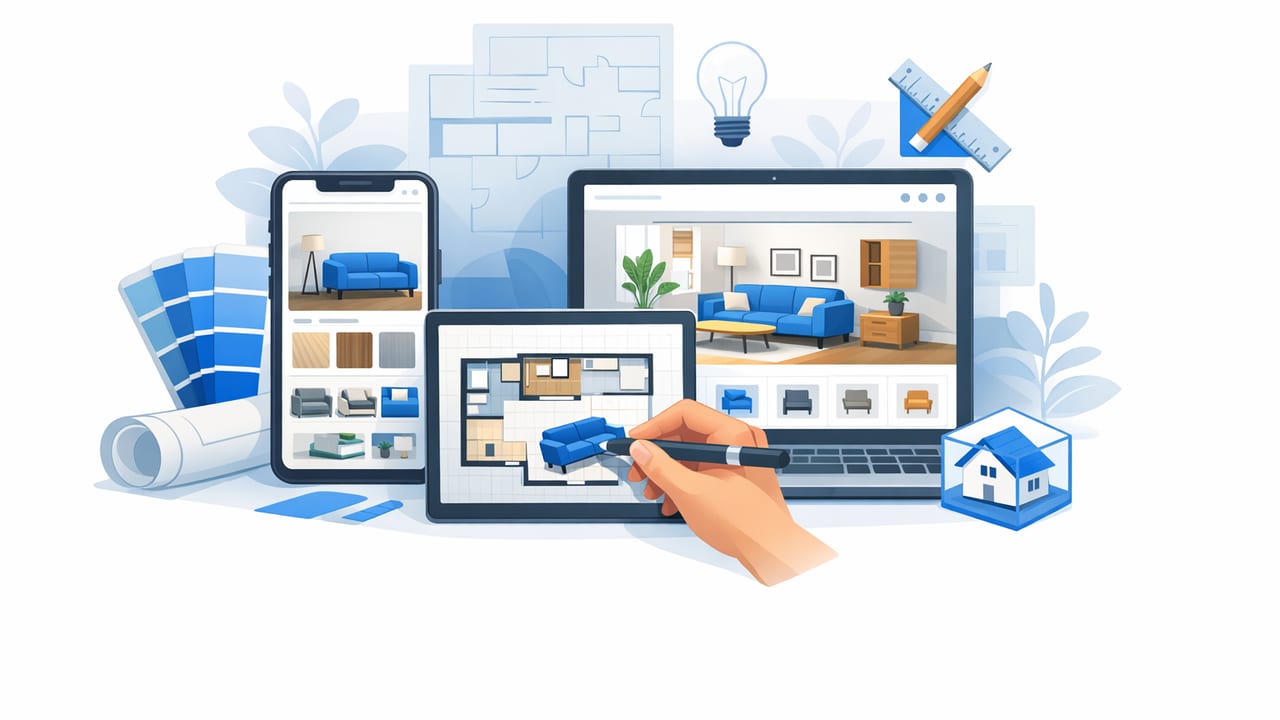
A home redesign app is most useful when it helps you answer the real renovation questions early: Will this layout feel cramped? Do we have enough clearance around the island? What if we move the laundry? Instead of guessing from a 2D drawing (or committing to heavy 3D software), you can convert a floor plan into a workable 3D model, explore options with an AI room planner, and export clean 3D renders for feedback—before you spend money on demolition, cabinetry, or contractor change orders.
This guide walks through a practical, accuracy-first workflow for using a home redesign app to generate reliable renovation previews for interior design, exterior refresh, and even empty-room staging. The goal isn’t “perfect realism”—it’s confident decisions.
What to gather before you start (5 minutes that saves hours)
Most “bad 3D results” come from bad inputs. Before you import or scan anything, collect:
- The best floor plan you have: PDF, scan, or a crisp photo. Avoid angled photos with shadows.
- At least one known measurement: e.g., an overall exterior width, a hallway width, or a labeled room dimension.
- Window and door notes: width, approximate placement, and swing direction (if it matters).
- 3–6 reference photos: especially kitchens/baths and any tricky areas (vaulted ceilings, fireplaces, built-ins).
- Constraints: what cannot move (load-bearing walls, plumbing stacks, HVAC chases).
Rule of thumb: If you can verify scale and openings (doors/windows), you can trust most layout decisions you make in 3D.
Workflow overview: from floor plan conversion to renovation previews
Here’s the end-to-end process most people follow when using a home redesign app effectively.
| Stage | Input | Output | What you decide here |
|---|---|---|---|
| 1) Capture/Import | Plan photo/PDF | Clean 2D base | Is the source readable enough? |
| 2) Scale + verify | Known dimension | Correct proportions | Can you trust distances? |
| 3) Convert to 3D | Walls/openings | 3D shell model | Does circulation feel right? |
| 4) AI room planning | Room purpose + constraints | Layout options | Best furniture and function? |
| 5) Finishes + lighting | Style direction | Material variants | What looks cohesive? |
| 6) Export + review | Chosen options | 3D renders | What to price and permit? |
Step-by-step: a practical home redesign app process
1) Import your floor plan (and fix the “photo problems”)
If your plan is a photo, do a quick cleanup first:
- Square the image (avoid perspective tilt).
- Increase contrast so walls and dimension strings are clear.
- Crop tight to the plan so the app doesn’t confuse notes/title blocks as geometry.
This small step improves floor plan conversion accuracy and reduces time spent deleting stray lines later.
2) Lock the scale (the most important accuracy step)
Most layout mistakes trace back to scale drift. Use one of these as your “anchor” measurement:
- Overall building width/length (best when available).
- A labeled room dimension (e.g., “12'-0" x 14'-0"”).
- A standard element (a typical interior door is often ~30–36 inches wide, but treat this as a last resort).
If your plan is in mixed units (common in older documents), convert everything to one system before comparing options.
# Simple scale-factor example (Python)
# Use when a plan is imported at the wrong size.

measured_on_screen_ft = 10.5   # what the app currently thinks the wall is
real_world_ft = 12.0           # dimension from the floor plan

scale_factor = real_world_ft / measured_on_screen_ft
print(scale_factor)            # multiply all lengths by this factor
3) Confirm walls, openings, and “things that must stay”
Before generating 3D renders, confirm these basics:
- Wall thickness: exterior vs interior walls (affects room sizes and window recesses).
- Door swings: crucial for bathrooms, closets, and tight hallways.
- Window height and placement: even approximate placement improves lighting and exterior reads.
- Stairs: count treads if possible; stair geometry drives upstairs layout realism.
Tip: If you’re exploring a “move this wall” renovation, duplicate the project and keep one version as the “as-built” baseline.
4) Generate the 3D shell and do a circulation pass
Once the plan is converted, switch to 3D and walk through the home (even a simple orbit view helps). You’re checking:
- Flow: can two people pass in the kitchen?
- Sightlines: what do you see from the entry?
- Dead space: corners or hall segments that don’t serve a purpose.
This is where a home redesign app shines: you’re not locked into one drawing—small changes are fast.
5) Use an AI room planner to generate layout options (then edit like a human)
An AI room planner can propose multiple furniture arrangements and functional zoning. Use it for speed, but validate with real-world clearances.
Common high-value rooms to iterate:
- Kitchen: island size, work triangle, seating vs prep space.
- Primary bedroom: bed wall, dresser depth, door conflicts.
- Living room: TV glare, pathways, conversation distance.
- Home office: desk depth, background wall, storage.
6) Apply clearances so the “pretty render” is also buildable
Use these practical planning targets (adjust for local codes and your household needs):
- Main walkways: ~36 in / 90 cm minimum; more in busy areas.
- Behind dining chairs: ~36 in / 90 cm for comfortable pull-out.
- Kitchen work aisles: ~42–48 in / 105–120 cm depending on traffic.
- Bed sides: ~24–30 in / 60–75 cm minimum clearance.
When your 3D layout respects clearances, your renovation previews become a credible basis for contractor pricing and designer review.
7) Iterate finishes without losing the layout
Once the plan works, explore finishes. Keep finishes separate from layout decisions so you don’t redo work:
- Duplicate the design.
- Change only one variable (flooring, wall color, cabinet finish, exterior siding).
- Export side-by-side images for comparison.
This “controlled experiment” approach prevents style exploration from derailing functional planning.
8) Don’t forget the exterior (it’s often the cheapest visual win)
Even if you’re focused on interior design, an exterior refresh can dramatically change the perception of the project. In your 3D model, test:
- Front door color and trim contrast
- Siding/material swaps (or paint zones)
- Lighting placement and visible fixtures
- Simple landscape massing (hedges/trees for scale)
A simple scoring method to choose between options
When you have three good layouts, decision fatigue kicks in. Use a lightweight scorecard to pick a direction before you obsess over decor.
| Criteria | Option A | Option B | Option C |
|---|---|---|---|
| Circulation (1–5) | 4 | 5 | 3 |
| Storage (1–5) | 3 | 4 | 5 |
| Daylight + windows (1–5) | 5 | 4 | 4 |
| Cost/risk (1–5, higher = lower risk) | 4 | 3 | 2 |
Pick a winner, then refine. Your home redesign app becomes a decision tool—not an infinite idea generator.
Common mistakes (and how to avoid them)
- Mistake: trusting unlabeled dimensions. Fix: verify at least one real measurement and rescale if needed.
- Mistake: forgetting door swings. Fix: add swings early; they influence furniture viability.
- Mistake: oversized furniture defaults. Fix: confirm furniture dimensions; swap to realistic sizes.
- Mistake: judging materials under unrealistic lighting. Fix: test a neutral daylight setup and one evening setup.
- Mistake: mixing layout and style decisions. Fix: lock the plan first, then iterate finishes.
Deliverables to export for contractors, designers, or family approvals
To keep feedback focused (and prevent “let’s move everything again”), export a small, consistent set:
- One annotated 2D plan with key dimensions and notes (“new wall,” “remove,” “keep”).
- 3–6 interior 3D renders: entry, kitchen, living, primary bed/bath, one “problem area.”
- One exterior view if curb appeal is part of scope.
- Option comparison board (A/B) if you’re choosing between layouts or finishes.
FAQ: choosing and using a home redesign app effectively
Does an AI room planner replace a designer?
It’s best as a fast starting point and a way to explore options. Designers add value through code awareness, construction detailing, and cohesive material specification—especially for kitchens, baths, and structural changes.
How accurate are 3D renders from a floor plan?
They’re as accurate as your scale and opening placement. If your floor plan conversion preserves proportions and you validate dimensions, the model becomes reliable for layout decisions and renovation previews.
What’s the fastest way to get “good enough” results?
Prioritize: correct scale → correct doors/windows → correct furniture sizes → only then materials and decor. That order produces usable results quickly.
Putting it all together
A strong workflow turns a home redesign app into a practical planning system: you convert a floor plan into a trustworthy 3D base, use AI room planning to generate options, apply real-world clearances, and export visuals that help others react to the same idea. The payoff is fewer surprises, faster decisions, and clearer communication—whether you’re working with a contractor, a designer, or simply trying to align a household on the plan.
If you’re looking for an iOS tool that supports floor plan conversion into clean 3D renders plus AI-guided redesign ideas, Floor Plan to 3D & Home Redesign is one option to try as you build and compare renovation concepts.
