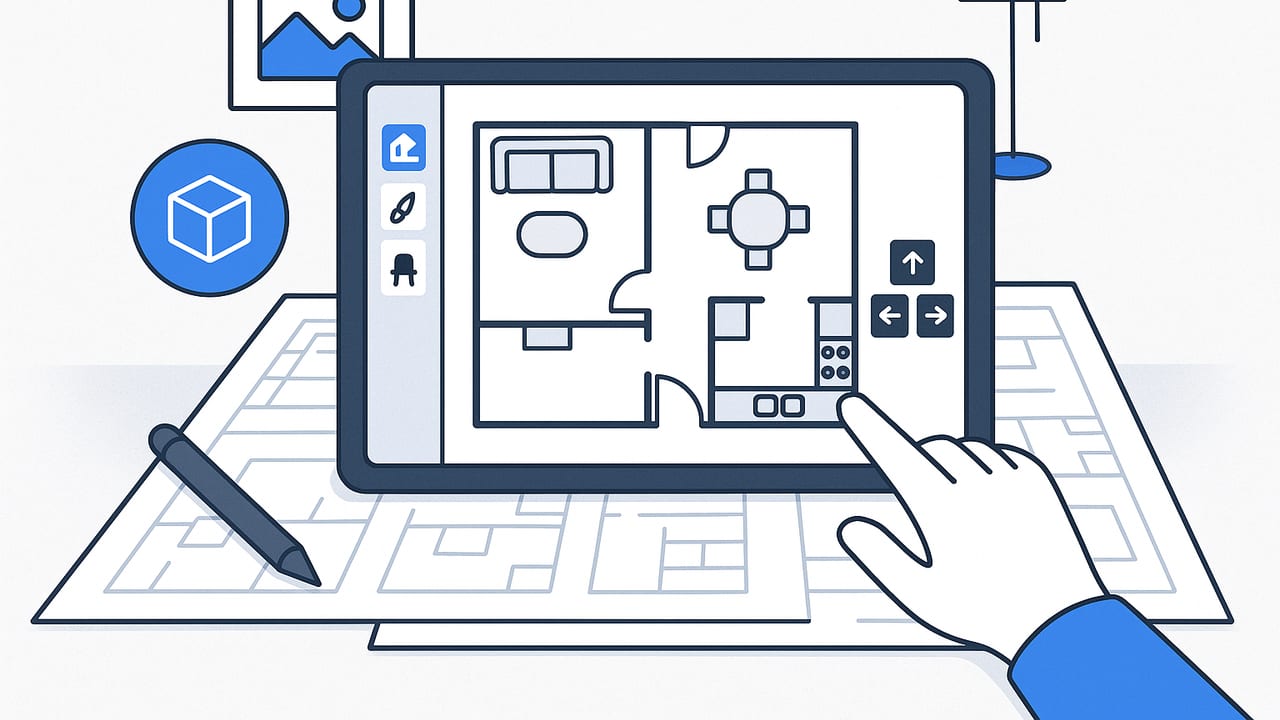
A well-chosen home design app can compress weeks of sketching, measuring, and second-guessing into a few focused sessions. Whether you are planning a remodel, furnishing a new apartment, or testing multiple layout options, the right tool helps you translate ideas into accurate, shareable visuals. This guide covers how to evaluate apps, build a reliable workflow, keep measurements honest, and produce 3D visuals that make decisions faster and easier.
What a Home Design App Should Do Well
The best tools balance speed, accuracy, and realism. Look for features that support the entire journey from quick idea to documented plan.
- Scale-aware drawing and editing: Create rooms by dimensions, not just rough sketches.
- Smart object placement: Snapping, alignment helpers, and parametric resizing for doors, windows, and furniture.
- Material and lighting controls: Basic rendering should be fast; advanced options for reflections and shadow quality are a plus.
- Import and export: Bring in floor plans as images or PDFs; export 2D plans and 3D snapshots or walkthroughs for stakeholders.
- Dimension fidelity: Clear tools to set and verify scale, wall thickness, and ceiling heights.
- Annotation and markup: Labels, dimensions, notes, and revisions so your intent survives beyond the render.
- Mobile capture: Camera-based scanning and room capture for quick starts on site.
A Simple Workflow That Works
Good process beats good luck. Here is a repeatable path to go from blank screen to confident decision.
- Write a compact brief: List what has to fit, who uses the space, and any constraints like budget, timeline, and existing infrastructure.
- Start with a measured shell: Draw exterior walls first, then any interior partitions. Set scale immediately.
- Place constraints early: Doors, windows, radiators, sloped ceilings, columns, and electrical panels define what is possible.
- Draft two to three layouts: Treat your first layout as a baseline, then deliberately create alternatives that solve the same needs differently.
- Run clearance checks: Verify pathways, reach distances, and working zones before you fall in love with a look.
- Switch to 3D for validation: Use 3D to catch sightlines, headroom, and daylight issues that often hide in 2D.
- Iterate with annotations: Mark what works and what does not; keep renders and plans aligned.
- Package deliverables: Export a plan with dimensions and a few high-resolution 3D views for quick approvals.
Scale, Measurements, and Clearances You Can Trust
Measurement rigor is what separates pretty pictures from reliable plans. A home design app should make it painless to check and correct scale.
Baseline for scale
- Set a known dimension: Use the longest continuous wall you can measure accurately to calibrate the plan.
- Cross-check a second dimension: Confirm the scale by measuring a perpendicular wall or a room diagonal.
- Record ceiling heights: Note dropped ceilings and beams; headroom matters for storage and lighting.
Quick scale math
If you import a scan or photo of a floor plan without embedded scale, set one known measurement, then proportionally scale the image. As a rule of thumb: if current image wall is 4230 px and true length is 7060 mm, scaling factor is 7060 divided by 4230 which is roughly 1.669; apply uniformly.
Ergonomic clearances
Use these practical minimums as a starting point. Increase where possible for comfort:
| Scenario | Comfortable minimum |
|---|---|
| Main circulation path | 900 to 1000 mm |
| Door swing clearance | Clear the full arc plus 150 mm |
| Front of sofa to coffee table | 400 to 500 mm |
| Dining chair to wall or obstacle | 600 mm usable, 750 mm ideal |
| Bed side clearance | 600 mm both sides preferred |
| Kitchen counter aisle | 1000 mm single cook, 1200 to 1350 mm two cooks |
| Toilet side clearance | 380 mm each side minimum |
| Shower interior | 900 by 900 mm minimum |
From 2D to 3D: Why It Matters
2D is great for dimensions; 3D is great for decisions. Perspective exposes issues you will not feel in a plan view: sightlines to messy areas, blocked daylight, cramped corners, and awkward furniture stacks. A home design app with a strong 3D engine helps you evaluate finishes, proportions, and lighting with fewer surprises.
Design principle: If a room only works from one viewpoint, it does not work. Walk the room in 3D and test it from every angle you will use.
Comparing Types of Home Design Apps
Different projects benefit from different tools. Here is a quick comparison to help you choose.
| Type | Best for | Strengths | Watch-outs |
|---|---|---|---|
| Drag-and-drop catalog planners | Quick furnishing and styling | Large product catalogs, fast visuals | May not handle scale or custom dimensions well |
| Sketch-based room planners | Early concepts and iterations | Speed, flexible drawing | Accuracy depends on your diligence with scale |
| Floor plan converters | Turning 2D plans into 3D quickly | Preserves dimensional intent and layout | Quality varies with input clarity |
| BIM-lite or pro modeling | Detailed renovations and documentation | Parametric objects, data-rich outputs | Steeper learning curve and setup time |
Lighting, Materials, and Realism Without the Wait
Realism helps stakeholders buy in, but heavy rendering can slow you down. Target clarity first, then add polish.
- Daylight before downlights: Place windows correctly and set sun orientation; daylight patterns drive mood and furniture placement.
- Material sanity: Use a small set of realistic finishes with slightly varied gloss; avoid overly shiny floors and super-saturated paints.
- Soft shadows matter: Enable soft shadows and ambient occlusion if available; they improve depth without huge render times.
- Neutral white balance: Keep color temperature consistent across views so finishes read accurately.
Data You Can Reuse: A Mini Program for a Room
Even if your home design app does not support structured room data, thinking in parameters keeps you disciplined. Here is a simple pseudo-JSON you can adapt in notes:
{
  'room': 'Living Room',
  'dimensions_mm': [5500, 4200],
  'ceiling_mm': 2600,
  'doors': [
    { 'width_mm': 820, 'swing': 'left', 'offset_mm': 300 }
  ],
  'windows': [
    { 'width_mm': 1600, 'sill_mm': 700, 'height_mm': 1200 }
  ],
  'furniture': [
    { 'type': 'sofa', 'size_mm': [2200, 950] },
    { 'type': 'coffee_table', 'size_mm': [1200, 600] },
    { 'type': 'tv_console', 'size_mm': [1800, 450] }
  ],
  'clearances_mm': {
    'sofa_to_table': 450,
    'main_path': 1000
  }
}
Use this checklist to verify your model: does every dimension exist, do doors have swing arcs, and do clearances match reality?
Pro Tips for Speed and Accuracy
- Model structure first, style later: Doors, windows, and fixed services before furniture and finishes.
- Use object libraries wisely: Standardize sofa, bed, and table sizes so comparisons are fair across layouts.
- Name views by purpose: Plan Approval, Lighting Test, Kitchen Working Triangle, and similar labels keep exports organized.
- Pin dimensions: Lock key lengths to avoid accidental drifts when editing adjacent walls.
- Duplicate for A or B tests: Copy the plan, then change one variable per version to isolate what helps.
- Snapshot constraints: Add a view that only shows door swings and paths. If that view looks messy, fix the plan.
Common Mistakes and How to Avoid Them
- Ignoring existing conditions: Missed columns, soffits, or radiators can break perfect layouts. Survey carefully.
- Overfilling rooms: Leave breathing space; negative space is a design tool, not wasted area.
- Chasing catalog scale: Not all digital furniture is dimensionally honest. Measure key pieces or set parametric sizes.
- Flat lighting: Test a morning and evening sun angle. Furniture that feels great at noon can glare at 5 pm.
- Forgetting verticals: Tall storage, pendant drops, and sightlines over islands matter; always check in 3D.
Mini Case Study: Turn a 2D Plan Into Decisions
Scenario: a 55 square meter one-bedroom with a long living and dining room. Constraints include a structural column, a balcony door, and a TV wall with limited wiring slack.
- Import the plan and scale to a known bedroom wall length. Cross-check with the balcony door width.
- Trace walls and openings; add the column as a solid object to block illegal furniture placements.
- Draft Layout A with a 3-seat sofa and 4-person dining table. Draft Layout B with a loveseat, lounge chair, and a drop-leaf table.
- Run clearances: ensure 1000 mm primary path from entry to balcony; maintain 450 mm sofa-to-table spacing.
- Switch to 3D: test TV height, glare from balcony, and sightline from the kitchen.
- Material test: warm oak floor, neutral rug, and matte wall paint to reduce glare. Add a floor lamp behind the lounge chair to balance light.
- Decision: Layout B wins due to better circulation and evening glare control. Export plan with dimensions, plus 3D views from the entry and sofa.
Exporting, Sharing, and Presenting
Decision-makers care about clarity and proof. Package deliverables that make approval easy.
- Plan with dimensions: Include overall room lengths, door sizes, window placements, and key clearances.
- 3D hero shots: Two to four perspectives that tell the story; keep materials consistent between views.
- Detail views: Close-ups of tricky junctions like a fridge door swing near an island or a bed near a window.
- Notes layer: Brief bullets for rationale and any outstanding decisions to make next steps obvious.
FAQ: Quick Answers for Fast Progress
Do I need laser measurements to start?
No. Phone-based measurements plus a tape measure for a few key spans are enough to get reliable scale. Use a laser for final documentation.
How realistic should my 3D be?
Realistic enough to confirm proportion, light, and finishes. Turn on higher-quality shadows and reflections only for final export.
What if the furniture library does not match my pieces?
Use proxies with accurate footprints. In plan view, footprint and clearance accuracy matter more than perfect models.
How many layout options should I test?
Two to three strong alternatives are usually enough. More can create decision fatigue without improving outcomes.
Bringing It All Together
A solid home design app supports you through the entire design cycle: measure, model, validate, and present. Start with a brief, set scale honestly, defend clearances, and use 3D to test how rooms feel, not just how they measure. If you are working from black-and-white floor plans on iOS and need a faithful 3D translation, Floor Plan to 3D can convert scans to dimensionally accurate 3D scenes you can edit and export.
