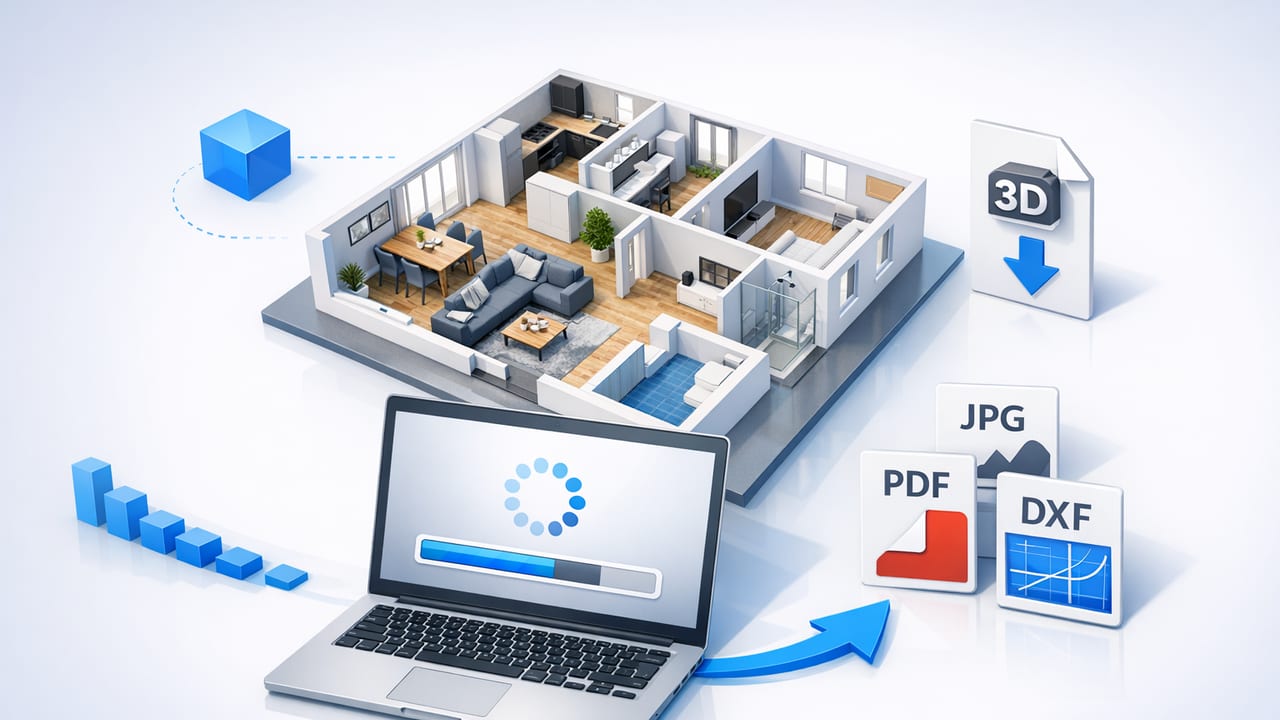
A crisp 3D floor plan image can do what a stack of drawings can’t: help someone understand the space in seconds. But many “exports” fall apart the moment you drop them into a proposal, print them, or zoom in during a client call. Text gets soft, edges shimmer, and dimensions become unreadable. The fix is rarely “make it prettier”—it’s choosing the right export settings, file format, and layout conventions for your use case.
This guide walks through a practical workflow for producing a high resolution 3d floor plan export that stays sharp in PDFs, presentations, and print. It’s written for renovation planners, interior designers, real estate teams, and anyone converting 2D floor plans into 3D renders for decision-making.
What “high resolution” actually means for 3D floor plans
Resolution is often described as “HD” or “4K,” but for floor plans you want to think in pixels and print size. A high-resolution export is one that:
- Looks sharp at the final viewing size (slide, PDF page, listing gallery, poster).
- Maintains clarity when zooming into labels, dimensions, and door swings.
- Doesn’t show visible stair-stepping on walls or fuzzy text from compression.
Pixel size vs. DPI (quick clarity)
Pixel dimensions (e.g., 3840×2160) determine how much detail is available. DPI matters mostly for print, translating pixels into physical inches. For example:
- 300 DPI print quality: 3600×2400 px ≈ 12×8 inches
- 150 DPI draft print: 3600×2400 px ≈ 24×16 inches
So if you want a single-page letter/A4 PDF with a plan you can zoom into, prioritize pixel dimensions first, then DPI/print sizing second.
Choose the right export goal (presentation, print, or listing)
Before you export, define where the image will live. Each destination punishes different mistakes.
| Use case | Recommended pixel size | Best format | What to prioritize |
|---|---|---|---|
| Presentation slides (16:9) | 3840×2160 or 2560×1440 | PNG | Contrast, readable labels, clean edges |
| Proposal PDF (portrait page) | 2480×3508 (A4 @300 DPI) or higher | PNG (then embed in PDF) | Text sharpness, margins, consistent scale |
| Real estate listing gallery | 2000–3000 px on the long edge | JPG (high quality) | Smaller file size, bright lighting, simple styling |
| Large print (poster/board) | 5000–8000 px on the long edge | PNG or TIFF | Zero compression artifacts, legible typography |
Export settings that make or break sharpness
Most tools expose different controls, but the underlying principles are consistent. If you want a reliable high resolution 3d floor plan export, focus on these levers.
1) Render size (pixels) and aspect ratio
Pick an aspect ratio that matches your destination before exporting. Cropping after export can cut off labels and force resampling.
- 16:9 for screens and slides
- 4:3 for older slide decks and some reports
- Portrait (A4/Letter) for PDFs and print
If you must reuse the same plan everywhere, export one large “master” image (e.g., 6000 px long edge), then create separate resized copies for each channel.
2) Anti-aliasing and line clarity
Walls and edges are where exports look “cheap.” Anti-aliasing smooths jagged diagonals, but overdoing it can make lines look soft. A good check: zoom to 200–300% and inspect wall corners, door arcs, and text.
Rule of thumb: If the plan looks slightly oversharp at 100%, it often prints perfectly; if it looks slightly soft at 100%, it will look blurry everywhere.
3) Text and dimension scaling
High resolution doesn’t help if labels are tiny. Set a minimum readable text size for your output:
- Slides: labels should be readable from a few feet away on a laptop/TV
- PDF: labels should be readable when the page is “fit to width”
- Print: aim for text that would be ~8–11 pt at final print size
If your tool allows it, scale annotation layers (labels, dimensions) independently from geometry so you don’t distort proportions just to make text readable.
4) Lighting and material choices (avoid “muddy” renders)
3D floor plans need clarity more than realism. Overly dark shadows hide corners and make rooms feel smaller. Prefer:
- Soft, even lighting (minimize harsh shadows)
- Moderate contrast between floors and walls
- Simple materials that don’t create visual noise (busy textures reduce legibility)
5) Camera angle: top-down vs. angled cutaway
For communication, two angles dominate:
- Orthographic/top-down 3D: best for accuracy, dimensions, and quick comparison between versions.
- Angled cutaway: best for marketing and helping non-technical viewers understand volume.
If you’re creating a set, export both: top-down for decision-making and angled for storytelling.
PNG vs JPG vs PDF: which format should you export?
Format determines whether fine edges and text stay clean.
- PNG: best default for 3D floor plans with labels and sharp edges. Lossless; larger files.
- JPG: acceptable for listing photos or casual sharing; use high quality to reduce artifacts. Avoid for heavy text/dimensions.
- PDF: great as a container for proposals, but your embedded images must still be high-res. If you export directly to PDF, verify it doesn’t downsample images.
Compression pitfalls to avoid
Even a perfect render can be destroyed by a platform that compresses uploads (some CRM systems, some listing portals, some email clients). If you notice softness after upload:
- Try exporting slightly larger, then downscale yourself to the platform’s preferred size.
- Use PNG for annotated plans; if forced to JPG, increase quality and reduce noise/texture.
- Avoid repeated re-saving of JPGs (each save adds loss).
A repeatable workflow for a high resolution 3d floor plan export
- Start from a clean source. If converting from a scan, straighten it, crop margins, and ensure the plan is high-contrast before conversion.
- Confirm scale and proportions. Validate at least one known dimension (e.g., overall width) so furniture and spacing remain believable.
- Set annotation standards. Decide what must appear: room names, areas, dimensions, north arrow, legend, and version label.
- Choose the target layout. Slide, A4/Letter, or wide banner. Set camera and aspect ratio accordingly.
- Pick export size. For “master” exports, aim for 5000–8000 px long edge when feasible.
- Export as PNG. Keep a lossless master file; derive JPGs only when needed.
- Quality-check at 100% and 200%. Inspect corners, thin walls, small text, and dimension strings.
- Create delivery versions. Downscale copies for email, web, and listing platforms. Keep the master archived.
Quality checklist (use before sending to clients)
- Legibility: room names and dimensions readable at intended viewing size
- Continuity: walls align cleanly; no broken corners or missing segments
- Consistency: typography style and label placement consistent across floors/versions
- Context: include a title block or at least a project name + floor level
- Versioning: add “Option A / Option B” or a date/version code to prevent confusion
- File sanity: file opens quickly; not so large it crashes viewers or email limits
How to keep files sharp without making them huge
High-res images can become unwieldy. The goal is “sharp enough at the final size,” not “maximum pixels forever.” These tactics help:
Downscale strategically (don’t upscale)
Export larger than needed, then downscale to the exact target size using a good resampling method. Downscaling typically improves perceived sharpness; upscaling exposes blur and artifacts.
Use a “master + derivatives” approach
Keep one master PNG (lossless), then generate:
- Web: 2000–3000 px long edge (often enough)
- Slides: 3840×2160 for full-screen
- Print/PDF: A4/Letter at 300 DPI equivalent
Embed correctly in documents
Some tools downsample images when exporting PDFs. When possible, disable “optimize for web” settings in PDF export, or verify that the resulting PDF retains the original pixel dimensions.
Optional: naming conventions that prevent team confusion
When you’re producing multiple iterations, file names become part of your workflow. A consistent pattern makes it easy to search and avoids sending the wrong version.
Project_Floor_Option_RenderType_Size_Format
MapleSt_1F_OptionA_TopDown_6000px.png
MapleSt_1F_OptionA_Angled_3840x2160.png
MapleSt_1F_OptionA_Listings_2500px.jpg
Common mistakes (and quick fixes)
- Mistake: Exporting a small image and relying on “zoom.”
Fix: Increase pixel dimensions at export; don’t upscale later. - Mistake: Using JPG for dimension-heavy plans.
Fix: Use PNG for any plan with small text/lines. - Mistake: Dark, realistic lighting that hides boundaries.
Fix: Brighten ambient light and simplify textures. - Mistake: No version labels; clients mix options.
Fix: Add “Option A/B” and a version code on the image.
Putting it together: a practical baseline
If you want a safe default that works for most scenarios, use this baseline:
- Format: PNG
- Size: 3840×2160 (slides) or 3508×2480 (A4 landscape @300 DPI equivalent)
- Style: top-down 3D with soft lighting, simple materials, high-contrast walls/floors
- Annotations: room labels + key dimensions; ensure readability at “fit to page”
From there, adjust upward for large prints and downward for web galleries.
Final note: choose tools that preserve layout fidelity
The best export settings can’t fix a model that drifted from the original plan. Whether you’re converting a scan or refining redesign options, prioritize tools that preserve labels, proportions, and dimensions—then export with a master PNG workflow. If you’re looking for an iOS-based way to convert plans into clean 3D visuals and generate presentation-ready images, Floor Plan to 3D & Home Redesign is one option that supports high-resolution exports for sharing and proposals.
