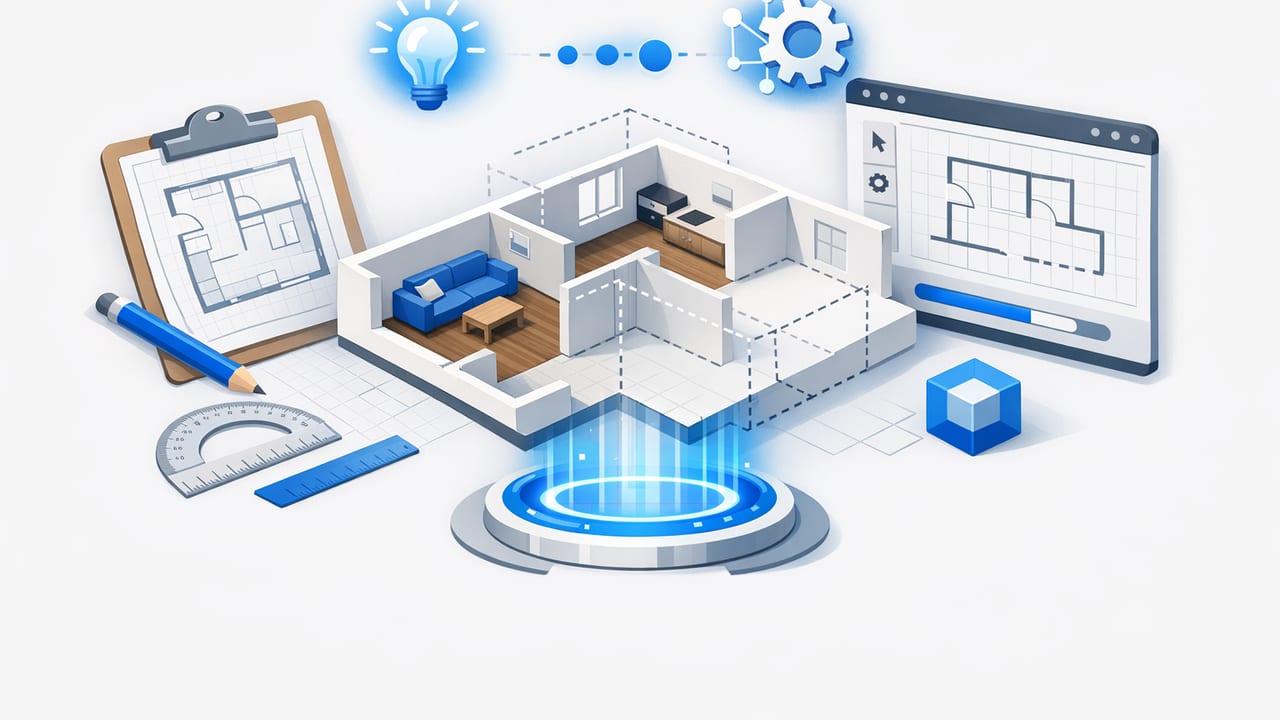
A floor plan is the fastest way to communicate how a space works—until it isn’t. Lines, symbols, and abbreviations are efficient for professionals, but they often leave homeowners, clients, and even project teams guessing about scale, circulation, and how changes will feel in real life. That’s where 3D rendering and architectural visualization help: not by replacing the floor plan, but by making it easier to interpret and validate.
This guide explains how AI-driven floor plan conversion typically works, what causes accuracy issues, and how to build a practical workflow for room planning and presentations—without losing proportions or dimensions.
Why a floor plan can be “correct” but still hard to use
A floor plan is a technical snapshot: walls, openings, fixtures, and sometimes dimensions. It’s great for coordination, but it’s limited in three common ways:
- Ambiguity of thickness and depth: Wall thickness, window depth, and door swings can be unclear when line weights overlap.
- Scale is easy to misread: A small measurement error in 2D becomes a major spatial problem in 3D (for example, a sofa that blocks a doorway).
- Human visualization varies: Two people can look at the same floor plan and imagine very different room sizes and furniture fit.
3D solves the interpretation problem by showing volume, viewing angles, and furniture relationships. But it introduces a new requirement: the 3D must remain faithful to the original floor plan. That’s why the best workflows treat conversion as a measurable process, not a “make it look right” exercise.
Principle: If the 3D model can’t be traced back to the floor plan with consistent dimensions, it’s a visualization—not a planning tool.
Prepare your floor plan for AI conversion (the quality multiplier)
AI can extract structure from imperfect images, but clean inputs reduce errors and time spent correcting. Whether your floor plan comes from a PDF, a printed scan, or a photo taken on-site, use this prep checklist.
Floor plan prep checklist
- Use a straight, high-contrast capture: If photographing, shoot parallel to the page to avoid perspective distortion and shadows.
- Crop tightly: Remove borders, title blocks (if not needed), and unrelated notes that can confuse symbol detection.
- Ensure readable dimensions: If dimensions are present, capture them sharply. If not, be ready to provide at least one known measurement for scale.
- Reduce noise: Smudges, scribbles, and heavy hatch patterns can break wall detection.
- Confirm plan type: A reflected ceiling plan, electrical plan, or demolition plan can look similar but produces incorrect 3D geometry.
Tip: If you only do one thing, do this: provide a reliable scale reference (a labeled dimension, or one known wall length). Without scale, a floor plan can be “proportionally right” but still wrong in real-world units.
How AI typically turns a floor plan into 3D geometry
Most AI floor plan workflows follow a pipeline that resembles computer vision + geometry reconstruction. Exact methods vary, but these steps are common:
- Pre-processing: Deskew, denoise, normalize contrast, and binarize (separate ink from background).
- Feature extraction: Detect wall lines, corners, and connected components (symbols like doors, windows, stairs).
- Room segmentation: Identify enclosed regions and assign labels (kitchen, bath, bedroom) if text is available.
- Topology building: Convert pixels to vector-like wall paths; infer junctions and resolve gaps.
- Parametric reconstruction: Assign wall thickness, heights, and opening parameters; generate a 3D mesh.
- Validation and correction: Detect impossible geometry (floating doors, overlapping walls) and prompt user fixes.
Here’s a simplified pseudo-code sketch of what “pre-processing” can look like. You don’t need to implement this to benefit from it—but it helps explain why clean inputs matter.
# Pseudo-code for preparing a floor plan image
img = load_image("plan.jpg")
img = deskew(img)                  # fix rotation
img = correct_perspective(img)      # fix camera tilt if photo
img = to_grayscale(img)
img = enhance_contrast(img)
img = denoise(img)
mask = adaptive_threshold(img)      # binarize (ink vs paper)
mask = morphological_close(mask)    # connect broken wall lines
Common accuracy pitfalls (and how to avoid them)
Even when a floor plan is clear, certain drafting styles and missing information can mislead automated conversion. Use the table below as a troubleshooting guide.
| Issue in the floor plan | What goes wrong in 3D | How to prevent or fix it |
|---|---|---|
| Heavy hatch patterns or textures | Walls merge with fills; openings get lost | Use a clean export layer if possible; remove textures before upload |
| Inconsistent line weights | Non-walls detected as walls (or vice versa) | Boost contrast and simplify; keep primary wall lines bold and continuous |
| Angled/curved walls with low resolution | Faceted geometry; corner drift; incorrect room areas | Use higher resolution; provide one or two reference dimensions |
| Doors/windows drawn in a nonstandard style | Openings missed or mis-sized | Manually confirm openings after conversion; compare to the plan symbols |
| Missing scale or dimensions | Model is proportionally OK but wrong in real units | Add at least one known measurement (e.g., exterior wall length) |
| Partial plans (cropped rooms, clipped exterior) | AI closes gaps incorrectly; rooms merge | Include full perimeter; avoid cropping through walls |
Dimension fidelity: the validation steps that matter
If your goal is room planning (not just visuals), validation is non-negotiable. Use this quick QA sequence after you generate a 3D model from a floor plan.
- Confirm scale first: Check one known dimension (an exterior wall, a labeled room width). If it’s off, fix scale before anything else.
- Check wall thickness consistency: Interior vs exterior walls should match the drawing’s intent. Inconsistent thickness can shift room sizes.
- Verify door widths and swings: A door that’s 26" vs 32" changes accessibility and furniture placement.
- Validate window placement: Compare distances from corners or adjacent walls. Small offsets change elevation design and furniture fit.
- Spot-check room dimensions: Bedrooms, bathrooms, and kitchens should align with the floor plan’s labeled sizes (if provided).
- Inspect junctions: Look for overlaps, micro-gaps, or walls that don’t connect—these can break area calculations.
Rule of thumb: If two independent measurements (for example, exterior width and a bedroom width) both match, you can have high confidence the model is dimension-true.
Room planning in 3D: what to test beyond “does it fit?”
Once your 3D is faithful to the floor plan, you can use it to test decisions that are difficult in 2D. Focus on clearances, sightlines, and circulation.
High-impact checks for furniture layouts
- Walkways: Maintain comfortable circulation routes through living areas and between doors.
- Door and drawer conflicts: Ensure door swings don’t collide with furniture; check appliance doors in kitchens.
- Seating-to-table spacing: Leave room to pull chairs out without blocking passage.
- Bed access: Confirm both-side access if required, and ensure closets can open fully.
- Bathroom ergonomics: Verify toilet, vanity, and shower clearances; tight bathrooms often “work” on paper but fail in practice.
If you want a simple way to formalize this, treat each layout as a set of constraints. For example:
- Constraint A: Primary hallway path remains unobstructed.
- Constraint B: Door swings clear furniture by a minimum buffer.
- Constraint C: Key use zones (sink, stove, shower entry) have workable standing room.
This mindset turns subjective debates (“it feels cramped”) into testable outcomes (“the path narrows below our target width near the sofa”).
Presentation workflow: make the 3D understandable to non-experts
Architectural visualization is most effective when it reduces decision fatigue. Instead of sending a single render, package your 3D results so viewers can compare options quickly.
What to export for approvals
- Top-down 3D view: The easiest bridge from a floor plan to 3D; shows overall layout and adjacency.
- Eye-level views: One per key room to communicate scale and furniture relationships.
- Option sets: Two or three alternatives (Layout A/B/C) with the same camera angles for clean comparison.
- Annotated snapshots: Add brief notes like “island shifted 12 in” or “door swing reversed.”
Tip: Keep lighting and materials consistent across options. If each version has different styling, stakeholders may react to decor instead of layout quality.
When to rely on AI—and when to intervene manually
AI is excellent at accelerating the jump from a floor plan to a usable 3D draft. Manual intervention is still important when:
- The plan is a scan of an old print with faded lines and handwritten edits.
- The layout is unconventional (curves, split levels, complex stairs).
- Multiple plan layers overlap (structural + electrical + furniture all in one image).
- Dimensional stakes are high (permit sets, fabrication, precise cabinetry).
In those cases, use AI to get to 80–90% quickly, then confirm the last 10–20% with explicit measurements and corrections.
Putting it all together: a practical “floor plan to 3D” checklist
- Capture a clean, straight, high-contrast floor plan image.
- Provide at least one trustworthy scale reference.
- Generate the 3D model and correct obvious symbol mistakes (doors/windows).
- Run dimension validation (scale, key rooms, openings, wall thickness).
- Test room planning constraints (circulation, conflicts, ergonomics).
- Export consistent views for comparison and approvals.
If you’re working on iOS and want a streamlined way to transform a black-and-white floor plan into a dimension-faithful 3D render for planning and presentations, an app like Floor Plan to 3D can fit into the workflow as the conversion step—just remember the real wins come from prep and validation, not from clicking “generate” alone.
