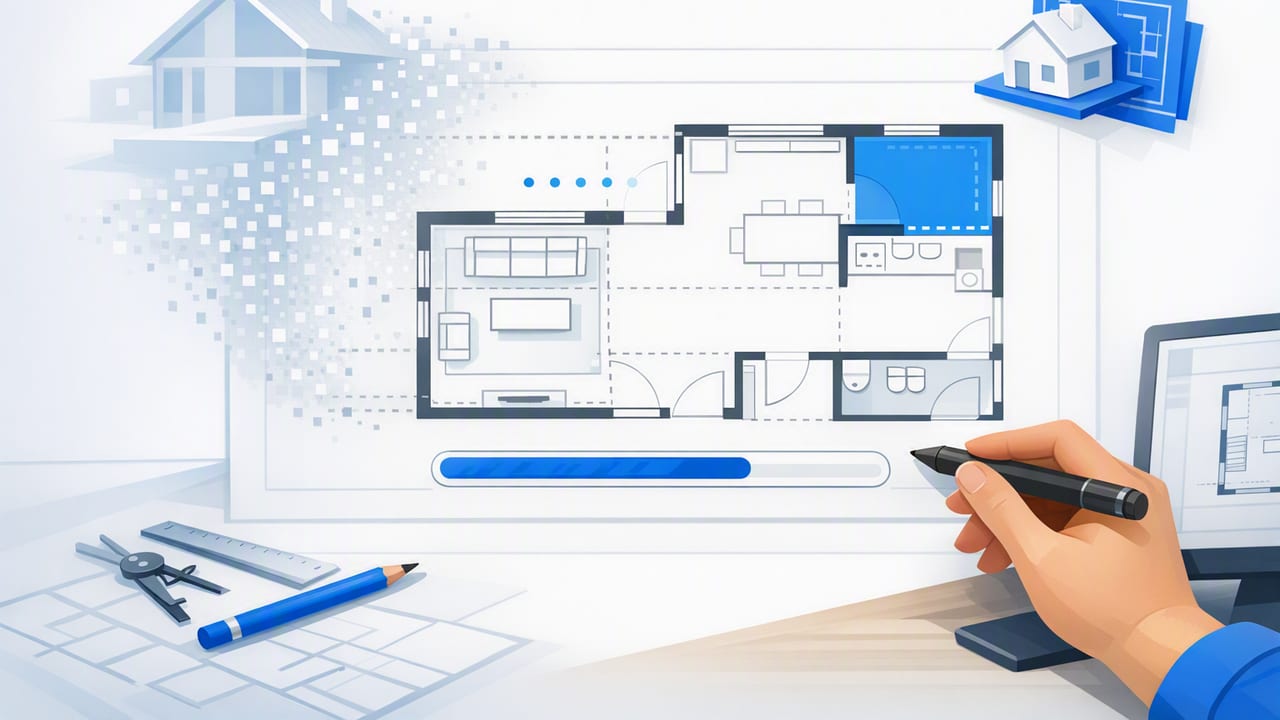
A floor plan is more than a drawing—it’s a compressed set of decisions about space, circulation, structure, and constraints. When you’re remodeling (or even just rearranging furniture), the fastest way to make confident choices is to get two things right:
- Interpretation: correctly reading what the floor plan actually says.
- Validation: confirming the plan is accurate enough for your renovation and your 3D previews.
Once those are handled, 3D visualization becomes far more useful: you can test layouts, finishes, and “what-if” changes without guessing. This guide walks you through an accuracy-first workflow—from reading symbols and dimensions to creating reliable 3D renovation previews and using AI room planning effectively.
Why accuracy in a floor plan matters (even for quick previews)
People often treat 3D renders as “just visual.” But the best renovation decisions come when visuals are tied to real constraints. A few inches can change whether:
- a refrigerator door clears an island,
- a bed allows for nightstands and walking space,
- a bathroom door conflicts with a vanity,
- your exterior refresh aligns with window placement.
Rule of thumb: If your floor plan measurements are off, your 3D preview becomes a mood board, not a decision tool.
Step 1: Extract the key data from the floor plan
Before you convert a floor plan into 3D (or feed it into any room-planning workflow), identify what you must preserve. Prioritize these elements:
1) Dimensions and scale
Look for:
- Overall exterior dimensions (length/width of the building footprint)
- Room dimensions (e.g., 12' x 14')
- Wall thickness indications (helps identify structural vs partition walls)
- Scale notation (e.g., 1/4" = 1'-0") if the plan is printed
2) Doors, windows, and openings
Door swings and window placement strongly affect circulation and furniture layouts. Confirm:
- Door direction (in-swing vs out-swing)
- Window width if shown (critical for exterior refresh and elevation alignment)
- Openings (cased openings, arches, pocket doors)
3) Labels and room functions
Room labels (e.g., “BEDROOM,” “WIC,” “PANTRY”) aren’t just names—they signal intended use, expected fixtures, and typical clearances. Preserving labels helps AI-guided room planning propose more realistic layouts.
4) Fixed elements and constraints
- Stairs (rise direction, landings)
- Plumbing walls (bath/kitchen back-to-back)
- Fireplaces, chimneys
- Columns and beams (often shown as thicker lines or notes)
Step 2: Learn the most common floor plan symbols (quick reference)
Most residential floor plans share a visual “language.” Here’s a quick table to reduce misreads before you model or redesign.
| Symbol / Mark | What it usually means | Why it matters for 3D previews |
|---|---|---|
| Arc at a doorway | Door swing direction | Prevents collisions with fixtures/furniture |
| Thin vs thick walls | Partition vs structural (varies) | Impacts feasibility of removing walls |
| Dashed lines | Elements above/below cut plane (e.g., soffit, upper cabinets) | Keeps ceiling/upper features from being forgotten |
| Window breaks in a wall | Window opening | Determines elevation rhythm and interior light |
| Stair arrow | Direction up/down | Affects headroom, railing placement, circulation |
Note: Symbol conventions vary by designer and region. When in doubt, cross-check against dimensions or notes rather than guessing.
Step 3: Validate the floor plan before you trust it
Even professionally drawn plans can drift from reality—especially if the plan is old, scanned, or modified. Use this validation checklist before you rely on a floor plan for renovation previews.
Validation checklist (practical and fast)
| Check | How to do it | What you’re looking for |
|---|---|---|
| Overall dimensions match room totals | Add interior segments + wall thickness | Totals should reconcile (small rounding is OK) |
| Door widths are plausible | Compare to typical sizes | Interior: often 28–36 in; exterior: often 36 in |
| Clearances make sense | Spot-check kitchens/baths | Space for appliance doors, toilet clearances, etc. |
| Window placement aligns with symmetry | Compare to exterior notes/elevations (if any) | Prevents unrealistic exterior redesign concepts |
| Reality check with a tape measure | Measure 2–3 anchor walls on site | Confirms whether the plan is “close enough” |
If you’re working from a black-and-white scan, a single skew can distort scale. Correcting perspective (or re-scaling using a known dimension) is often the difference between a believable 3D render and a misleading one.
Step 4: Prepare a scanned floor plan for conversion (clean input = clean output)
Whether you’re using a floor plan conversion tool, tracing manually, or generating a 3D model, input quality matters. Use these prep steps:
- Straighten and crop the image so walls are horizontal/vertical (as intended).
- Increase contrast so wall lines are strong and text remains legible.
- Remove clutter (handwritten notes, stamp blocks) if they cover dimensions.
- Confirm one “anchor” measurement you trust (e.g., overall width) for scaling.
Simple scaling formula (when you have one known measurement)
If your conversion workflow needs a scale factor, you can compute it from a known dimension:
# Scale factor = real-world length / measured length on the image
# Example: a wall is 12 ft in reality, and measures 3.0 units in your tool
scale_factor = 12.0 / 3.0  # = 4.0 (multiply all image measurements by 4)
Even if you never touch code, the concept is useful: pick one reliable dimension, then make everything else consistent with it.
Step 5: Turn the floor plan into a 3D decision tool (not just a picture)
Once your floor plan is readable and validated, build (or generate) a 3D preview with a focus on what drives remodeling decisions:
Model priorities for renovation previews
- Accurate wall positions first (openings second, finishes third).
- Door/window sizes that match the plan (or your site measurements).
- Ceiling height assumptions noted explicitly (don’t leave it ambiguous).
- Fixed elements placed early (stairs, plumbing fixtures, fireplaces).
Then layer in redesign options: cabinetry, furniture, lighting, materials, and exterior elements. This keeps the 3D render grounded in constraints instead of drifting into “idealized” layouts that won’t fit.
How to use AI room planning without losing accuracy
AI room planner features can speed up layout ideation, but they work best when you give them clear boundaries and realistic goals. Here’s a practical approach that keeps your floor plan in control.
1) Define the non-negotiables
- Keep plumbing where it is (or specify what can move).
- Protect structural walls (unless an engineer is involved).
- Set target seating/sleeping counts (e.g., “sleep 2 + desk,” “seat 5 daily”).
2) Ask for options, then evaluate with measurements
Generate 2–4 layouts, but evaluate them using clearance checks rather than vibes. For example:
- Kitchen: aisle widths, appliance door swings, landing zones.
- Living room: walkway paths, TV viewing distance, rug sizing.
- Bedroom: bed clearances, closet access, door conflicts.
3) Treat materials as separate from layout
Separate “where things go” from “what they look like.” You’ll make faster progress by locking the layout first, then iterating finishes (flooring, paint, countertops, siding color) once the plan works.
Two remodel examples where the floor plan does the heavy lifting
Example A: Opening a kitchen wall (layout + circulation test)
Suppose your floor plan shows a kitchen adjacent to a dining room with a wall between. Before you decide to remove it, use the plan to test:
- What replaces the wall (island, peninsula, beam, half wall).
- Traffic paths from entry to pantry to fridge to sink.
- Dining clearances (chair pull-back space and walkway behind chairs).
In 3D, you can quickly see whether the open concept actually improves function—or simply shifts the bottleneck.
Example B: Exterior refresh aligned to window rhythm
An exterior redesign often fails when it ignores the underlying floor plan. Use your floor plan to map:
- window positions and sizes (for facade balance),
- front door alignment with interior hallway/foyer,
- roofline constraints if additions are being considered.
Even simple 3D massing plus a few finish options (siding color, trim width, porch details) can prevent expensive “looks good online, feels wrong in real life” choices.
Common floor plan mistakes that derail 3D renders
- Trusting a scan without re-scaling: slight skew becomes big dimensional drift.
- Ignoring wall thickness: rooms mysteriously shrink and openings don’t align.
- Missing pocket doors or cased openings: layouts feel cramped or unrealistic.
- Forgetting vertical constraints: soffits, sloped ceilings, or stair headroom get lost.
- Overfitting furniture: a layout that “fits” on paper may fail on clearances.
Fixing these early is far easier than reworking everything after you’ve already chosen finishes and built presentation renders.
A quick pre-presentation checklist (so your preview reads as credible)
- Confirm scale using at least one trusted measurement.
- Verify openings: door swings and window positions.
- Run clearance checks in kitchens and bathrooms.
- Label assumptions (ceiling height, finish thickness, what’s existing vs proposed).
- Export consistent views: same camera angles across options for fair comparison.
Consistent comparison views are especially helpful when you’re deciding between two layouts or presenting options to family members, clients, or contractors.
Wrap-up: make the floor plan your single source of truth
The fastest remodeling workflows aren’t the ones that jump straight to pretty renders—they’re the ones that treat the floor plan as the source of truth, validate it quickly, then visualize changes in 3D with clear constraints. When you read the plan correctly and preserve dimensions, your renovation previews become a practical decision system: you can test layouts, avoid costly mistakes, and iterate confidently.
If you want to streamline the scan-to-3D portion on iOS while keeping labels and proportions intact, one option to explore is Floor Plan to 3D & Home Redesign as part of your broader workflow.
