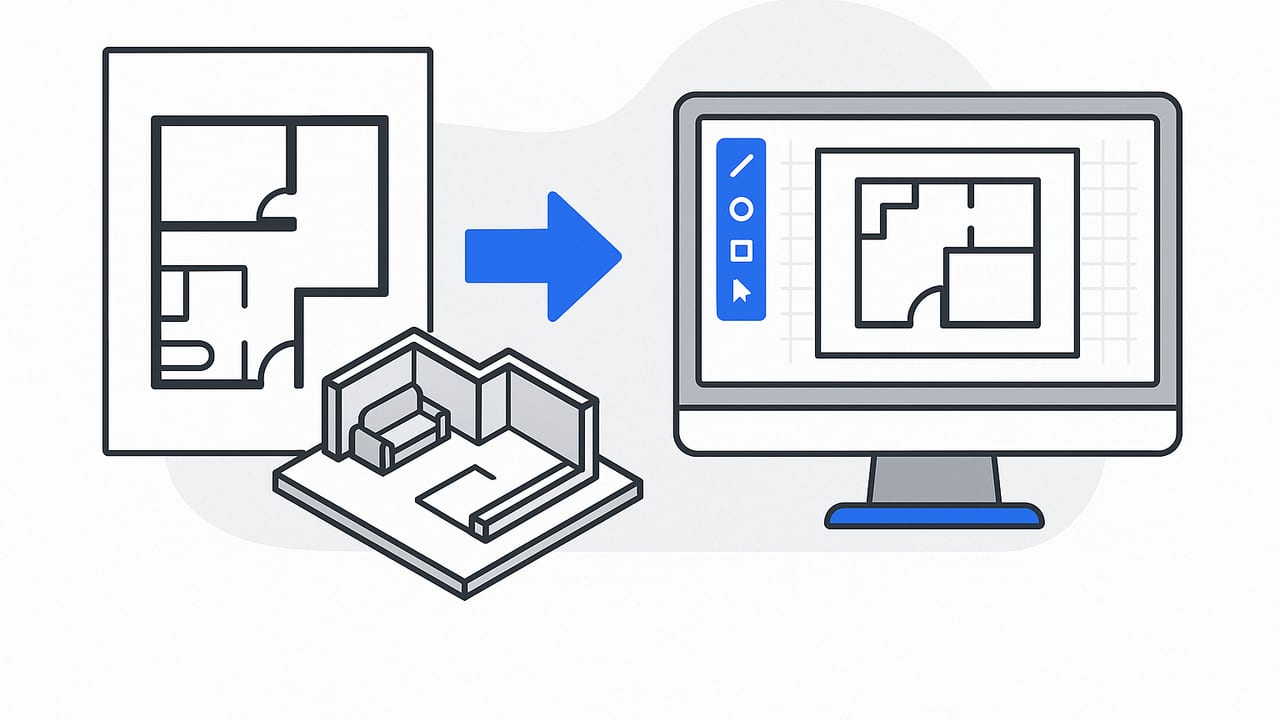
Turning a 2D floor plan into a compelling, measurable 3D view is now easier than ever. But should you rely on a quick floor plan to 3D workflow or go all-in with traditional CAD/BIM tools? The right answer depends on stage, scope, and standards. This guide explains the differences, compares capabilities, and lays out a hybrid approach that combines speed and accuracy.
What “Floor Plan to 3D” and “CAD” Really Mean
Before we dive in, it helps to clarify terms:
- Floor plan to 3D tools transform existing 2D layouts (photos, scans, PDFs) into navigable 3D rooms or entire homes. They prioritize speed, visualization, and true-to-scale representation for planning, staging, and client communication.
- CAD/BIM platforms (e.g., AutoCAD, Revit, Archicad) are technical modeling systems for drafting, documentation, and construction-level detail. They support parametric modeling, layers, constraints, and standards-compliant outputs (DWG/DXF/IFC).
While there is overlap—some “floor plan to 3D” apps offer measurements and annotations, and some CAD tools offer quick visualization—the workflows target fundamentally different problems: quick spatial understanding versus deep design control and documentation.
Compare floor plan to 3d vs cad: quick take
If you need a fast, accurate-enough visual to explore layouts, test furniture placement, or present options, a “floor plan to 3D” workflow wins on speed and simplicity. If you need fully editable geometry, construction documents, and compliance with drafting standards, CAD/BIM is the right choice. Many teams combine both: start with a rapid 3D visualization, then move validated concepts into CAD for detail and documentation.
Side-by-Side Comparison
| Criteria | Floor Plan to 3D Tools | CAD/BIM Platforms |
|---|---|---|
| Primary purpose | Rapid visualization, planning, staging | Precision modeling, documentation, coordination |
| Typical users | Homeowners, real estate pros, interior designers | Architects, engineers, contractors, advanced designers |
| Learning curve | Low; mobile-friendly, intuitive | Moderate to high; technical training typical |
| Time to first result | Minutes to an hour | Hours to days (depending on detail) |
| Accuracy tolerance | Good for planning (within a small margin when calibrated) | High precision, parametric controls, constraints |
| Output types | 3D renders, walkthroughs, images, sometimes web viewers | DWG/DXF plans, sections, schedules, IFC/BIM data, detailed sheets |
| Collaboration | Share images/links quickly | Multi-discipline workflows, version control, standards |
| Hardware | Smartphone/tablet; light computing needs | Workstations or capable laptops for modeling/rendering |
| Cost | Usually lower; subscription or per-use | Higher licenses/subscriptions; training time |
| When it shines | Early-stage concepts, client presentations, rapid iterations | Construction documents, detailed design, complex geometry |
| Limitations | Less control over parametrics and standards | Slower for quick visualizations; steeper learning curve |
Accuracy and Scale: How Close Is “Close Enough”?
Accuracy matters even when you’re just planning a living room. A well-made 3D visualization should honor the dimensions of the original plan. Here’s how to keep results tight:
- Calibrate a known dimension. Use a labeled dimension (e.g., a 10' wall) to set scale. This dramatically reduces drift.
- Scan at high resolution. When converting a printed plan, capture at 300+ DPI to minimize line distortion.
- Correct for skew. Photograph plans from directly above and crop edges to ensure orthogonality.
- Cross-check diagonals. Measuring diagonals catches rounding errors better than only checking straight runs.
For furniture planning and real estate visuals, a small margin (often within 1–2%) is usually acceptable. For construction documents, you’ll want CAD/BIM-level control with locked dimensions, constraints, and formal QA.
Speed vs Control: Choosing the Right Trade-Off
Visualization-oriented tools give you speed. Load a floor plan, verify scale, and you can instantly tour the space, rearrange furniture, test finishes, and export high-resolution images. That speed builds momentum—clients make decisions faster when they see a lifelike perspective.
CAD/BIM tools prioritize control. You can set exact wall thicknesses, define layers and materials, label openings with precise schedules, and generate sheet sets. That’s essential for permit drawings and complex coordination—but it takes longer to get to a convincing render unless you’re already fluent in the software.
Deliverables: Renders vs Documents
- Floor plan to 3D outputs: Photorealistic or stylized renders, walk-through animations, and shareable visuals. Some tools include simple measurement callouts and basic annotations for context.
- CAD/BIM outputs: Drafting sheets, scaled plans, sections, elevations, schedules, and data-rich BIM models (IFC). You can render from within many BIM apps, but it may require tuning materials, lights, and cameras.
If your client needs a quick, believable view of a kitchen remodel, 3D visualization is ideal. If your contractor needs a dimensioned framing plan and window schedules, CAD/BIM is the safer bet.
Workflow Examples
Rapid Concepting From a Scanned Plan
- Photograph or scan the black-and-white floor plan.
- Import and calibrate a known measurement.
- Generate the 3D room/home automatically.
- Add or rearrange furniture, finishes, and lighting.
- Export a few high-resolution angles for client review.
Time: 15–45 minutes for a typical room. Perfect for staging, color schemes, and space planning.
CAD/BIM Documentation Path
- Trace the plan with parametric walls at correct thicknesses.
- Insert doors/windows with cataloged types and head heights.
- Apply layers, materials, and metadata.
- Dimension and annotate based on standards.
- Generate sheets, schedules, and exports (DWG/DXF/IFC).
Time: Several hours or more, depending on detail and complexity.
A Hybrid Strategy That Works
You don’t have to choose one or the other. Many teams use a hybrid:
- Explore rapidly with a floor plan to 3D tool to validate ideas with stakeholders.
- Gather feedback from renders and simple walkthroughs.
- Lock decisions on layout, furniture sizes, and circulation.
- Rebuild in CAD/BIM for technical documentation where needed.
This approach minimizes rework. You only invest in CAD detail once the concept is proven.
Quality Assurance Checklist (Simple but Effective)
- Scale validation: Set scale from two known dimensions at opposite sides of the plan.
- Critical path clearances: Verify aisle widths at kitchens, baths, and hallways (e.g., minimum 36" clear where applicable).
- Furniture footprint checks: Compare real product specs against the 3D geometry width/length.
- Door swing validation: Ensure swings do not block circulation or collide with adjacent furniture.
- Diagonal spot checks: Confirm room diagonals or major spans to detect skewed scaling.
Measure twice, render once. Quick QA up front saves countless revisions later.
Common Pitfalls and How to Avoid Them
- Skewed photos lead to misread geometry. Shoot from directly above, keep edges parallel, and crop cleanly.
- Ignoring wall thickness can compress usable space. When in doubt, infer from window/door jambs or typical construction standards.
- Unlabeled dimensions make scaling guessy. If you lack a known dimension, measure a real on-site reference (e.g., a door width) and use it to calibrate.
- Overreliance on visuals for construction. Renders are persuasive; ensure everyone knows when a visualization is conceptual only.
Cost and Time Considerations
For small projects, homeowners, and real estate professionals, the faster time-to-value of a floor plan to 3D workflow is compelling. You can create decision-ready visuals without committing to training, templates, or workstation hardware. For firms doing permit sets, build-outs, or multi-trade coordination, CAD/BIM costs are justified by the precision, standards compliance, and data-rich outputs.
File Interoperability Tips
- Start with clean inputs: If you’ll move from visualization to CAD, keep the original plan scans and any redlines organized by room or sheet number.
- Use naming conventions: Example: PROJ-AREA-LEVEL-DATE (e.g., PARKER-KITCH-1F-0701).
- Document key decisions: Capture chosen furniture sizes, counter depths, and clearances in a shared note or spreadsheet so CAD modeling reflects the approved concept.
- Confirm export needs early: If your visualization tool supports 3D model export (OBJ/GLB/FBX), verify material and scale settings. If it doesn’t, plan on a clean rebuild in CAD using the approved 3D renders as reference.
Who Should Choose What?
- Homeowners: Use floor plan to 3D tools for planning, furniture fitting, and communicating with contractors. Hire CAD professionals when you need permit drawings.
- Interior designers: Start with 3D visualization for layout and finishes; move to CAD for millwork, elevations, and detail sheets.
- Real estate agents: Emphasize floor plan to 3D visuals for listings and staging concepts. CAD isn’t necessary unless you’re coordinating renovations.
- Architects and contractors: Leverage rapid 3D visualization for client buy-in, then switch to CAD/BIM for accurate documentation and coordination models.
FAQs
Is a 3D visualization “accurate enough” for real projects?
For space planning and client decisions, yes—when you calibrate scale and perform basic QA. For construction, permit submissions, or fabrication, use CAD/BIM with formal dimensions and constraints.
Can I go from 3D visualization to CAD?
Often. If your visualization app supports model export, you can reference the geometry in CAD. Otherwise, rebuild in CAD using the renders and a dimensioned plan as guides. This ensures geometry integrity and standards compliance.
What about AR or VR?
Floor plan to 3D tools frequently support AR/VR-like viewing for immersive walkthroughs. CAD/BIM platforms can also support AR/VR via plugins and export pipelines, but they require more setup.
Conclusion: Choose Speed When You Can, Precision When You Must
When you compare floor plan to 3D vs CAD, the decision hinges on the deliverable. Need buy-in, staging, or quick layout validation? Choose a floor plan to 3D workflow. Need parametric control, documentation, and multi-trade coordination? Choose CAD/BIM. Most successful teams blend both: iterate quickly in 3D, then invest in CAD detail once the concept is locked.
If you want a lightweight, phone-first way to turn a black-and-white 2D plan into a realistic, true-to-scale 3D render for planning and presentations, the iOS app Floor Plan to 3D can help—upload a photo or scan, verify scale, and export high-resolution images when you’re ready to share.
