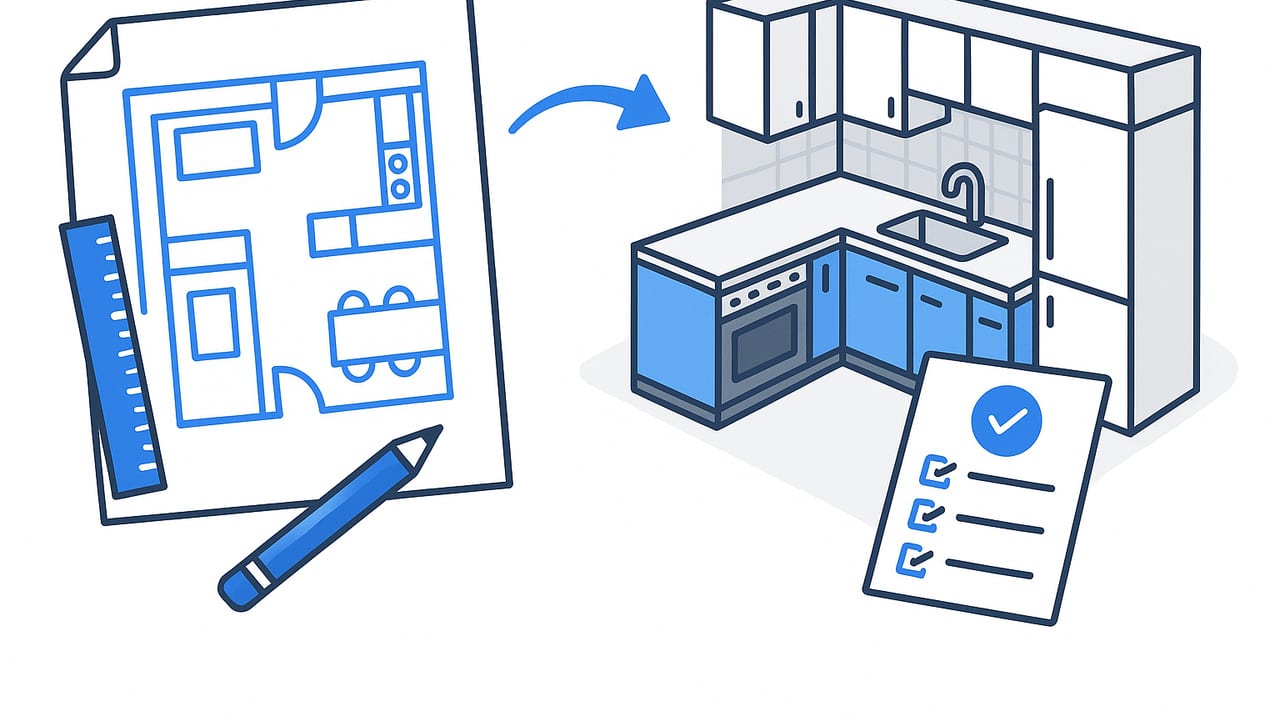
Turning a floor plan to 3D for kitchen remodel planning is one of the fastest ways to see how your layout, appliances, lighting, and finishes will actually work in real life. A scaled 3D model lets you test clearances, circulation, storage, and sightlines before anyone orders cabinets or moves plumbing. This guide walks you through a practical, accurate, and repeatable workflow—from measurements to model to review—so your 3D decisions translate cleanly to the job site.
Why 3D Matters for Kitchens
Kitchen remodels combine structure, mechanicals, and design in a small footprint. Paper plans make it hard to anticipate spatial conflicts, while 3D visualization reveals:
- Appliance door swings colliding with islands or corners
- Counter landing zones missing where you actually place hot pans
- Aisle widths too narrow for two cooks or accessible use
- Lighting shadows over prep areas due to uppers or range hoods
- Color and material interactions under realistic lighting
When you convert a 2D plan into a dimensionally faithful 3D model, you can catch these issues early and iterate with confidence.
Start With Measurements That Drive Accuracy
Even the best 3D rendering is only as good as the inputs. Gather accurate reference data:
- Overall room shell: Measure wall-to-wall dimensions, ceiling height, and squareness. Note any jogs, soffits, or beams.
- Openings: Door/window widths, heights, sill heights, and swing directions. Include casing thickness if it impacts clearance.
- MEP rough-ins: Existing locations for plumbing, gas, electrical, HVAC vents. Photograph shutoffs and panel locations.
- Structural constraints: Load-bearing walls, columns, duct chases, stairwells behind walls.
- Appliance specs: Manufacturer dimensions, clearances, hinge swing, and ventilation requirements.
Measure twice, model once. Calibrate your 3D model to a known dimension (e.g., 10' wall) so everything scales correctly.
Key Kitchen Standards to Check in 3D
Use your 3D model to validate these commonly referenced guidelines. Always confirm with codes, manufacturer specs, and local requirements.
| Element | Typical Guideline | Notes |
|---|---|---|
| Work aisle (1 cook) | 42 in (1070 mm) | From counter edge to counter edge |
| Work aisle (2 cooks) | 48 in (1220 mm) | Increase with larger appliance doors |
| Walkway (no work) | 36 in (915 mm) | Traffic-only paths |
| Island clearance | 42–48 in (1070–1220 mm) | Account for oven/DW doors |
| Counter height | 36 in (915 mm) | Bar height 42 in (1065 mm) |
| Base cab depth | 24 in (610 mm) | +1–1.5 in overhang |
| Upper cab height | 54 in to bottom (from floor) | Varies with backsplash & user height |
| Fridge landing area | 15 in (380 mm) min | On latch side or across |
| Cooktop landing | 12 in one side/15 in other | 30 in total preferred |
| Dishwasher to sink | Within 36 in (915 mm) | Shared cabinet run preferred |
| Range hood clearance | Gas: 30–36 in; Electric: 24–30 in | Follow manufacturer specs |
| Microwave height | Under-cab: ~16–18 in above cooktop | Avoid blocking sightlines |
| Turning radius (ADA) | 60 in circle | For accessible designs |
Plan Layouts That Fit Real Cooking
Classic work-triangle thinking (sink, cooktop, fridge) is useful, but modern households benefit from work zones—prep, cook, clean, bake, beverage. In 3D, test these common layouts:
- Galley: Efficient for small spaces. Keep 42–48 in between runs and ensure dishwasher/oven doors don’t collide.
- L-shaped: Great for open plans. Consider a peninsula seat height and knee clearance if hosting.
- U-shaped: Superb for storage and zones. Watch corner cabinet access and natural light.
- Island: Ideal for prep and socializing. Simulate stool spacing (24 in per seat) and traffic patterns.
Use your 3D camera to place eye level at 5'4"–5'8" to check sightlines to the living or dining area, especially in open concepts.
A Step-by-Step Workflow: From Floor Plan to 3D
- Capture the plan: Photograph or scan your black-and-white 2D floor plan. Ensure the image is flat, well-lit, and includes a known dimension (e.g., a labeled 12' wall).
- Calibrate scale: In your 3D tool, draw a reference line over the known dimension and set the model scale. This preserves true measurements throughout.
- Build the shell: Trace walls, set thickness, and specify ceiling height. Add soffits, beams, and any non-plumb conditions.
- Place openings: Insert doors and windows with exact sizes, sill heights, and swings. Add casing if it affects clearance near appliances.
- Lay out cabinets: Start with base runs, then uppers. Use real cabinet widths (9, 12, 15, 18… 36 in). Model fillers, panels, toe kicks, and end panels.
- Add appliances: Import manufacturer-sized blocks for range, wall oven, microwave, dishwasher, fridge, and ventilation. Model door swings and handles.
- Plumbing & power: Position sinks, faucets, disposals, outlets, and task lighting. Mark GFCI-protected receptacles per local code.
- Materials & lighting: Apply cabinet finishes, counters, backsplash, flooring, and paint. Add daylight portals and realistic light temperatures (e.g., 3000K warms wood tones).
- Ergonomics pass: Check clearances with doors and drawers open. Verify stool legroom (12 in overhang for 36 in counters), reach heights, and traffic flow.
- Iterate & annotate: Create alternative schemes and annotate dimensions directly in 3D views. Export stills for stakeholder feedback.
3D QA Checklist Before You Share
- All walls, cabinets, and appliances align to scaled dimensions.
- Open every appliance door in a separate 3D scene; confirm no collisions.
- Check 42–48 in aisles with a dimension tool in multiple spots.
- Confirm landing zones next to fridge and cooktop.
- Verify hood clearances and ducting route feasibility.
- Simulate night lighting: task, ambient, and accent layers.
- Confirm outlet and switch placement where backsplash or panels change.
- Test a tray pull-out or lazy Susan in corners for reach.
- Run a glare test: glossy counters near windows may need matte finishes.
Common Pitfalls Your 3D Model Can Prevent
- Oversized islands: Beautiful in renderings, but unworkable if aisles drop below 42 in or if the dishwasher door blocks circulation.
- Fridge doors and handles: In 3D, model the handle and hinge clearance; counter-depth units still need swing space.
- Upper cabinet shadows: Add under-cabinet lighting and render at dusk to catch shadowing over prep areas.
- Range ventilation: Show the hood, duct path, and bulkhead size to avoid surprises above the range.
- Corner conflicts: Corner drawers + adjacent appliance handles often collide—test with open-door scenes.
Lighting and Materials: Make It Realistic, Not Just Pretty
Realistic lighting turns a good model into decision-ready design:
- Layered lighting: Task (under-cabinet), ambient (recessed), accent (pendants/strips). Model each circuit and preview scenes per layer.
- Color temperature: Use 2700–3000K for warm residential settings. Keep consistent CCT across fixtures to avoid mismatched hues.
- Material reflectance: Set reasonable roughness/gloss to avoid mirror-like counters unless intentional. Stone veining should scale correctly.
- Bounce light: Lighter cabinet interiors and backsplashes reduce visual heaviness in small kitchens—verify in the render.
Use 3D to Coordinate Cost and Schedule
A practical model helps with procurement and timing:
- Cabinet counts: Confirm module sizes and special accessories (tray dividers, pull-outs) from the model before ordering.
- Slab takeoffs: Approximate countertop square footage and seam placement from accurate lengths and depths.
- Lead times: Flag custom hood, panel-ready fridge doors, and specialty lighting early in notes attached to the 3D views.
- Phasing: Annotate demo, rough-in, and finish sequences; export views per phase to brief trades.
Small-Space Example: Galley vs. Island
Suppose your existing plan shows a 10' x 13' room. In 3D, you can test:
- Galley upgrade: Two parallel runs with a 44 in aisle, 24 in landing beside the cooktop, and a 15 in pull-out pantry at the end. Check that the dishwasher door leaves at least 24 in of passable space.
- Compact island: Replace one wall run with a 24 in x 72 in island and 42 in clearances around. Seat three with 24 in per stool and a 12 in overhang. Inspect if the fridge door clears the island by at least 4 in.
Render both with identical finishes and camera angles. Many homeowners choose the galley after seeing how the island compresses the work aisle in reality.
Quick Math for Aisles and Overhangs
Use simple rules while modeling:
- Minimum island width for seating on one side: 36 in cabinet + 12 in overhang = 48 in
- Two rows of seating back-to-back: Allow 60–66 in between seat edges for stand-up egress
- Oven door clearance: Aim for 30–36 in clear floor space in front when open
// Pseudo-check for an island in a 13' room with two 24" base runs
roomWidth = 156; // inches
baseRun = 25.5; // 24" cab + 1.5" overhang
aisleMin = 42;  // inches
islandDepth = 36; // no seating
required = baseRun + aisleMin + islandDepth + aisleMin + baseRun;
fits = required <= roomWidth;
If the calculated required width exceeds the room width, consider narrowing the island or switching to a galley.
Deliverables That Help Decisions Get Made
- True-scale floor with 3D overlays: Combine dimensioned plan views with perspective images for context.
- Open-door scenes: One sheet with fridge, oven, dishwasher, and microwave doors open in each relevant view.
- Lighting scenes: Day, evening, and task-only scenes to evaluate shadows and color.
- Finish board: Export swatches (cabinet finish, counter, backsplash, floor, paint) alongside the 3D for fast approvals.
Tips for Smooth Collaboration
- Name views clearly: “North Wall—Range—Open Doors” beats “View 7.”
- Mark decisions in the model: Tag items like “Panel-ready fridge” or “2cm quartz” so notes travel with visuals.
- Version control: Save alternatives as A, B, C with change logs (e.g., “B: moved sink to island, added 2 pendants”).
Final Pre-Construction Reality Checks
Before your 3D kitchen becomes a purchase order:
- Re-verify scale: Re-measure one or two key walls and confirm the model dimensions match.
- Appliance cut sheets: Update the model to exact SKUs, including handle depths and hinge clearances.
- Vent path: Confirm the duct run, termination point, and any soffit build-outs in the ceiling model.
- Electrical plan: Place outlets per code and practical use (coffee station, countertop corners, inside pantry if needed).
- Water and gas: Check for feasible rerouting; annotate wall openings and patchwork impacts.
Putting It All Together
Converting a floor plan to 3D for a kitchen remodel lets you rehearse the build before it happens. When you calibrate scale, model appliances with real clearances, and test lighting and materials under realistic conditions, you minimize costly surprises and speed up decision-making. Use the model not just as a pretty picture, but as a coordination tool—one that aligns layout, ergonomics, code, procurement, and schedule.
On iPhone, you can take a crisp photo of a black-and-white plan, calibrate to a known dimension, and generate a true-scale 3D room in minutes. From there, iterating cabinet modules, appliance placements, and lighting scenes becomes fast and evidence-based—exactly what a high-stakes kitchen deserves.
For a streamlined mobile workflow that preserves dimensions and exports high-resolution visuals, consider using an iOS app such as Floor Plan to 3D to transform your 2D plan into an accurate, editable 3D kitchen you can review with your contractor or client.
