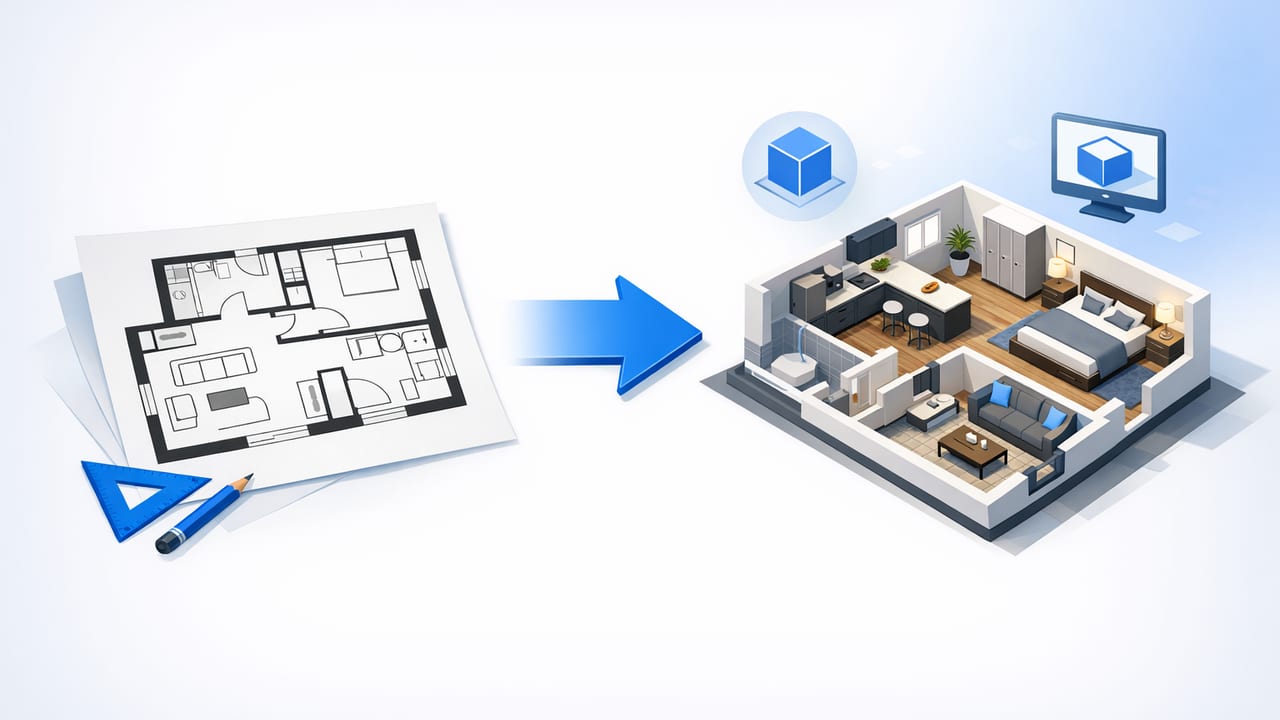
Converting a floor plan to 3D is one of the fastest ways to understand space before you renovate, stage, or redesign. But the same step that makes 3D so powerful—turning lines and symbols into “real” walls, doors, and rooms—also introduces common errors: walls that shift, doors that swing the wrong way, rooms that feel too small, or windows that don’t line up with the exterior.
This guide is an accuracy-first workflow you can use whether you’re a homeowner planning a remodel, a designer building a concept, or a real estate pro preparing a presentation. The goal is simple: create 3D renders that look great and still reflect the original plan’s dimensions and intent.
Why accuracy matters in a floor plan to 3D workflow
3D is persuasive—sometimes too persuasive. A beautiful render can hide layout issues that later become expensive surprises. Accuracy keeps your 3D output useful for real decisions:
- Renovation previews: confirm that a kitchen island clears walkways and appliance doors.
- Room planning: test furniture layouts without guessing scale.
- Exterior refresh: align window placement and openings with the facade.
- Communication: reduce back-and-forth with contractors or clients.
Rule of thumb: if your 3D model can’t pass a basic “tape-measure test,” it’s an illustration—not a planning tool.
Step 1: Start with the cleanest plan you can
The easiest accuracy wins come before you convert anything. Your input plan quality determines how well labels, wall thickness, and openings are interpreted.
What to use (best to worst)
- Original PDF or CAD export (sharp lines, consistent scale).
- High-resolution scan (300–600 DPI if possible).
- Photo of a printed plan (use only if scanning isn’t possible).
Quick cleanup checklist
- Crop to the plan boundary so extra notes don’t confuse wall detection.
- Ensure the plan is flat (no perspective distortion from angled photos).
- Increase contrast so walls are clearly darker than background.
- Keep dimension strings and room labels visible if you need them preserved.
Step 2: Confirm scale and dimensions before you trust any 3D
Most “my rooms are the wrong size” problems come from scale assumptions. Even if your tool auto-detects dimensions, you should verify with at least one known measurement.
A simple scale validation method
Pick one long, clear dimension—like an exterior wall length—and compare it to your 3D model’s measurement. If the plan doesn’t include dimensions, use a known object (e.g., a standard door width) as a reference.
| Reference Element | Typical Real-World Size | Why It’s Useful |
|---|---|---|
| Interior door | 30–36 in (76–91 cm) | Common, easy to spot, helps verify opening widths |
| Hallway clear width | 36–48 in (91–122 cm) | Great for checking circulation and code-friendly layouts |
| Kitchen counter depth | 24–25.5 in (61–65 cm) | Reveals scaling errors that make kitchens feel “off” |
| Stair tread depth | 10–11 in (25–28 cm) | Helpful when stairs are present and clearly drawn |
Step 3: Interpret walls correctly (thickness, alignment, and continuity)
Walls are the backbone of any floor plan to 3D conversion. Common mistakes happen when the plan uses multiple line weights, when walls are drawn with gaps, or when interior and exterior thicknesses aren’t consistent.
Three wall pitfalls and how to prevent them
- Wall thickness drift: if some walls become thicker/thinner, verify whether the plan uses different line weights for structure vs. partitions. Keep a consistent thickness for interior partitions unless the plan clearly indicates otherwise.
- Broken corners and micro-gaps: tiny gaps can create separate wall segments in 3D. Zoom in and ensure corners meet cleanly.
- Offset walls: when an interior wall should align with an exterior feature (like a window bay), confirm alignment using dimensions or centerlines if available.
Step 4: Openings—get doors and windows right the first time
Doors and windows are where 3D “feels wrong” fastest. A single flipped swing can break circulation. A window set too high can ruin an exterior refresh concept.
Door checks
- Swing direction: match the arc on the plan. If there’s no arc, infer from adjacent fixtures (e.g., bathroom vanity clearance).
- Clearance: ensure doors don’t collide with appliances, toilets, or furniture layouts.
- Consistency: verify that similar doors (bedrooms, closets) use consistent widths.
Window checks
- Spacing: check symmetry on the exterior when relevant—especially front elevations.
- Heights: in interiors, align window sill height with furniture needs (e.g., desk placement) and privacy.
- Grouping: confirm that triple windows or sliders are treated as a single opening where intended.
Step 5: Use an AI room planner without losing layout truth
AI room planners can accelerate layout ideas—furniture placement, style directions, even suggested renovations. The best results come when AI operates within firm constraints: accurate room boundaries, realistic circulation paths, and correct opening locations.
Practical constraints to set before generating ideas
- Circulation lanes: preserve key walkways (commonly ~36 in / 91 cm minimum in many homes).
- Functional zones: kitchens need prep, cook, and clean zones; living rooms need viewing distance.
- Fixed elements: treat plumbing stacks, staircases, and structural walls as non-negotiable unless you’re explicitly modeling a major renovation.
Think of AI as a fast collaborator: it’s great at options, but you’re responsible for ensuring the option fits the real plan.
Step 6: Validate the 3D model with a “three-pass” review
Before you export any 3D renders for proposals or presentations, run a quick review that catches most issues.
Pass A: The footprint pass (top-down)
- Do exterior walls form a clean, closed perimeter?
- Do room sizes and proportions match the 2D plan?
- Are any rooms duplicated or missing due to misread boundaries?
Pass B: The circulation pass (walkthrough)
- Can you move naturally from entry to living areas?
- Do doors open into usable space?
- Do stairs and landings feel plausible?
Pass C: The “furniture reality” pass
- Place a bed, sofa, dining table, and one large storage piece.
- Check that drawers/doors have room to open.
- Confirm that the room still feels functional, not just pretty.
Common conversion problems (and quick fixes)
| Problem | Likely Cause | Fix |
|---|---|---|
| Rooms look stretched or compressed | Incorrect scale or missing dimension reference | Recalibrate using one known wall length or a standard door width |
| Walls “double” or overlap | Plan has parallel line artifacts or shadows from scanning | Increase contrast, clean the image, or manually merge wall segments |
| Windows appear as doors (or vice versa) | Symbols are ambiguous or low resolution | Manually correct openings and verify on the exterior view |
| Label/dimensions missing in output | Crop removed annotation area or tool prioritizes geometry | Re-upload with annotations visible; export a separate annotated 2D if needed |
Exporting 3D renders that work for presentations
Once your model is accurate, your export settings should match the purpose. “Best quality” isn’t always best if it makes files too large to share.
Recommended export set (practical and lightweight)
- One exterior angle (front 3/4 view) to explain massing and window rhythm.
- Two key interiors (kitchen + primary living space) to communicate materials and layout.
- One top-down 3D overview to show how rooms relate.
File naming that keeps teams aligned
If you’re sending multiple options, consistent naming prevents confusion. Here’s a simple convention you can copy:
ProjectName_Area_Option_View_V01
MapleSt_Kitchen_OptionB_IslandView_V02
MapleSt_Exterior_OptionA_Front34_V01
A practical example: choosing between two remodel options
Imagine you’re deciding between:
- Option A: remove a wall to create an open kitchen/living space.
- Option B: keep the wall but widen a doorway and add built-in storage.
In 2D, both can look reasonable. In 3D, accuracy reveals tradeoffs:
- Option A may create a better sightline but expose a structural beam drop that affects ceiling feel.
- Option B may preserve structure and add function, but could bottleneck circulation if the doorway isn’t wide enough.
When your 3D model honors the original plan’s dimensions, these insights become reliable—not just aesthetic.
FAQ: floor plan to 3D accuracy questions
Do I need perfect measurements to benefit from 3D?
No—but you need consistent scale. Even approximate dimensions can work if they’re applied uniformly and validated against at least one known measurement.
Can I use 3D renders for contractor pricing?
3D is excellent for communicating intent, but contractors typically price from construction documents and site conditions. Use 3D to reduce ambiguity, then confirm with drawings, field measurements, and local code requirements.
What’s the fastest way to catch mistakes?
Do a walkthrough and place a few standard furniture items. If a bed barely fits or doors collide, something is likely off in scale, wall thickness, or openings.
Wrap-up: make your 3D renders both convincing and trustworthy
A strong floor plan to 3D process is less about flashy visuals and more about disciplined checks: clean inputs, verified scale, consistent walls, correct openings, and a quick validation pass before export. Once accuracy is locked in, you can explore AI-guided room planning and redesign ideas with confidence—because your concepts are anchored to the real layout.
If you prefer doing this on iOS, an app like Floor Plan to 3D & Home Redesign can help you convert plans into clean 3D previews and iterate on room concepts without heavyweight software.
