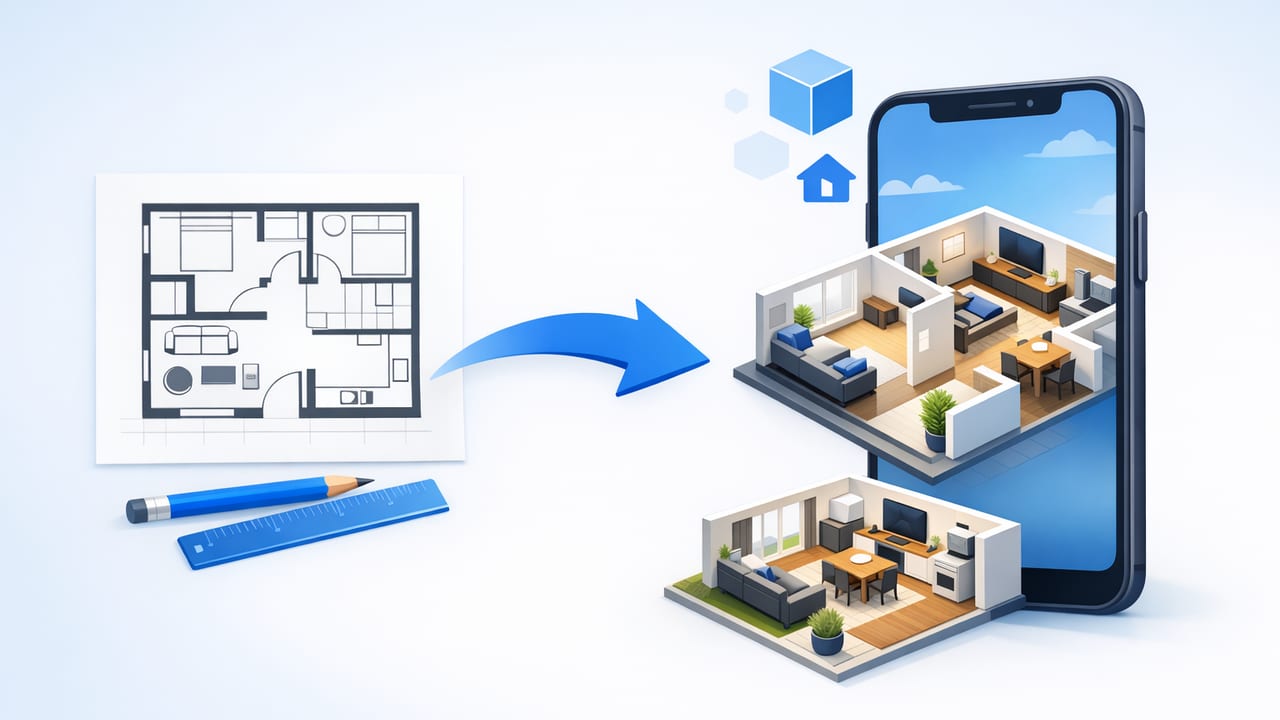
A floor plan to 3d app can save hours (or days) when you need a fast, layout-accurate 3D preview for renovation planning, staging, or design exploration. But the quality of your 3D render is only as good as the input and the way you validate scale, labels, and proportions.
This guide walks through a practical, accuracy-first workflow—from preparing a scan to sanity-checking dimensions—so your 3D conversion stays trustworthy enough for decision-making (and clear enough for presentations).
What “good” looks like in a floor plan to 3D conversion
Before you start converting, define success. A strong output isn’t just “3D-looking.” It should be:
- Dimension-true: key spans (overall width/depth, room sizes, door openings) match the plan.
- Proportionally consistent: wall thicknesses, window placement, and circulation paths feel believable.
- Readable: room labels and major notes are either preserved or intentionally excluded to avoid clutter.
- Decision-ready: you can test furniture fit, sightlines, and renovation options without second-guessing the base layout.
Step 1: Choose the right source plan (and know the tradeoffs)
Most apps accept a range of inputs, but different sources have different failure modes:
- Architectural PDF exports: usually clean and scaled, best for accuracy.
- Printed plan scans: workable, but skew, shadows, and low contrast can confuse walls and annotations.
- Real estate listing floor plans: often simplified; dimensions may be missing or approximate.
- Hand sketches: useful for ideation, but expect manual scale confirmation and more corrections.
Rule of thumb: If you can’t confidently identify wall lines, door swings, and at least one reliable measurement, your 3D result will need extra verification.
Step 2: Prep the plan so the app can “read” it
Many conversion errors come from avoidable input issues. Do a quick cleanup pass before import.
Scanning and image settings (practical minimums)
- Resolution: 300 DPI (or higher) for printed plans.
- Perspective: keep the camera parallel to the page; avoid angled shots.
- Lighting: even lighting, no harsh shadows or glare.
- Contrast: black lines on a clean white background convert best.
Quick cleanup checklist
- Crop to the plan area (remove title blocks if they add noise).
- Straighten/deskew so walls are truly horizontal/vertical.
- Remove smudges, folds, or background texture if possible.
- If the plan is faint, increase contrast or use a simple black-and-white filter.
Step 3: Establish scale early (don’t “fix it later”)
The biggest reason a 3D model feels wrong is incorrect scale. Set scale using a measurement you trust.
Best scale anchors
- Overall building width/depth (if labeled).
- A long interior wall with a clear dimension.
- Standard elements as a fallback (door width, stair tread count), but verify afterward.
If your plan includes both metric and imperial notations (or a scale bar), double-check you’re matching the correct unit system before you lock anything in.
Mini “unit sanity” snippet (optional but useful)
If you’re exporting measurements or comparing notes, it helps to keep conversions consistent:
# Quick conversions for plan verification
# inches to mm
mm = inches * 25.4

# feet-inches to mm
mm = (feet * 12 + inches) * 25.4

# mm to feet (decimal)
feet = mm / 304.8
Step 4: Identify what the app should treat as walls, openings, and notes
A floor plan to 3D conversion works best when wall lines are visually distinct from symbols and text. Common trouble spots:
- Thickened poche walls (filled black): can merge with door symbols.
- Closet and cabinet lines: may be mistaken for partitions.
- Hatches and patterns: can produce phantom walls.
- Dimension strings: arrowheads sometimes read as geometry.
When you import, aim for a “clean geometry” pass first. You can always add furniture and finishes once the shell is correct.
Step 5: Run an accuracy pass with three fast checks
After the model generates, do these checks immediately—before you start decorating or testing remodel ideas.
Check A: Overall footprint
Confirm the exterior boundary matches the plan. If your app provides measurement tools, compare the overall width and depth to the plan’s labeled dimensions.
Check B: Door and hallway realism
Even if a plan lacks dimensions, circulation tells you a lot. If doors collide, hallways are too narrow, or stairs don’t “fit,” suspect scale or misread wall lines.
Check C: One room “truth test”
Pick one dimensioned room (often a bedroom). If that room is correct, errors elsewhere are usually localized (misread closet lines, missing openings), not global scale.
Common conversion problems (and how to fix them)
| Problem | Likely cause | Fix |
|---|---|---|
| Walls look jagged or offset | Skewed scan or low resolution | Deskew, rescan at 300+ DPI, re-import |
| Missing doors/windows | Symbols too faint or covered by notes | Increase contrast, crop notes, verify openings manually |
| Extra “phantom” walls | Cabinet/closet lines interpreted as walls | Simplify plan (remove built-ins), adjust recognition if available |
| Everything is the wrong size | Scale set using an incorrect reference | Reset scale using a long labeled dimension (preferably exterior) |
| Rooms feel compressed | Incorrect wall thickness assumptions | Use a typical wall thickness baseline, then validate with plan notes |
Using the 3D model for renovation previews (without fooling yourself)
The goal of 3D conversion is often “preview before you build.” To keep previews realistic, separate layout truth from design experimentation.
Start with layout decisions
- Test furniture fit (clearances around beds, sofa-to-TV distance, dining chair pull-out space).
- Check door swings and pinch points (entry zones, bathroom doors, laundry areas).
- Evaluate sightlines (kitchen-to-living, entry-to-main area).
Then test redesign concepts
- Interior refresh: finishes, lighting mood, built-in storage placement.
- Empty-room staging: a few accurate furniture pieces beat a fully decorated but mis-scaled scene.
- Exterior refresh: massing, window rhythm, porch or entry emphasis (best when the footprint is verified).
Tip: Keep one “locked” version of the model that is scale-verified. Duplicate it for experiments so you always have a reliable baseline.
How to communicate accuracy to others (clients, contractors, stakeholders)
3D renders are persuasive—sometimes too persuasive. If you’re sharing exports, set expectations clearly.
Include an accuracy note
- State whether the model is based on dimensioned plans or approximate source material.
- Call out any assumptions (wall thickness, missing window sizes, unclear stair geometry).
- Mark areas that need site verification (older homes often have deviations).
Export a “validation sheet”
Alongside your high-resolution 3D images, export at least one view that makes verification easy: a top-down view with room labels or a measurement overlay if your tool supports it.
FAQ: floor plan to 3D app results and expectations
Can a floor plan to 3D app replace professional drawings?
No. It’s best for visualization, planning, and communication. Use professional documents for permitting, engineering, and construction.
What if my plan has no dimensions?
You can still convert it, but you must establish scale using at least one reliable reference (a known exterior measurement, a surveyed point, or verified on-site measurement). Without that, treat the model as conceptual.
How accurate are AI room planner suggestions after conversion?
They’re most helpful once the base layout is correct. If the shell is mis-scaled, furniture layouts and renovation previews may look fine visually but fail in real-world clearances.
What’s the fastest way to improve render quality?
Fix the input: clean scan, strong contrast, straight alignment, and a trustworthy scale anchor. That usually improves results more than tweaking styles later.
Practical takeaway: a repeatable 10-minute workflow
- Pick the cleanest source (PDF export > scan > listing plan > sketch).
- Crop, straighten, and boost contrast.
- Import and set scale using a long labeled measurement.
- Generate the 3D shell (walls/openings first).
- Run the three checks: footprint, circulation realism, one-room truth test.
- Duplicate the verified model for redesign experiments.
- Export renders plus a simple validation view for clarity.
If you’re looking for a tool that combines conversion with redesign exploration on iOS, Floor Plan to 3D & Home Redesign is one example that supports turning black-and-white plans into clean 3D renders and trying room-planning ideas—just keep the accuracy checks above as part of your routine.
