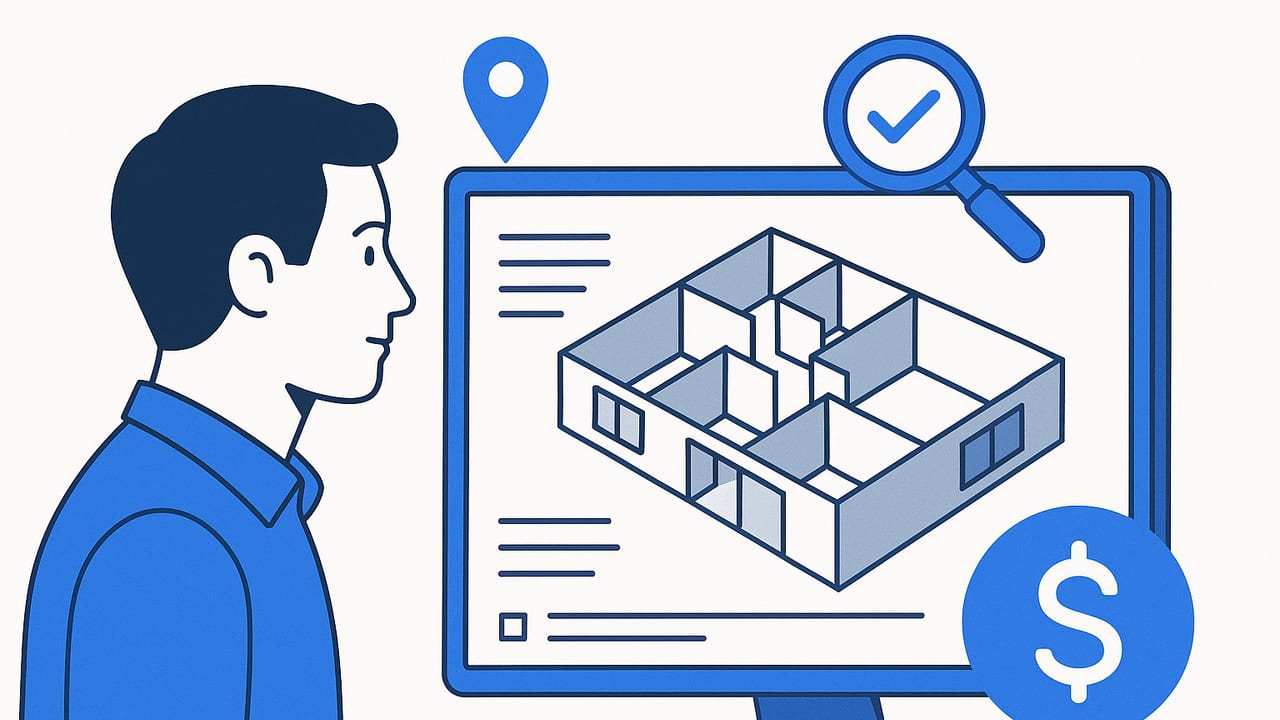
If you’re typing “floor plan rendering near me” into a search bar, you likely want accurate, easy-to-share 3D visuals from an existing 2D layout—fast. Whether you’re a homeowner planning a remodel, a realtor prepping listings, or a designer validating space planning, the right partner can transform a black-and-white plan into a realistic, true-to-scale 3D scene. This guide explains how to evaluate local versus remote options, compare pricing and timelines, specify deliverables, and run quality assurance so you get reliable results the first time.
What “Near Me” Really Means for Digital Rendering
In a digital workflow, “near me” can be about more than physical distance. Many projects can be delivered perfectly without an in-person visit, as long as the 2D plan and dimensions are clear. Consider the following when deciding if local proximity is essential:
- Verification needs: If you require on-site measurements, laser scans, or photography to supplement incomplete drawings, a local provider is helpful.
- Turnaround speed: Local time zones can make communication faster, but an efficient remote studio can still outperform slower local firms.
- Regulatory or stakeholder meetings: If you need someone physically present to review layouts with a board, HOA, or client, local wins.
- Cost sensitivity: Remote options and software tools can be more cost-effective when plans are already dimensioned.
Comparing Your Options
There are four common paths to high-quality 3D floor plan visuals: local studios, freelance specialists, online platforms, and do-it-yourself apps. Each offers different strengths in cost, accuracy, and speed.
| Provider Type | Best For | Pros | Cons | Approx. Cost | Typical Turnaround |
|---|---|---|---|---|---|
| Local Studio/Agency | Complex projects, on-site validation | In-person consults, robust QA, team capacity | Higher cost, scheduling lead times | US$400–$1,200+ per layout | 2–10 business days |
| Freelance 3D Artist | Custom visuals, moderate budgets | Flexible pricing, direct communication | Variable quality, limited bandwidth | US$150–$600 per layout | 2–7 business days |
| Online Rendering Platform | Standardized outputs, quick quotes | Predictable pricing, fast delivery | Less customization, template feel | US$80–$300 per layout | 24–72 hours |
| DIY App (2D to 3D) | Budget-friendly, rapid iterations | Immediate previews, low cost, control | Learning curve, less bespoke artistry | US$0–$50 per render/export (typical) | Minutes to hours |
Pricing: What Affects Your Quote
Quotes vary widely based on scope, realism, and deliverables. Expect providers to price by layout, room count, or complexity. These factors drive cost:
- Input quality: A dimensioned CAD/PDF with clear wall thicknesses is faster than a fuzzy scan; clear inputs save money.
- Level of realism: Diagrammatic 3D (clean materials, simple lighting) costs less than photoreal scenes with custom furniture.
- Deliverables: Adding 360 panoramas, multiple camera angles, or editable 3D files increases price.
- Revisions and staging: Furniture swaps, material boards, or multiple design options add hours.
- Speed: Rush fees are common for 24–48 hour turnarounds.
As a rough guide, a straightforward 2D-to-3D conversion with two or three camera views might land between US$150 and $400, while photoreal interiors with custom materials can exceed US$1,000. If you’re comparing a local quote to remote options after searching “floor plan rendering near me,” align the scope and outputs before judging price.
Deliverables That Matter (and File Formats to Request)
Be explicit about what you’ll receive. The right deliverables prevent surprises and help stakeholders make decisions:
- Stills: High-resolution JPG/PNG renders at a defined size (e.g., 3000×2000 px) for print and web.
- Annotated plans: 2D plan overlays with labels for furniture zones, dimensions, or finishes.
- 3D files: For further editing or AR/VR previews; ensure compatible formats.
- 360 panoramas or tours: Immersive previews for listings and presentations.
- Scale confirmation: A scale bar or noted dimension to validate accuracy.
| Format | Use Case | Notes |
|---|---|---|
| PNG / JPG | Marketing images | Request 300 DPI for print; sRGB color for web |
| PDF / SVG | Annotated 2D plans | Good for vector clarity and markups |
| OBJ / GLTF | Editable 3D, web viewers | GLTF is compact for real-time; include textures |
| USDZ | AR on iOS devices | Great for client walk-throughs in-scale |
| DWG / DXF | CAD handoff | Useful if collaborating with architects |
A Proven Workflow and QA Checklist
Whether you pick a local studio or an app, a clear workflow keeps projects on track and prevents costly rework.
- Collect clean inputs: Original CAD/PDF if available, or high-resolution scans. Confirm scale and include at least one known dimension.
- Annotate the plan: Label walls, openings, stairs, window heights, and any unusual details (bulkheads, soffits, beams).
- Document dimensions: Note wall thicknesses, ceiling heights per room, door swings, and riser counts for stairs.
- Share material references: Provide photos or links for flooring, paint, cabinets, and fixtures to steer rendering realism.
- Define camera views: Mark 2–4 proposed camera positions on the plan; include height and direction arrows.
- Specify deliverables: Resolution, file formats, 360s, and whether you need layered files or 3D exports.
- Approve a clay draft: Review a gray “clay” model or low-res preview for geometry and scale before textures and lighting.
- Run QA on finals: Check critical dimensions with a ruler overlay, validate door swings and furniture clearances, and confirm north orientation if relevant.
Accuracy, Scale, and Tolerances
For most planning tasks, aim for ±1–2% scale tolerance relative to a known dimension. To test: overlay a known 10 ft or 3 m segment onto the render or request a scale bar in the output. If you’re remodeling, ensure ceiling heights and window sill/head heights are correct—vertical inaccuracies can break trust even if the floor footprint is perfect.
Pro tip: Always include at least one “must-match” dimension on the plan (e.g., overall room width). Your vendor or app can anchor scale to that dimension to prevent drift.
How to Vet a “Floor Plan Rendering Near Me” Provider
Before you commit, spend 15 minutes on due diligence:
- Portfolio relevance: Look for projects that match your style—diagrammatic, stylized, or photoreal. Similarity matters more than volume.
- Turnaround proof: Ask for a sample timeline from brief to final; rush processes should include a geometry checkpoint.
- File sample: Request a small watermarked still or a clay model screenshot to confirm scale and layout fidelity.
- References or reviews: Local listings and maps can show reliability; prioritize reviews mentioning accuracy and communication.
- Data handling: Confirm confidentiality. Plans may contain sensitive details—ask how files are stored and deleted.
Copy-Paste RFP Template (Speed Up Your Quote)
Use this template to get apples-to-apples proposals from multiple providers:
Subject: Request for Quote – 3D Floor Plan Rendering

Project Summary:
- Type: [Condo / Single-Family / Office]
- Area: [e.g., 1,150 sq ft / 107 sq m]
- Inputs: [PDF plan w/ dimensions, wall thicknesses included]
- Accuracy: Target ±1–2% vs known dimension (see below)

Deliverables:
- 3 still renders at 3000×2000 px (sRGB)
- 1 annotated 2D plan (PDF/SVG) w/ furniture zones
- Optional: 1 GLTF/OBJ with embedded textures

Style & References:
- Materials: [flooring, paint, cabinets links]
- Furniture: [generic contemporary / specific SKUs]

Views:
- Camera A: Living room facing kitchen (camera 1.5 m high)
- Camera B: Primary bedroom facing windows (camera 1.4 m high)
- Camera C: Kitchen towards entry (camera 1.5 m high)

Known Dimensions:
- Living room width: 14' 0" (4267 mm) – please anchor scale

Timeline & Revisions:
- First preview by [date]
- 1 round of geometry changes + 1 round of materials/lighting

Output Formats:
- JPG/PNG for stills, PDF/SVG for annotated plan, GLTF optional

Please include: price, turnaround, revision policy, and sample.
Common Pitfalls (and How to Avoid Them)
- Scale drift: Occurs when the render isn’t anchored to a known dimension. Always provide at least one verified measurement.
- Wall thickness errors: Exterior vs interior walls can differ significantly; include thicknesses or a wall legend.
- Door swings and clearances: Incorrect swings break usability. Note hinge side and minimum clearance (e.g., 32 in / 813 mm).
- Stair geometry: Incorrect riser counts or headroom can mislead. Provide total rise and desired riser height.
- Ceiling height changes: Sloped ceilings, soffits, and beams must be marked; otherwise, vertical realism suffers.
- Window elevations: Sill and head heights impact natural light and sightlines; include both.
- Generic materials: If you care about finishes, share references. Otherwise, expect placeholders.
- Mislabeled rooms: Keep room names consistent across plan, emails, and annotations to avoid mix-ups.
When Local Presence Truly Helps
You don’t always need a nearby vendor to get great results, but local presence becomes valuable when:
- You lack reliable measurements and need on-site verification or laser scanning.
- Stakeholders require in-person workshops to lock furniture layouts or circulation.
- There’s a condensed timeline with daily, same-time-zone review cycles.
- You’re integrating renders with local marketing shoots, signage, or physical samples.
For well-documented plans with clear dimensions, remote providers or DIY apps often deliver faster and cheaper without sacrificing accuracy.
Speed vs. Quality: Choosing the Right Balance
Not every project needs photoreal materials or perfect sunlight simulation. For zoning, furniture arrangement, or high-level planning, a clean, diagrammatic 3D is enough and saves time. Listings and client presentations may benefit from elevated realism. Communicate your why—lead use case first—so your provider can right-size the scope.
Security, Rights, and Revisions
Before you share files, confirm that sensitive plans won’t be publicly posted without consent. Clarify usage rights for the final renders (marketing, web, print) and whether you’ll receive layered or source files. Agree on the number of revision rounds and what counts as a “change in scope” (for example, moving walls vs. swapping a sofa).
Final Thoughts
“Floor plan rendering near me” is a smart starting point, but the best outcome comes from clear inputs, aligned expectations, and a structured QA process. If you’re comfortable driving the process yourself, modern tools can convert black-and-white plans into accurate 3D in minutes. One example is Floor Plan to 3D, an iOS app that transforms 2D floor plans into true-to-scale 3D visuals and exports high-resolution images for proposals and presentations—handy when you want control, speed, and reliable proportions without a lengthy back-and-forth.
