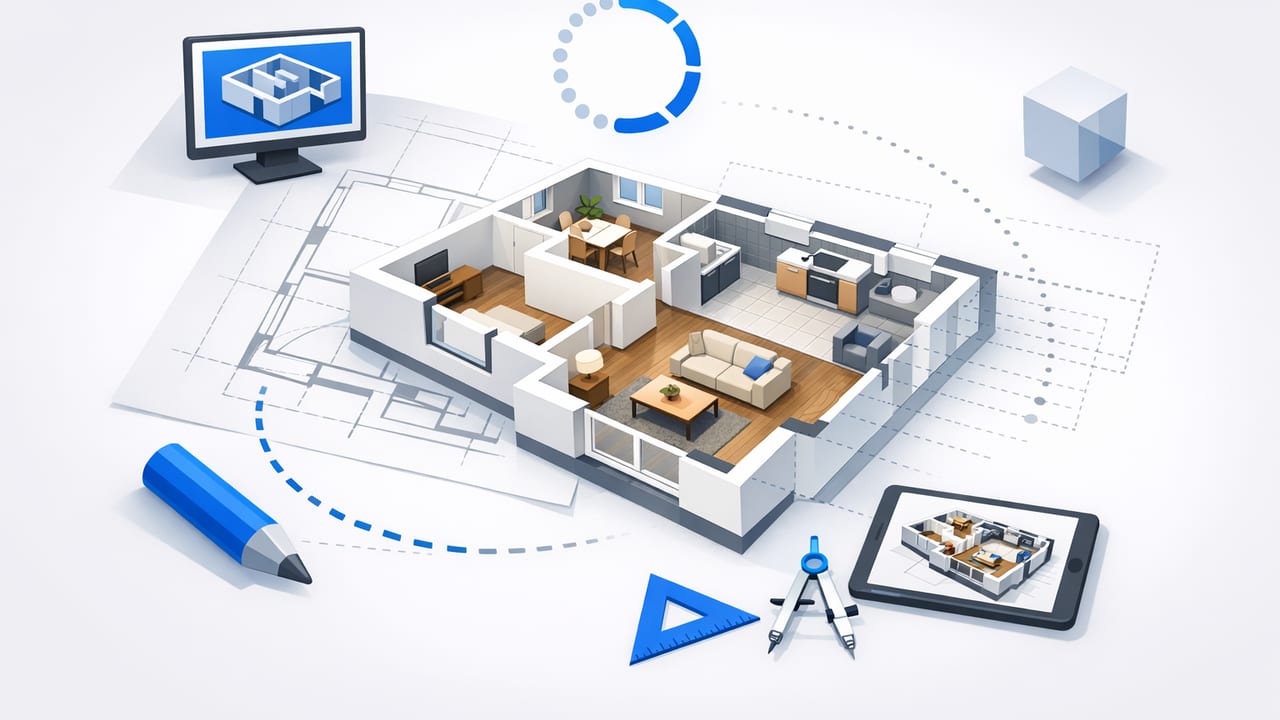
Floor plan rendering is the fastest way to move from “I think this will work” to “I know this fits.” Whether you’re planning a renovation, presenting a proposal, or testing furniture layouts, a 3D render built from a real floor plan makes scale and flow obvious—before you spend money or start demolition.
This guide breaks down a practical, accuracy-first workflow for converting a black-and-white plan (or blueprint scan) into decision-ready 3D renders. You’ll learn what to verify, what to ignore, and how to structure your process so the 3D result stays faithful to the original layout while still leaving room for design exploration.
What “good” floor plan rendering actually means
A helpful render is not necessarily the most photorealistic one—it’s the one that protects layout truth. High-quality floor plan rendering should do three things:
- Preserve proportions: rooms, wall runs, and openings match the plan.
- Keep key metadata: labels, dimensions, and structural cues stay readable or traceable.
- Support decisions: you can test clearances, furniture fit, and renovation options confidently.
If your 3D view looks beautiful but the doorway is shifted 8 inches, it can lead to costly mistakes (cabinet conflicts, unusable clearances, or misaligned fixtures). Accuracy is the foundation; style is the layer you apply on top.
Before you convert: a quick “plan health” inspection
Most conversion problems come from messy inputs. Spend five minutes checking the plan before you build anything.
Plan quality checklist
- Legibility: walls, doors, windows, and text are readable at 100% zoom.
- At least one known dimension: a labeled room width, overall building width, or a scale bar.
- Consistent line weights: thicker exterior walls, thinner interior partitions (not always, but helpful).
- No perspective distortion: scans should be flat, not photographed at an angle.
Common plan issues and what to do
| Issue | Why it breaks 3D accuracy | Fix |
|---|---|---|
| Skewed photo of a plan | Distances scale unevenly across the image | Re-scan flat, or deskew/crop before converting |
| Missing dimensions | No reliable way to set scale | Use one known measurement (e.g., door width) to calibrate |
| Thick “blobby” walls | Wall centerlines become ambiguous | Trace wall centerlines or use consistent wall thickness assumptions |
| Door swings unclear | Traffic flow and furniture placement become wrong | Confirm with site photos or typical conventions; mark unknowns |
| Renovation notes over the plan | AI/auto-tracing can misread text as geometry | Create a clean copy (erase markup) or isolate layers if possible |
The accuracy-first floor plan rendering workflow
Use this workflow whether you’re converting manually in CAD/3D software or using an app that automates the conversion. The steps are the same: calibrate → trace → validate → furnish → style → export.
1) Calibrate scale from a single reliable measurement
Pick one dimension you trust. Ideally it’s an overall exterior length, but a labeled room width works too. Avoid “assumed” sizes unless you truly have no choice.
When all you have is an image, you can estimate scale by relating pixels to real units. The formula is simple:
// If a known wall segment measures P pixels in the image
// and the real-world length is L (in inches or mm)
scale = L / P

// Then any pixel distance D becomes
real_length = D * scale
This is also the mental model behind most “set scale” tools: establish one truth, then propagate it everywhere.
2) Define wall thickness and wall type rules
Walls are where most conversions drift. Decide early:
- Interior partition thickness (e.g., ~4–6 inches / ~100–150 mm typical, but verify).
- Exterior wall thickness (often thicker; depends on construction).
- Which lines represent wall faces vs. centerlines (plans vary).
Consistency matters more than perfection at this stage. You can refine later once the layout is stable.
3) Place openings: doors and windows with intent
For floor plan rendering that supports real decisions, openings must be trustworthy because they determine:
- Circulation paths (door swings and pinch points)
- Cabinet and fixture viability
- Natural light assumptions (window placement)
If a door swing is ambiguous, treat it as a “to confirm” item and test both options in 3D. Marking uncertainty is better than baking in a guess.
4) Validate geometry before adding materials
Do a “layout proof” pass before you touch finishes. Validation checks:
- Room-to-room continuity: no accidental gaps or overlaps at wall intersections.
- Overall dimensions: compare a second known measurement (if available) to detect drift.
- Functional clearances: doors don’t collide with fixtures; hallways aren’t unrealistically narrow.
Rule of thumb: If the layout is wrong, styling only makes the mistake look more convincing.
5) Add “decision furniture” first (not decor)
To keep renders useful, place only the objects that affect planning:
- Kitchen base cabinets, islands, and appliances
- Bathroom fixtures (toilet, vanity, shower)
- Bed sizes (queen/king), wardrobes, desks
- Dining table size and chair pullback
Leave rugs, art, and styling for later. Early on, you’re testing fit, not mood.
6) Run a clearance audit (the “no-surprises” step)
Clearances vary by region and code, but these practical checks catch most issues:
- Door swing zones: confirm doors open without hitting fixtures or furniture.
- Walk paths: confirm there’s a comfortable route through living areas and around beds.
- Kitchen workflow: check pinch points between island and counters.
- Bathroom usability: confirm fixture spacing and shower door clearance.
If you’re presenting to a client or contractor, note what assumptions you used (wall thickness, door width, ceiling height). That makes your 3D render defensible.
7) Apply materials and lighting only after the layout is stable
Once scale and geometry are verified, styling becomes productive rather than risky. For renovation previews, keep finishes purposeful:
- Use 2–3 core materials per room (floor + walls + main millwork).
- Prefer realistic reflectance (super glossy surfaces can mislead perceived space).
- Match window orientation when possible to avoid “too bright to be true” lighting.
8) Export a set of views that answer real questions
A single hero render is nice, but decision-making needs coverage. Export:
- One top-down 3D view (overall layout clarity)
- One view per key room (kitchen, living, primary bedroom, bathrooms)
- Two “problem area” views (tight hall, island clearance, entry pinch point)
- A dimensioned reference snapshot (ties back to the original plan)
Comparing 3 approaches to floor plan rendering
There’s no single best method. Choose based on speed, control, and how critical precision is.
| Approach | Best for | Tradeoffs |
|---|---|---|
| Manual CAD → 3D modeling | High-stakes accuracy, complex remodels | Slow; steep learning curve |
| Hybrid: auto-convert then edit | Most renovations and client previews | Requires validation and cleanup |
| Auto floor plan conversion app | Fast iteration, early concept testing | Depends on plan quality; may simplify edge cases |
Mini example: turning one plan into three renovation options
One of the biggest benefits of floor plan rendering is the ability to branch quickly. Here’s a simple way to structure options without losing accuracy:
- Base Model (Locked): traced walls, openings, and verified dimensions.
- Option A (Cosmetic Refresh): new finishes, lighting, and furniture layout only.
- Option B (Layout Nudge): non-structural wall tweaks (e.g., widen a doorway), updated kitchen layout.
- Option C (Bigger Move): one major change (e.g., relocate laundry, open kitchen wall), then re-check clearances.
By keeping one “locked” base model, you prevent compounding errors across versions and you can always prove that the 3D remains grounded in the original plan.
Quality control: a final pre-export checklist
- Scale check: at least one dimension matches the plan exactly.
- Wall alignment: corners meet cleanly; no slivers or overlaps.
- Openings check: doors/windows align to walls and have plausible sizes.
- Ceiling height stated: don’t leave it implicit if it affects perception.
- Assumptions documented: note anything inferred (missing dimensions, unclear swings).
FAQ: floor plan rendering
Do I need a perfectly dimensioned plan to get a useful 3D render?
No, but you need at least one reliable measurement to calibrate scale. Without it, your render can still be visually helpful, but it won’t be trustworthy for fit and clearance decisions.
What’s the biggest reason 3D renders don’t match the floor plan?
Most mismatches come from incorrect scaling (no calibration) or wall interpretation errors (tracing wall faces inconsistently, guessing thickness, or misreading thick lines).
How detailed should my render be for renovation planning?
Start with layout-critical elements (walls, openings, fixtures, key cabinetry). Add materials and decor only after you’ve validated geometry and clearances.
Putting it into practice
Floor plan rendering becomes dramatically easier when you treat it like a checklist, not an art project: calibrate scale, protect geometry, validate early, then style and export views that answer real questions. That approach keeps your 3D visuals both persuasive and dependable.
If you prefer doing this on a phone or tablet, an iOS app such as Floor Plan to 3D & Home Redesign can help automate the conversion and speed up early layout testing—just be sure to run the same validation steps so your 3D output stays true to the plan.
