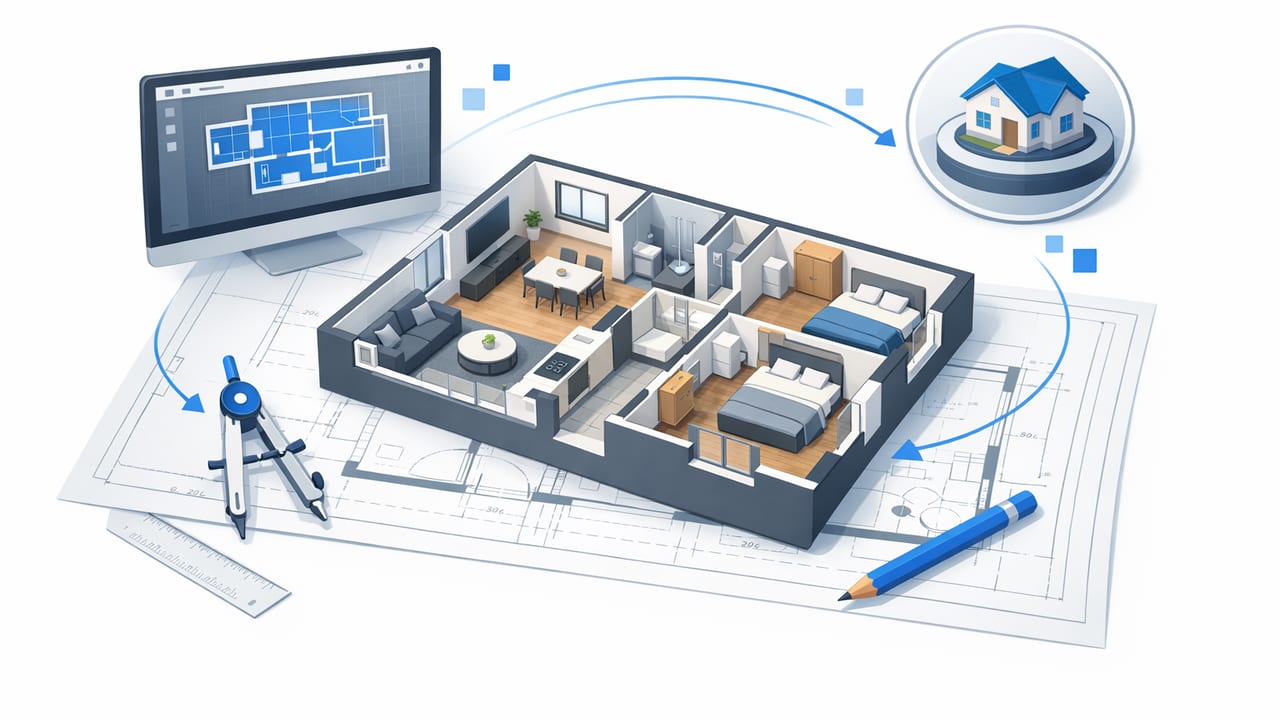
Floor plan rendering sits at the intersection of accuracy and imagination: you want a 3D visual that looks inviting, but it also has to reflect real dimensions, wall locations, doors, windows, and circulation paths. Whether you are a homeowner planning a remodel, a designer presenting options, or a contractor clarifying scope, the quality of your rendering determines how confidently you can make decisions.
This guide walks through a practical, repeatable workflow to convert a black-and-white plan or blueprint into clean, readable 3D renders. You will learn what to check before conversion, how to avoid common layout mistakes, and how to produce visuals that are useful for renovation previews and presentations (not just pretty pictures).
What floor plan rendering really means (and what it should include)
In everyday use, “floor plan rendering” can mean anything from a simple shaded 2D plan to a fully lit 3D image. For renovation planning, the most useful definition is:
A floor plan rendering is a scaled visual model derived from a 2D plan that preserves layout logic (dimensions, proportions, openings, and labels) while adding depth, materials, and viewpoint-based previews.
To be decision-ready, a rendering should preserve these essentials:
- Scale and proportions: rooms feel correct and furniture fits realistically.
- Openings and circulation: door swings, window placements, hall widths, and clearances.
- Key labels and structure: room names, stair direction, and any load-bearing notes if available.
- Context for choices: basic materials, lighting direction, and viewing angles that match how people experience the space.
Why accuracy is the hardest part of converting 2D plans to 3D
Most problems in floor plan rendering are not artistic issues; they are interpretation errors. A 2D plan is a compressed language: line weights imply walls, symbols imply windows, and tiny annotations carry big meaning. When a conversion workflow misses those cues, the 3D result can still look polished but be functionally wrong.
Typical accuracy pitfalls include:
- Scale drift: importing a plan image without calibrating a known dimension (for example, a 36-inch door).
- Wall thickness assumptions: interior partitions vs. exterior walls are often drawn differently; guessing wrong affects room sizes.
- Misread openings: sliding doors vs. hinged doors, window banks vs. single units.
- Stairs and levels: 2D plans often require extra interpretation to represent landings and headroom correctly.
A step-by-step floor plan rendering workflow you can trust
Use this workflow whether you are doing the work yourself or reviewing someone else’s output. It is designed to create renders that hold up when you start comparing design options.
Step 1: Prepare the source plan (clean input = clean output)
If your plan is a scan or photo, do a quick cleanup before conversion:
- Crop to the relevant floor and remove title blocks if they confuse recognition.
- Straighten perspective so walls are horizontal/vertical, not skewed.
- Improve contrast so walls and symbols are easy to detect.
- Ensure dimensions are readable (or write down at least one known dimension to calibrate scale).
Step 2: Calibrate scale using a known measurement
Before you trust any 3D view, confirm scale. Choose one reliable reference:
- Door width (commonly 30–36 inches)
- Standard countertop depth (typically around 24 inches)
- A labeled room dimension (best option)
Then verify at least two other dimensions to ensure the plan image was not stretched.
Step 3: Confirm the structural interpretation (walls, openings, levels)
Do a quick “layout audit” before adding finishes:
- Walls: confirm which lines are walls vs. cabinets or built-ins.
- Windows/doors: ensure each opening is on the correct wall and sized reasonably.
- Stairs: verify direction and whether the plan indicates up/down.
- Room labels: check that bedrooms, baths, and utilities are not swapped.
Step 4: Add basic materials and lighting (enough to make choices)
For renovation previews, you do not need cinematic rendering. You need consistency:
- Materials: assign floors, walls, and major surfaces with simple, realistic textures.
- Lighting: set a neutral daylight source plus basic interior lighting so shadows are readable.
- Camera angles: pick repeatable viewpoints (entry, main living, kitchen work triangle, primary bath).
Step 5: Furnish to validate function (not decoration)
Furniture is your reality-check. Place key items at roughly true-to-life sizes:
- Sofa and coffee table in living areas
- Dining table with chair clearance
- Bed sizes (queen/king) plus nightstands
- Kitchen appliances and island clearance
If circulation feels tight in 3D, it will likely feel worse in real life.
Quality checklist: how to evaluate a floor plan rendering in minutes
Use the checklist below when you receive a 3D output or export images for a proposal. It helps you catch the most expensive mistakes early.
| Checkpoint | What to verify | Why it matters |
|---|---|---|
| Scale | At least 3 measurements match the plan | Prevents misleading room sizes and furniture fit |
| Walls | Exterior vs. interior thickness makes sense | Affects area, window depths, and cabinetry placement |
| Openings | Door swings, window widths, and heights are plausible | Controls circulation, daylight, and remodeling feasibility |
| Stairs/levels | Correct direction and landings | Safety and code implications |
| Function | Furniture clearances and paths of travel work | Ensures the design lives well, not just looks good |
| Consistency | Same camera angles across options | Makes comparisons fair and fast |
Comparing approaches: manual 3D modeling vs. AI-assisted conversion
There are two common ways to get from plan to render. The right choice depends on how many iterations you need and how precise you must be.
Manual modeling
- Best for: complex architecture, custom details, full construction documentation tie-in.
- Trade-off: slower and requires specialized software skills.
AI-assisted floor plan conversion
- Best for: fast renovation previews, exploring multiple layout/furnishing ideas, early-stage decision-making.
- Trade-off: you still need to verify scale and interpretation, especially around stairs and unusual wall conditions.
In practice, many projects start with AI-assisted floor plan rendering to explore options, then move to detailed modeling only after decisions are narrowed.
Practical example: testing two kitchen layouts from one floor plan
Imagine you have an existing plan with a closed-off kitchen. You want to compare:
- Option A: remove a partial wall and add an island.
- Option B: keep the wall but widen a doorway and add a peninsula.
A helpful floor plan rendering workflow would:
- Convert the plan to a base 3D model (confirmed scale).
- Create two variants by duplicating the model.
- In each variant, place appliances and check work triangle distances.
- Render from identical camera angles: entry view, sink view, range view.
- Export images side-by-side for quick stakeholder feedback.
The key is not perfect materials; it is comparable views that reveal how each option changes circulation and sightlines.
Exporting and sharing: make renders easier to approve
If your goal is alignment (with a partner, client, or contractor), exports matter. Use these practices:
- Name images clearly: “Kitchen_OptionA_View1” beats “Render_final2.”
- Include one annotated sheet: a single image with 3–5 callouts can prevent confusion.
- Use high resolution only when needed: lightweight previews for discussion, high-res for proposals.
Optional: a simple file naming template
ProjectName_Room_Option_View_YYYYMMDD.png
OakSt_Kitchen_A_Entry_20260720.png
OakSt_Kitchen_B_Sink_20260720.png
This prevents version mix-ups when you iterate quickly.
Common mistakes (and how to avoid them)
Even good-looking floor plan rendering outputs can mislead if you skip a few basic checks.
- Mistake: designing around furniture that is not to scale.
Fix: use real-world dimensions for the biggest pieces first (sofa, bed, dining table). - Mistake: changing camera angles between options.
Fix: lock 3–5 standard views and reuse them for every variation. - Mistake: trusting a single measurement.
Fix: validate scale with multiple references across the plan. - Mistake: ignoring door swings and clearance arcs.
Fix: check conflict points (bath doors, closet doors, tight hall corners).
When a floor plan rendering is “good enough” to make decisions
You can treat a rendering as decision-ready when:
- Rooms match the plan’s dimensions within a reasonable tolerance.
- Openings and circulation are clearly represented.
- At least one furnishing pass confirms functional clearances.
- You can compare options from the same viewpoints.
At that point, the rendering is doing its real job: reducing uncertainty before you spend money on materials, labor, or major structural changes.
Conclusion
Floor plan rendering is most valuable when it stays faithful to the original layout while helping you see design consequences in 3D: how spaces connect, how light moves, and whether furniture and circulation actually work. If you follow a scale-first workflow, verify openings and structure, and keep comparisons consistent, you can iterate faster and avoid expensive surprises.
If you prefer a lightweight way to convert a black-and-white plan into clean 3D previews and explore AI-guided redesign ideas on iOS, you can try an app like Floor Plan to 3D & Home Redesign as one option for quickly generating and exporting high-resolution renders.
