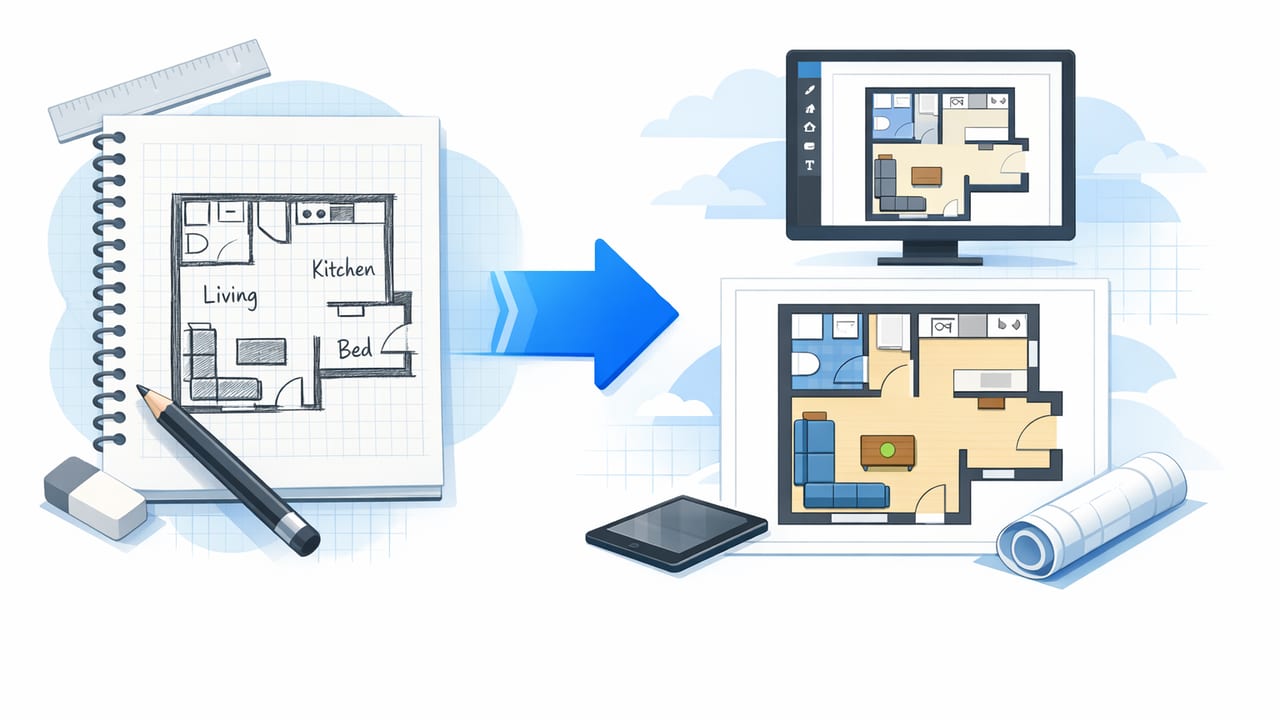
A floor plan converter can turn a black-and-white plan into a clean 3D view in minutes—but speed only helps if the result is reliable. Whether you’re planning a renovation, preparing a client presentation, or exploring layout options with an AI room planner, accuracy is the difference between a confident decision and an expensive surprise.
This guide breaks down a practical, repeatable checklist for validating converted 3D floor plans. You’ll learn what to verify (and why), common conversion pitfalls, and how to set up exports that look professional in proposals.
Why accuracy matters more than “nice-looking” 3D
Many conversion results look convincing at first glance. The problem is that small mistakes—like a shifted wall thickness or a door swing flipped—compound quickly when you start making design choices. Accuracy matters because it affects:
- Material estimates: flooring area, paint quantities, tile coverage
- Fit checks: cabinetry runs, appliance clearances, furniture spacing
- Compliance and feasibility: hallway widths, egress paths, bathroom clearances
- Client trust: mismatched dimensions undermine presentations
The 10-step floor plan converter checklist
Use these steps every time you convert a floor plan to 3D renders—especially when the original plan is scanned, low-resolution, or visually busy.
1) Confirm the input plan is readable (before converting)
Converters rely on crisp linework. Before uploading/importing, check:
- Contrast: dark walls/lines on a light background
- Orientation: level image (avoid tilted scans)
- Completeness: include the full perimeter, labels, and dimension strings
- Clutter: remove overlapping notes if possible (or use a cleaner version)
Tip: If you only have a photo, straighten it and crop tightly so the converter sees clear edges and corners.
2) Lock a known scale early
Most “everything is slightly off” problems come from scale. Choose one known measurement to anchor the model:
- An exterior wall length (often the most reliable)
- A clearly labeled room dimension (e.g., 12' x 14')
- A standard door width (as a backup, typically 30–36 inches)
After conversion, immediately verify that the same measurement matches in the 3D/2D view. If it doesn’t, fix scale before adjusting anything else.
3) Validate perimeter geometry (the “big shape” test)
Before you look at interior walls, confirm the building outline is correct:
- Count corners and compare to the original plan
- Check that angled walls (if any) remain angled
- Verify bumps, bays, and recesses aren’t smoothed into straight lines
This prevents a common failure mode: an interior layout that appears correct, but is sitting inside a slightly wrong exterior shell.
4) Check wall type and thickness consistency
Converted models often treat all walls the same. That can distort usable room sizes. Scan for:
- Exterior vs. interior wall thickness
- Structural walls that should remain fixed in renovation previews
- Partition walls that can move during redesign
If your workflow involves remodeling, mark “non-negotiable” walls early so your redesign ideas stay realistic.
5) Verify doors and windows (position, width, and swing)
Door/window interpretation is a major source of subtle mistakes. Confirm:
- Door swings match the plan (left/right swing, inward/outward)
- Widths look plausible (closets are commonly narrower than entries)
- Window placement is centered or offset correctly per the drawing
- Openings exist where the plan indicates (no missing patio sliders)
In 3D renders, incorrect door swings can make a layout feel “off,” even if the dimensions are close.
6) Confirm room labels and boundaries
If the converter preserves labels, use them to audit the model:
- Rooms should match the plan’s naming and intended use
- Open-concept areas should not be mistakenly separated by phantom walls
- Bathrooms and kitchens should be correctly bounded (important for fixtures)
Room boundaries also affect AI room planner suggestions—mis-labeled spaces can lead to odd recommendations.
7) Test circulation and clearance in 3D
Once walls and openings look right, do a quick “walk path” check:
- Can you move from entry to key rooms without bottlenecks?
- Do doors collide with furniture zones?
- Are hallways plausibly wide (commonly 36"+ in many contexts)?
This is where 3D shines: it surfaces livability issues that are easy to miss in 2D.
8) Compare net room sizes (sanity check against the plan)
You don’t need perfection down to the millimeter for early design, but you do need consistency. Pick 2–3 rooms and compare:
- Length and width measurements
- Approximate area (square footage/meters)
- Window-to-wall ratio (does the room “feel” similarly bright?)
If multiple rooms are off in the same direction, scale is likely the culprit. If only one room is off, look for a misread interior wall.
9) Run a redesign preview without changing the structure
Before you start moving walls, test the model by applying cosmetic changes only:
- Paint and material swaps
- Lighting and décor
- Empty-room staging and furniture placement
- Exterior refresh ideas (siding color, trim, landscaping hints)
If cosmetics align with the plan and proportions feel correct, you can proceed to deeper renovation previews with more confidence.
10) Export settings: make sure your 3D renders are presentation-ready
Even a perfect conversion can look unprofessional if exports are blurry or cropped. Use this quick export checklist:
- Resolution: choose high resolution for proposals
- Views: export at least one top-down 3D view plus 2–3 perspective angles
- Consistency: keep lighting and style consistent across images
- File naming: include room/view names for easy review
Common floor plan conversion pitfalls (and how to spot them fast)
| Pitfall | What it looks like | Quick fix |
|---|---|---|
| Wrong scale | Everything “almost fits,” furniture seems too big/small | Re-anchor using a known exterior dimension |
| Merged rooms | Walls missing between bedrooms/baths/closets | Manually add the missing partition, then re-check doors |
| Phantom walls | Extra walls appear in open areas | Delete the stray wall; confirm the original line wasn’t a symbol |
| Misread openings | Door becomes a window, slider becomes a wall | Replace opening type; verify width and placement |
| Label drift | Kitchen labeled as dining, closets unlabeled | Relabel rooms before generating redesign ideas |
A practical “confidence score” for your converted 3D
If you want a simple way to decide whether a converted model is safe to use for decisions, score each category from 0–2:
- Scale: verified with at least one known measurement
- Perimeter: outline matches the plan
- Interior walls: rooms match boundaries
- Openings: doors/windows correct
- Room sizes: 2–3 rooms checked
8–10: good for renovation previews and proposals. 5–7: fine for concepting, but validate before committing. 0–4: rework inputs and scale, or reconvert.
FAQ (for teams building an internal workflow)
How accurate is a floor plan converter?
It depends on plan quality and scale calibration. Clear linework + one verified measurement typically yields the most reliable 3D renders.
Should I convert from a blueprint PDF or a photo?
A clean PDF export is usually best. If you only have a photo, straighten and increase contrast before converting.
Do I need exact accuracy for interior design?
For early design and staging, near-accurate proportions often suffice. For built-ins, cabinetry, and remodel decisions, verify key dimensions first.
Optional: FAQ structured data (JSON-LD)
If you publish this content on a website, structured data can help search engines understand the FAQ section. Here’s a template you can adapt:
{
  "@context": "https://schema.org",
  "@type": "FAQPage",
  "mainEntity": [
    {
      "@type": "Question",
      "name": "How accurate is a floor plan converter?",
      "acceptedAnswer": {
        "@type": "Answer",
        "text": "Accuracy depends on plan quality and scale calibration. Use clear linework and verify at least one known measurement for best results."
      }
    },
    {
      "@type": "Question",
      "name": "Should I convert from a blueprint PDF or a photo?",
      "acceptedAnswer": {
        "@type": "Answer",
        "text": "A clean PDF export is typically best. If using a photo, straighten it and increase contrast before converting."
      }
    },
    {
      "@type": "Question",
      "name": "Do I need exact accuracy for interior design?",
      "acceptedAnswer": {
        "@type": "Answer",
        "text": "For early concepts, approximate proportions may be enough. For remodels and built-ins, verify key dimensions first."
      }
    }
  ]
}
How to choose the right floor plan converter (quick criteria)
If you’re comparing tools, look for a converter that prioritizes layout fidelity over flashy visuals. Useful criteria include:
- Dimension preservation: supports scale anchoring and measurement checks
- Clean wall detection: handles thin lines and noisy scans
- Editable output: you can correct walls, doors, and labels without starting over
- Export quality: high-resolution images suitable for presentations
- AI room planner support: suggestions that respect room boundaries and circulation
Wrap-up: convert fast, verify faster
A floor plan converter is most powerful when paired with a simple verification habit. Lock scale, confirm the perimeter, audit openings, and do a quick clearance walk-through—then you can explore interior design and exterior refresh ideas with confidence.
Note: If you’re looking for an iOS workflow that converts black-and-white plans into clean 3D renders and supports AI-guided redesign previews, you can explore Floor Plan to 3D & Home Redesign as one option.
