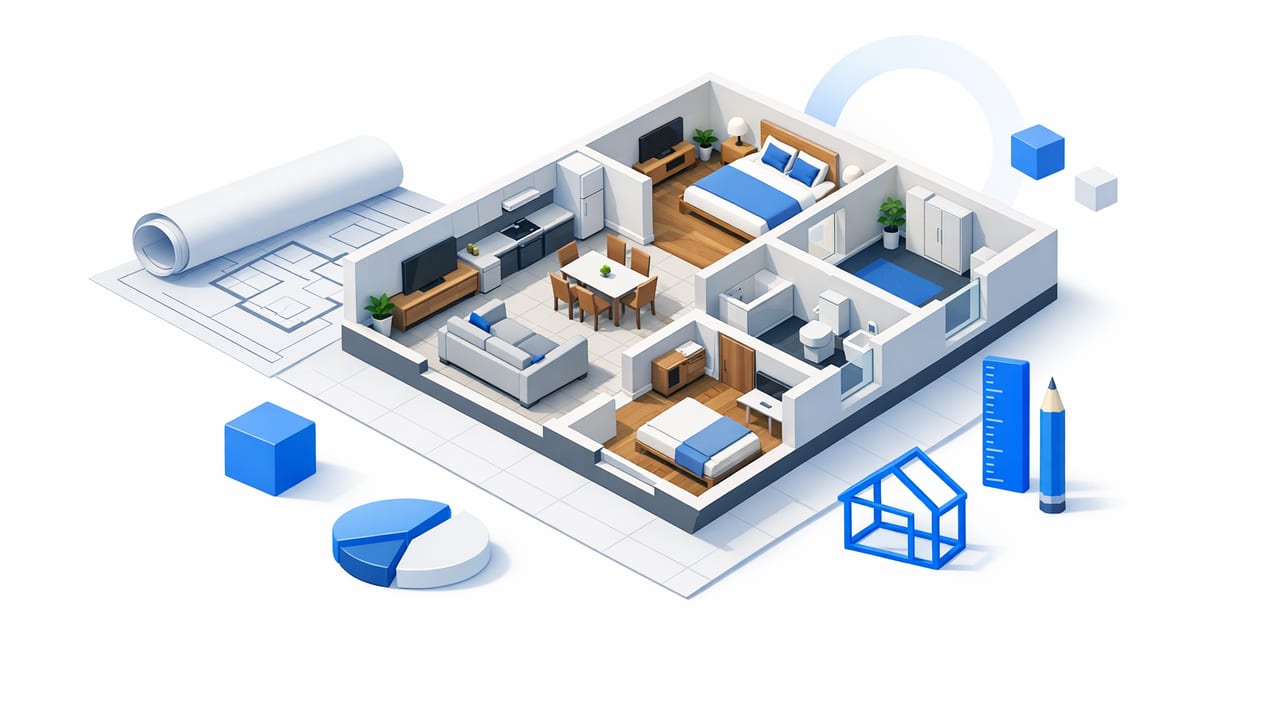
A beautiful render is easy to love—until someone tries to build from it, price materials, or fit furniture and discovers the scale is off. The real value of a floor plan 3d workflow is trust: confidence that walls, openings, and room proportions reflect the original plan closely enough to support decisions.
This guide explains how to produce dimension-true results from common inputs (PDFs, scans, photos, or hand drawings) and how to quality-check a 3D model before you present it. Whether you’re planning a remodel, preparing a client concept, or validating layout options, the checklist below will help you reduce the most frequent sources of distortion.
Why floor plan 3D accuracy breaks (and how to prevent it)
Most accuracy problems come from a handful of issues:
- Input distortion (camera perspective, curved paper, low resolution)
- Missing scale (no dimension line or known reference length)
- Ambiguous symbols (windows vs. openings, thick vs. thin walls)
- Inconsistent drafting (older plans, renovations, hand sketches)
- Human assumptions (guessing ceiling height or wall thickness)
AI-based conversion helps by detecting walls and openings quickly, but it still relies on clear inputs and a few user confirmations. The good news: you can catch most issues with a repeatable, fast QC routine.
Step 1: Prepare the plan image for reliable detection
Use a clean, square capture
If you’re photographing a printed plan, your goal is to remove perspective and shadows. A small perspective skew can turn rectangular rooms into trapezoids—an error that becomes obvious only after you add furniture.
- Place the plan on a flat surface and light it evenly from two sides.
- Keep the camera parallel to the page (avoid angle shots).
- Fill the frame with the plan; avoid wide-angle distortion at the edges.
- If possible, use a scan or exported PDF instead of a photo.
Target resolution and contrast
AI interpretation improves when walls and dimension text are crisp. As a rule of thumb, aim for a minimum of 2000 px on the long edge for a single-floor plan image. For very detailed architectural sheets, higher is better.
If the plan is faded or gray, lightly increasing contrast helps wall lines stand out. Avoid aggressive sharpening that creates halos around lines—those artifacts can be misread as extra walls.
Step 2: Establish scale (the non-negotiable step)
A floor plan 3d model can look “right” while being the wrong size. Always set scale using one of these methods:
- Dimension lines: Use a labeled length (e.g., 12'-0" or 3.60 m) as the anchor.
- Known reference: A standard door width (commonly ~30–36 in / 762–914 mm) or a bathtub length (often ~60 in / 1524 mm) can work—use only if clearly indicated.
- Existing measurements: If you can measure one wall in the real space, that’s an excellent anchor.
QC principle: If scale is uncertain, treat the output as a concept model, not a decision model.
Quick scale sanity checks
- Does a bedroom fall into typical ranges (e.g., ~9'–14' wide)?
- Are hallways plausibly navigable (often ~36" minimum in many contexts)?
- Do stairs landings look realistic for the footprint?
Step 3: Confirm the “structural skeleton” first
Before materials, lighting, or furniture, validate these core elements. Errors here propagate into everything else.
Walls: thickness, alignment, and continuity
- Wall thickness: Plans often show thicker exterior walls. If all walls become uniform in 3D, exterior dimensions may drift.
- Wall joins: Look for tiny gaps at corners—these can create micro-rooms or broken surfaces in 3D.
- Parallelism: Many homes are orthogonal; if the model produces near-parallel walls that “almost” line up, suspect perspective distortion in the input.
Openings: doors, windows, and missing breaks
Openings are frequently misread when symbols are faint or crowded. Verify:
- Door swings and hinge sides (affects circulation and furniture placement).
- Window spans (a single long window can be mistaken for two smaller ones).
- Open passages (cased openings or archways may be interpreted as solid wall if no break is obvious).
Vertical information: ceiling height and stairs
Many 2D plans don’t clearly encode height. If you must assume, document it. Stairs are another common trouble spot:
- Confirm stair direction (up/down) and landing position.
- Check that stair runs don’t collide with doors or pinch hallways unrealistically.
Accuracy checklist: your 10-minute QC routine
Use this repeatable pass before you share any deliverable. It’s designed to catch the most expensive errors early.
| Checkpoint | What to verify | Common failure | Fix |
|---|---|---|---|
| Scale anchor | At least one known length matches exactly | Model “looks right” but is oversized/undersized | Re-apply scale using a dimension line |
| Exterior footprint | Overall width/length matches plan | Perspective warp inflates one side | Re-capture or correct perspective before conversion |
| Room adjacency | Rooms connect where they should | Accidental wall fragments create “phantom rooms” | Clean wall breaks; remove artifacts |
| Door clearances | Doors open without collisions | Wrong hinge side or missing opening | Swap swing, widen opening, or re-detect |
| Window placement | Windows align with plan symbols | Long window split into multiple segments | Merge/adjust window spans |
| Circulation paths | Walkways feel plausible | Hall narrowed by misread wall thickness | Correct wall type/thickness |
| Stairs | Direction and landing match plan | Stair run flipped | Reverse direction; verify floor-to-floor height |
| Dimension spot-check | 3–5 key walls match plan dims | One room off by a consistent factor | Scale issue; re-anchor and re-check |
Step 4: Furnish for validation (not decoration)
Adding furniture can be a powerful accuracy test. Standard-size objects expose scale and clearance problems quickly.
- Place a queen bed (60" x 80" / 1524 x 2032 mm) in bedrooms.
- Place a sofa (~84" length / ~2130 mm) in living areas.
- Place toilet + vanity in bathrooms to confirm functional spacing.
- In kitchens, verify the work triangle and appliance spacing.
If these objects don’t fit where the plan implies they should, you’ve likely uncovered a scale or wall alignment issue.
Step 5: Use versioning so you can compare options without confusion
In any floor plan 3d workflow, you’ll iterate: “Option A” moves a wall; “Option B” swaps a door; “Option C” changes kitchen layout. Keep outputs organized so stakeholders can compare apples to apples.
Simple naming scheme (practical and searchable)
Include project, floor, version, and key change:
projectname_floor_v03_kitchen-island-wider.png
projectname_floor_v03_kitchen-island-wider.usdz
projectname_floor_v04_door-swing-updated.png
Optional: quick script to generate consistent filenames
If you export many variations, a tiny helper script can prevent mistakes:
from datetime import datetime

def export_name(project, floor, version, change, ext):
    stamp = datetime.now().strftime('%Y%m%d')
    safe = change.lower().replace(' ', '-').replace('_', '-')
    return f"{project}_{floor}_v{version:02d}_{safe}_{stamp}.{ext}"

print(export_name('oak-street', 'level1', 4, 'Door swing updated', 'png'))
Common pitfalls (and quick fixes)
Hand-drawn plans
Hand sketches can convert well if they’re clear, but you must be strict about scale. Add at least one labeled measurement on the sketch before converting. Even a single “10 ft” reference line can dramatically improve accuracy.
Multi-page PDFs and mixed scales
Some plan sets include detail sheets at different scales. Convert only the floor plan sheet (not enlarged bathroom/kitchen details) unless you handle them as separate, clearly labeled models.
Renovations and “as-built” mismatches
Older plans may not match current reality. If accuracy is critical, confirm key dimensions on-site (or from reliable as-built documentation) and reconcile differences before finalizing the 3D.
Exporting a floor plan 3D render for presentations
Accuracy is necessary, but communication is the goal. When exporting images or 3D files for proposals, consider:
- Two viewpoints: one overhead/axonometric for layout clarity, one eye-level for feel.
- Neutral materials: avoid textures that distract from layout decisions.
- Callouts: label a few key dimensions or room names directly on the render.
- High resolution: export large enough for print or slide decks to avoid blurry edges.
Final pre-share checklist (copy/paste)
- Scale set from a known dimension (not guessed)
- Exterior footprint matches the plan
- 3–5 wall dimensions spot-checked and correct
- All doors and major windows verified
- No phantom rooms, gaps, or wall overlaps
- Stairs direction/landing confirmed (if present)
- Furniture test passed in key rooms
- Exports named clearly with version + change note
Closing note
The fastest way to improve results is to treat your first conversion as a draft, then run a disciplined QC pass focused on scale, wall continuity, and openings. Once those are correct, everything else—materials, lighting, and styling—becomes a safe layer on top.
If you’re looking for an iOS workflow that converts black-and-white plans into a dimension-faithful floor plan 3d render and supports high-resolution exports for presentations, apps like Floor Plan to 3D can be a practical starting point.
