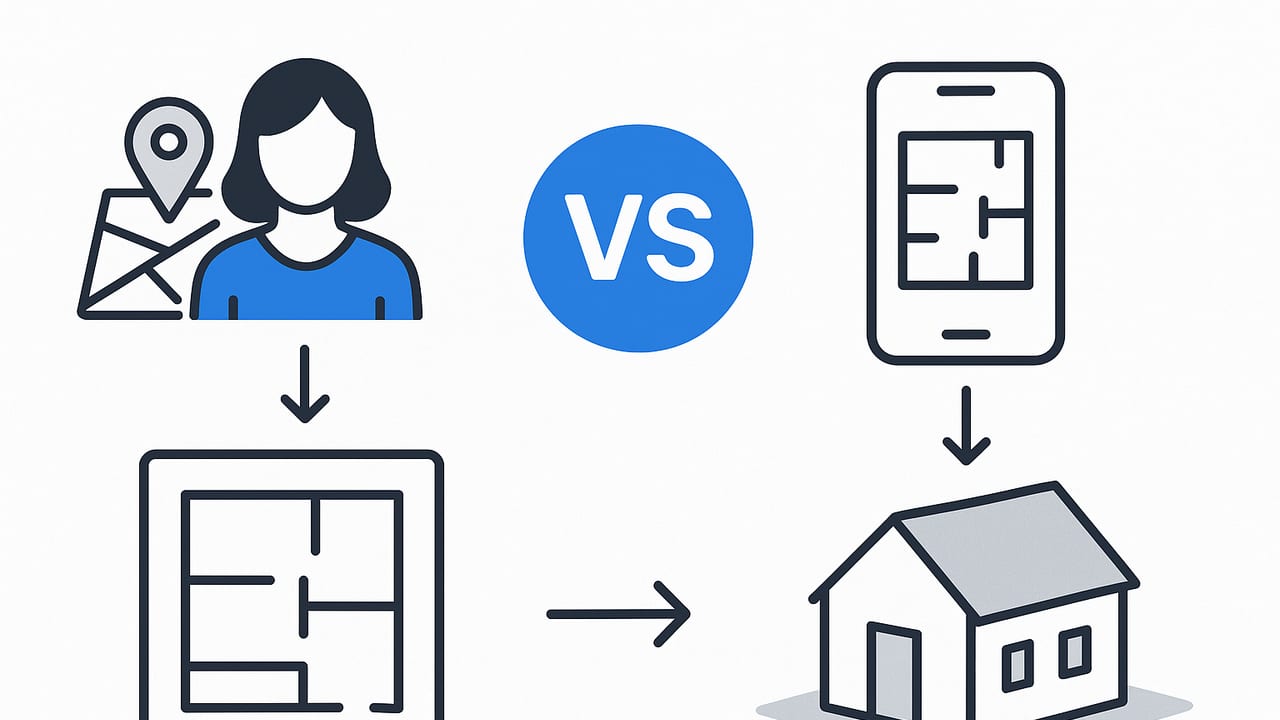
Searching for “floor plan to 3D near me” usually means you want a fast, accurate way to transform a 2D layout into a visual model you can walk through, share, or refine. Whether you’re a homeowner planning a remodel, a real estate agent prepping a listing, a contractor clarifying scope, or a student building a portfolio, the goal is the same: turn lines and measurements into a true‑scale, photoreal 3D view that reflects the original plan.
This guide explains what “near me” services actually provide, how they compare to online and mobile workflows, what files to prepare, how to check accuracy, and how to avoid the most common pitfalls. You’ll leave with a vetted process, a mini RFP you can send to providers, and clear expectations on speed, cost, and deliverables.
What “floor plan to 3D near me” Really Covers
When you search locally, you’ll typically encounter one or more of the following:
- Architectural or interior design studios: Full‑service design support plus visualization; higher cost, deeper expertise.
- 3D visualization freelancers: Flexible and often fast; quality varies, so review portfolios.
- Print/scan shops with CAD partners: May offer plan digitizing and pass 3D work to a specialist.
- Online service bureaus: Upload your plan, pick options, get renders back in 24–72 hours.
- Mobile apps: DIY conversion on your phone; rapid iteration with true‑scale layout planning.
Each path has trade‑offs in accuracy, speed, cost, and how much back‑and‑forth you can expect.
Local vs Online vs App: Quick Comparison
| Option | Typical Speed | Approx. Cost | Best For |
|---|---|---|---|
| Local design/arch studio | 3–10 business days | $$$–$$$$ | Complex remodels, permit sets, high‑fidelity design decisions |
| Freelance visualizer | 2–7 business days | $$–$$$ | Listings, concept studies, portfolio visuals |
| Online service bureau | 24–72 hours | $$ | Fast marketing imagery, basic iterations |
| Mobile app | Minutes to same day | $–$$ | DIY planning, rapid what‑ifs, stakeholder alignment |
If you need deeply customized design guidance, a local studio can be ideal. If you need speed and hands‑on control, a mobile app can be the most “near me” option of all—because it sits in your pocket and works from wherever you are.
How to Prepare Your Floor Plan for a Reliable 3D Conversion
Whether you hire locally or do it yourself, good inputs prevent expensive revisions. Use this prep list:
- Start with the cleanest plan you have: Black‑and‑white layouts are easiest to read. Remove annotations not needed for geometry.
- Include dimensions: Overall width/length of each room, wall thicknesses if known, ceiling height, door/window sizes, stair dimensions.
- Provide a scale reference: A scale bar or one verified measurement (e.g., living room width = 14' 0" or 4.27 m) anchors accuracy.
- Use high‑quality scans: 300 DPI or higher for raster (JPG/PNG/TIFF). PDFs are great. If you have DWG/DXF, include them.
- Note level changes: Split levels, dropped ceilings, sunken living rooms, mezzanines—call these out.
- Clarify what must match reality: Structural walls, plumbing positions, egress widths, or anything non‑negotiable.
A Step‑by‑Step Local Provider Workflow
- Discovery: Share your plan, timeline, budget, sample references, and required output (still images, walk‑through, 360, or orthographic plans).
- Scope & quote: Agree on rooms, levels, furniture detail, lighting style, and number of revisions.
- Model build: Provider reconstructs walls, openings, and levels; sets ceiling height; adds stairs and core elements.
- Layout & materials: Furniture placement, flooring, wall finishes, and key fixtures; often an iterative stage.
- Lighting: Natural/ambient lighting setup for realism and clarity in renders.
- Reviews: Annotate draft images with change requests focused on measurements and critical visuals.
- Final delivery: Receive high‑resolution renders, optional 360 views, and sometimes the source model by agreement.
A Fast DIY App Workflow
- Scan or photograph your 2D plan with good lighting, flat orientation, and no perspective skew if possible.
- Import and set scale using a known dimension; verify a second dimension to confirm true scale.
- Generate the 3D layout, then place furniture and finishes to match your intent.
- Iterate quickly: Move walls (if the tool supports it), test furniture sizes, and check clearances.
- Export high‑resolution images or 360s for stakeholders or listings.
Accuracy and True Scale: Best Practices
Accurate scale is the difference between a compelling picture and a trustworthy model. Keep these principles in mind:
- Set scale early: The first thing you do after import should be scale calibration.
- Verify with a second dimension: Check a perpendicular dimension to catch skew or DPI misreads.
- Preserve orthographic lines: Avoid photographing at an angle; skewed photos introduce error. If needed, use an app or editor to deskew.
- Stick to black & white linework: High contrast improves wall and opening detection.
- Document ceiling height: It affects perception of space and daylight.
- Call out atypical geometry: Bay windows, angled walls, niches; add labels or a markup layer.
Quality Checks Before You Approve
- Wall thickness and room sizes match the plan within tolerance.
- Door swing and clearances allow realistic movement (usually 32–36 in / 810–915 mm clear where required).
- Window heights and sill elevations consistent across elevations.
- Stairs have consistent rise/run; landing dimensions meet local norms.
- Kitchen and bath layouts respect appliance and fixture clearances.
- Furniture scale matches true manufacturer dimensions, not generic placeholders, for final approvals.
Cost, Timing, and Deliverables: What to Expect
| Scenario | Typical Timeline | Indicative Cost | Common Deliverables |
|---|---|---|---|
| Single room, simple finishes | Same day to 2 days | Low $–$$ | 1–3 stills, basic 3D view |
| Apartment, standard detail | 2–5 days | $$–$$$ | 4–8 stills, 360 or simple walk‑through |
| House, high fidelity | 5–10+ days | $$$–$$$$ | Multiple stills, 360 tour, layered materials |
Ask up front whether you’ll receive the source model, what resolution your images will be (e.g., 4K+ for print), and how many revisions are included.
Privacy and IP: Read the Fine Print
- Confidentiality: For private residences or pre‑market listings, request an NDA.
- Usage rights: Confirm you can use the images for MLS, social media, proposals, and print.
- Attribution: Some providers require credit for public use; clarify early.
- Source files: If you need the model file, include it in scope and budget; not all providers include it by default.
Finding and Vetting “Floor Plan to 3D Near Me” Providers
Use targeted searches and quick due diligence:
- Search queries: 3D floor plan services near me, 2D to 3D floor plan [your city], real estate 3D rendering [your city], interior visualization studio.
- Check portfolios for similar scope and style; look for accurate proportions and realistic lighting.
- Ask for two references and a small paid trial room before committing to a whole property.
- Confirm revision policy, rush fees, and weekend availability if timeline is tight.
- Red flags: No physical address or company details, vague pricing, or reluctance to discuss scale/accuracy.
Copy‑Paste Mini RFP You Can Send Today
Subject: Floor Plan to 3D Conversion – [Project Name]

Hi [Name],

I’m looking to convert a 2D floor plan to a true‑scale 3D model.

Scope:
- Property type: [Apartment/House/Commercial], [#] rooms, [#] levels
- Deliverables: [#] still renders at [resolution], optional [360 tour/walk‑through]
- Accuracy: Must match attached plan; key dims: [list]
- Ceiling height: [value]
- Materials/furniture: [Basic placeholders / Specific references attached]
- Deadline: [date]
- Revisions: [#] rounds included

Attachments: [PDF/JPG/DWG], annotated notes

Please provide a quote, timeline, and samples of similar work.

Thanks,
[Your Name]
[Phone]
Use Cases and ROI
- Homeowners: Validate remodel ideas before demolition; confirm furniture fits; minimize change orders.
- Real estate agents: Stage unfurnished layouts virtually, create faster buyer comprehension, and reduce on‑site time.
- Contractors: Align trades with spatial intent; visual scope helps reduce RFIs.
- Students: Convert practice plans to 3D quickly to focus on design iteration and presentation skills.
Frequently Asked Questions
Is a “near me” provider more accurate than an online/app option?
Accuracy depends more on your inputs (dimensions, clear scans, scale reference) and the provider’s workflow than physical proximity. Local shops can be great for in‑person consults; apps and online services excel at speed and iteration.
Do I need CAD files?
No. Clean PDFs or high‑DPI images of black‑and‑white plans are sufficient for most conversions. Vector CAD (DWG/DXF) is a plus for complex projects.
How do I keep costs down?
Provide a tidy, dimensioned plan; specify only the rooms and detail you truly need; and limit revisions with clear, annotated feedback.
What if my plan has missing dimensions?
Provide at least two known dimensions on different axes, plus ceiling height. Add notes for any atypical geometry so the modeler doesn’t guess.
Putting It All Together
To get the best results from a “floor plan to 3D near me” search, decide first what you value most: deep design support, same‑day iteration, or a balanced mix. Prepare a clean, scaled plan; verify accuracy with a second dimension; and communicate clearly using a short RFP. With the right workflow, you’ll move from lines on paper to a reliable 3D model that guides decisions, persuades stakeholders, and saves time.
If you prefer a rapid, self‑serve route on iPhone, the Floor Plan to 3D app can convert black‑and‑white 2D layouts into true‑scale 3D, preserve proportions, and export high‑resolution images for proposals and presentations.
