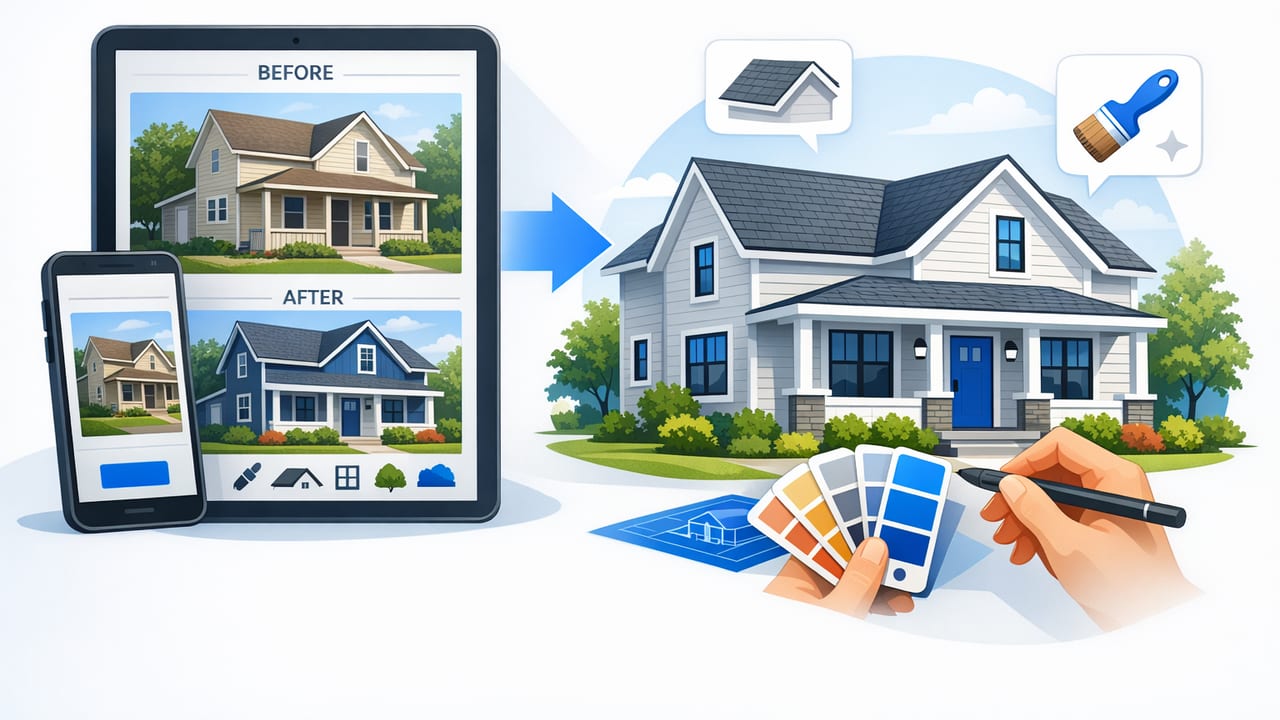
An exterior remodel can be deceptively expensive to “figure out as you go.” A paint color that looked perfect on a swatch can read too warm in afternoon sun. New siding can clash with roof undertones. A modern entry door may look undersized once installed. And landscaping can unintentionally hide architectural details you actually want to showcase.
That’s why an exterior redesign app has become a practical planning tool: it lets you preview multiple curb-appeal directions quickly, compare options side-by-side, and make decisions with more confidence before you commit to quotes, materials, and labor. This guide walks through an accuracy-first workflow for exterior redesign, what to test, what to measure, and how to avoid common visualization traps.
What an exterior redesign app is (and what it isn’t)
Most exterior design apps help you visualize changes to a home’s facade—typically paint, siding, trim, roofing, doors, windows, lighting, hardscaping, and landscaping. Some focus on photo-based edits, while others offer 3D models that can better reflect depth, proportions, and shadows.
- Best for: testing concepts, narrowing finishes, improving communication, and validating proportions.
- Not a substitute for: structural engineering, local code review, or contractor-grade shop drawings.
Rule of thumb: Use the app to get to a clear direction (style + palette + priorities), then bring that direction to pros for construction details and final specifications.
When exterior redesign is worth simulating
If you’re changing just one element (for example, swapping a porch light), you may not need a full workflow. But visualization pays off when multiple elements interact.
High-impact scenarios
- Paint + trim + roof undertones: the fastest way to end up with mismatched colors is to choose them in isolation.
- Siding profile changes: board-and-batten vs horizontal lap changes scale and “feel” immediately.
- Entry redesign: door style, sidelights, porch posts, and steps must feel proportionate together.
- Window refresh: frame color and grille patterns can shift a home’s era (traditional, modern, farmhouse).
- Hardscape + landscaping: the path, driveway edge, and planting heights define the approach and focal point.
A practical workflow for using an exterior redesign app
The goal isn’t to create a perfect architectural rendering; it’s to reduce uncertainty and make better decisions faster. Here’s a repeatable workflow you can apply whether you’re doing a simple refresh or a full facade makeover.
Step 1: Start with accurate references
Capture or gather what you’ll redesign against:
- Front elevation photo(s): take images straight-on and at a slight angle. Avoid extreme wide-angle distortion.
- Key measurements: door height, window sizes, distance between windows, porch depth, and overall facade width.
- Existing constraints: roof type, masonry you won’t touch, HOA rules, local climate requirements.
Tip: If you have a floor plan or blueprint, it can help you keep proportions honest—especially for door/window sizing and porch geometry.
Step 2: Define your “design intent” in one paragraph
Before you test colors and materials, write a short brief. This keeps you from bouncing between incompatible styles.
Example brief: “Warm modern refresh: charcoal roof stays, update siding to a lighter neutral, black window frames, natural wood door, simple landscaping that frames the entry and keeps sightlines open.”
Step 3: Lock the big surfaces first (roof, siding, primary color)
Exterior elements have a hierarchy. If you start by perfecting small details (like house numbers), you’ll redo them later.
- Roof color/undertone: even if you aren’t replacing it, treat it as a fixed palette anchor.
- Siding material: lap, shake, stucco, brick paint, or mixed materials (use sparingly).
- Main wall color: choose 2–3 candidates and test them across daylight conditions if your app supports it.
Step 4: Add trim, accents, and contrast thoughtfully
Trim is where many exteriors go wrong: too much contrast can look busy; too little can look flat. Aim for a deliberate contrast ratio.
- Trim: often 10–20% lighter or darker than the main body for a cohesive look.
- Accents: shutters, gable details, brackets, railings—use as a style cue, not decoration overload.
- Consistency: repeat black (or bronze, or white) in at least three places (e.g., frames, lighting, hardware) to look intentional.
Step 5: Redesign the entry as a “focal system”
Most curb appeal lives at the entry. Treat it as a system: door + surround + steps + lighting + signage + planting.
- Door size: check scale; a modern door can look too “thin” without sidelights or a stronger surround.
- Lighting: match fixture scale to door width; undersized sconces are a common mistake.
- House numbers: ensure contrast, legibility, and alignment with architectural lines.
Step 6: Use landscaping to frame—not hide—the architecture
Landscaping can rescue a plain facade or ruin a good one. In your exterior redesign app, test plant heights and shapes as if you’re composing a photo.
- Keep windows clear: avoid shrubs that mature into the lower sash line.
- Layer heights: low (groundcover) → medium (shrubs) → high (small tree) to guide the eye.
- Path emphasis: highlight the route to the door with lighting or edging; it improves “arrival.”
Step 7: Create 3 concept options and compare
Don’t iterate forever on a single direction. Create three distinct concepts, even if you think you already know what you want:
- Safe upgrade: minimal changes, mostly color and lighting.
- Style shift: new palette + entry refresh + simplified trim.
- Statement concept: mixed materials or bold contrast with a controlled accent color.
Features to look for in an exterior redesign app
Not all apps support the same level of decision-making. If you’re choosing an app (or deciding which tool to commit time to), prioritize capabilities that reduce rework and ambiguity.
| Feature | Why it matters | What to watch for |
|---|---|---|
| Accurate scaling / proportions | Keeps doors, windows, and trim believable | Over-stylized models that ignore real dimensions |
| Material realism (textures, gloss) | Helps you predict how finishes read at distance | Flat textures that make all materials look similar |
| Lighting / shadow controls | Exterior color changes drastically by sun angle | Single “studio light” that hides true contrast |
| Layered edits (undo, versions) | Enables clean comparisons and iterative design | No versioning, forcing you to start over |
| Export quality (HD images) | Makes contractor conversations clearer | Low-res exports that blur details |
Common mistakes (and how to avoid them)
1) Choosing colors without accounting for fixed elements
Stone, brick, roofing, and even concrete have undertones. When using an exterior redesign app, treat fixed elements as non-negotiable palette anchors.
2) Over-contrasting trim
High contrast can look crisp on modern homes, but on traditional forms it can create visual clutter. If you’re unsure, reduce contrast and rely on lighting and landscaping for definition.
3) Ignoring scale of fixtures
In apps, fixtures can look fine until you compare them to a 36-inch door. Scale sconces and pendants relative to door width and mounting height.
4) Designing the facade without the approach
Curb appeal includes the route from the street: driveway edge, walkway width, steps, and planting sightlines. Ensure your redesign doesn’t create a “lost” entry.
A quick “measurement sanity check” you can reuse
If your app supports dimensioned inputs or you’re translating a plan into a model, keep a simple consistency check. This tiny checklist prevents the most common proportion errors.
# Exterior scale sanity check (pseudo-checklist)
# 1) Confirm a known reference size
reference = "front door height"  # typically ~80 in / ~2030 mm

# 2) Verify window proportions
assert window_head_height <= door_head_height
assert sill_height consistent_across_front

# 3) Confirm entry focal width
entry_zone_width = door_width + sidelights + trim
assert entry_zone_width visually anchors facade center

# 4) Validate step/run comfort if changing stairs
assert riser_height in [6.5, 7.75] inches (local code varies)
assert tread_depth >= 10 inches
How to present your exterior redesign to contractors
Once you’ve narrowed to a direction, your app outputs become communication tools. Pair visuals with a short spec list so bids don’t drift.
- One “hero” image: the front view that tells the story.
- Two alternates: (A) safer palette, (B) bolder palette.
- Material notes: siding type, trim finish, roof (existing or new), door style.
- Scope boundaries: what stays, what changes, what’s optional.
Pro tip: Ask contractors to identify assumptions in their bids (prep work, rot repair allowance, flashing details). Your visuals reduce guesswork, but assumptions still impact price.
FAQ: exterior redesign app planning
Is photo-based exterior design “accurate enough”?
For paint, trim contrast, and broad material ideas—often yes. For proportion changes (doors, windows, overhangs), a 3D-based workflow is typically more reliable.
How many concepts should I test before deciding?
Three is a sweet spot: it’s enough variety to confirm your preferences without turning the project into endless iteration.
What should I finalize before requesting quotes?
Finalize the overall style direction, primary exterior color, major materials (siding/roof/stone), and whether windows/doors are changing. Keep smaller details (like planters) flexible if needed.
Putting it all together
An exterior redesign doesn’t have to be a leap of faith. With a solid reference set, a short design brief, and a structured approach to testing big surfaces before details, an exterior redesign app can help you avoid mismatched finishes, reduce change orders, and communicate clearly with everyone involved.
If you want a workflow that bridges plans and visualization, some tools can also convert floor plans into clean 3D previews for broader remodel coordination; for example, Floor Plan to 3D & Home Redesign is one option that supports fast 3D exports you can use in proposals and presentations.
