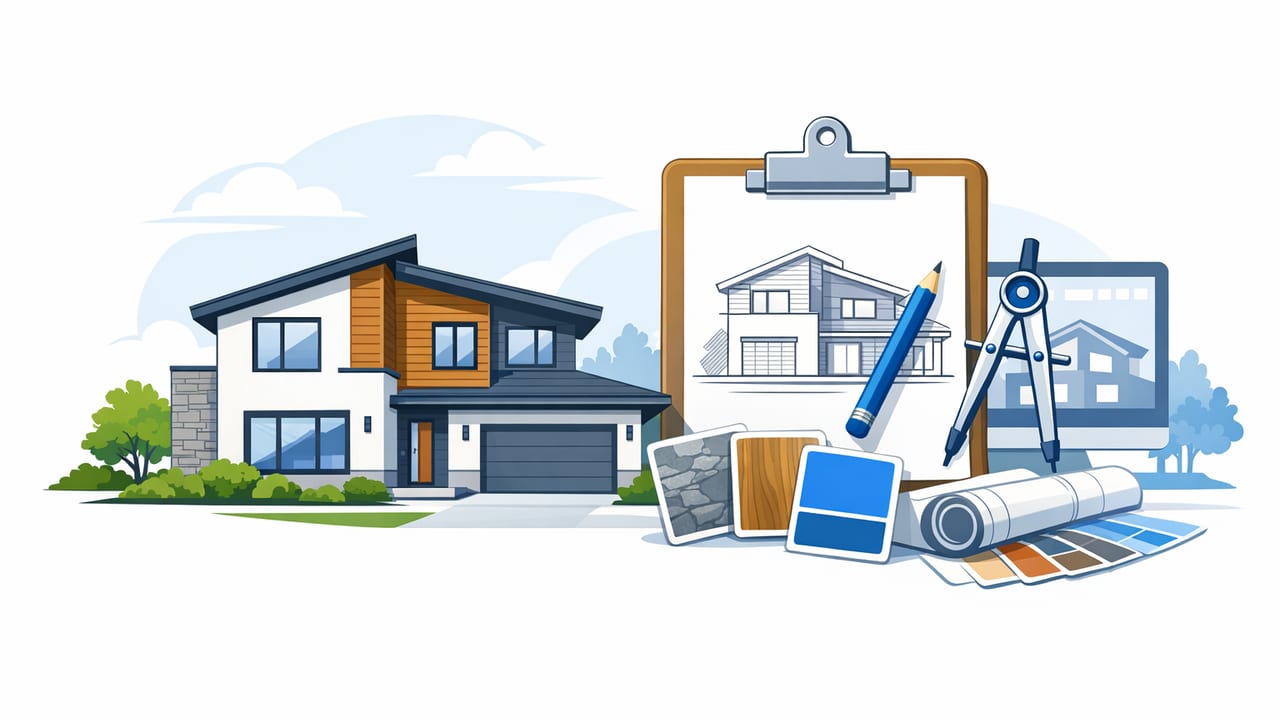
Exterior home design is where aesthetics, durability, and budget collide. It’s also where decisions are hardest to “see” in advance: siding looks different in shade, new windows change proportions, and a front-door color can either elevate the façade or fight it. The most efficient way to reduce uncertainty is to plan like a builder and visualize like a designer—using accurate measurements, clear priorities, and (when possible) 3D renders to preview changes before you commit.
This guide breaks exterior redesign into a repeatable workflow: set goals, audit what you have, choose a style direction, select materials and colors, add lighting and landscape, and then validate the whole plan with a realistic preview.
1) Start with outcomes, not products
Before you shop for cladding or scroll paint swatches, define what “success” means for your project. Exterior updates are easiest when you’re optimizing for one primary outcome and two secondary outcomes.
- Primary outcome examples: modernize the look, improve resale curb appeal, lower maintenance, increase energy efficiency, or fix water/rot issues.
- Secondary outcomes: brighter entry, better night visibility, stronger architectural character, or improved privacy from the street.
Write your constraints, too: HOA rules, historical guidelines, setbacks, climate exposure (salt air, freeze/thaw, heavy sun), and the maximum you can spend. The best exterior home design decisions are the ones that hold up to weather, codes, and the realities of construction—not just the mood board.
2) Audit the existing façade (what you can’t ignore)
A façade “audit” keeps you from spending on cosmetics while structural or proportion problems remain. Walk the perimeter and capture notes and photos from consistent angles (straight-on, 45°, and street view). Focus on these categories:
- Proportion: door and window scale, spacing, and symmetry (or intentional asymmetry).
- Lines and layers: roofline, gables, trim bands, and how many materials are competing.
- Condition: rot, peeling paint, failing caulk, soft soffits, and water staining.
- Entry experience: walkway alignment, porch depth, door visibility, and cover from rain.
- Night view: shadowy steps, glare, missing path lights, or harsh fixtures.
If you’re changing more than one major element (siding + windows + roof color, for example), consider a quick “measurement pass” so you know what’s feasible. Even rough dimensions help when you start comparing materials and costs.
3) Pick a style direction that matches the home’s massing
Trends come and go, but massing (the building’s basic shape) is stubborn. A good exterior home design strategy chooses a style direction that fits the roof pitch, window rhythm, and overall volume. If you try to force a style that conflicts with massing, you end up “decorating” the façade instead of improving it.
| Style direction | Works best when… | High-impact moves |
|---|---|---|
| Modern / Contemporary | Simple rooflines, strong horizontals, clean window groupings | Large-format siding, restrained palette, minimal trim, bold entry |
| Transitional | You want “updated” without fully changing character | New lighting, refined trim, mixed materials (wood + stone), darker accents |
| Traditional / Colonial | Clear symmetry and classic window spacing | Balanced shutters (if appropriate), classic door surround, cohesive trim color |
| Craftsman | Visible porch structure, gables, strong vertical details | Tapered columns, warm materials, layered trim, earthy palettes |
Choose one lead style and use it to filter decisions. When the façade feels “busy,” it’s often because it’s mixing too many style languages at once (modern fixtures + ornate trim + rustic stone).
4) Build a façade palette: 60/30/10 for exteriors
A reliable way to keep exterior choices cohesive is to assign your materials/colors into a hierarchy:
- 60% = primary field (siding, stucco, brick paint, or main cladding)
- 30% = secondary (trim, gables, porch cladding, garage door, or an accent plane)
- 10% = accent (front door, house numbers, metal details, shutters if used)
This prevents “accent creep,” where every surface becomes a feature. It also makes exterior home design easier to visualize in 3D renders, because you’re limiting the number of competing materials.
Pro tip: If your roof is staying, treat its color as part of the palette. A warm roof can fight cool grays; a very dark roof can overpower light siding unless trim and accents are balanced.
5) Choose materials like a builder: durability, detailing, and maintenance
Material selection is where exterior redesign becomes real-world. Two materials might look similar in a render, but behave very differently over time. Evaluate each option across four criteria:
- Water management: flashing details, joints, and where water will sit.
- UV and temperature: fading, warping, expansion/contraction.
- Maintenance cycle: repainting, sealing, cleaning, repairs.
- Detail compatibility: how the material meets corners, windows, and soffits.
| Upgrade | Visual impact | Cost level | Common mistake |
|---|---|---|---|
| New front door + hardware | High | Low–Medium | Choosing a color that clashes with roof/brick undertones |
| Paint / stain refresh | High | Low | Ignoring undertones; not sampling in morning vs evening light |
| Siding replacement | Very high | High | Overcomplicated material mix and inconsistent trim thickness |
| Exterior lighting plan | Medium–High | Low–Medium | Glare at eye level; too-cool color temperature |
| Landscape “frame” update | High | Medium | Planting that blocks windows or entry sightlines |
6) Get the entry right: it’s the most valuable square meter
If you only redesign one zone, make it the entry. People read the whole home through the front door area: the path, the porch, the lighting, and the door itself. Strong entry design usually follows three rules:
- Clarity: visitors should instantly know where to go (path alignment, visible door, clear steps).
- Layering: a mix of depth and texture—porch posts, trim, a small canopy, or a recessed doorway.
- Warmth: lighting and color that feel welcoming at night, not sterile or overly bright.
“Curb appeal isn’t just a façade; it’s a sequence—street, path, porch, then door.”
Even modest changes—like widening the walkway, adding house numbers with contrast, or swapping fixtures—can make an older exterior home design feel intentional and updated.
7) Exterior lighting: design for safety, depth, and mood
Lighting is often treated as an afterthought, but it’s one of the most cost-effective upgrades. Aim for three layers:
- Ambient: general illumination (porch lights, garage sconces).
- Task: steps, door hardware, and lock visibility.
- Accent: grazing a textured wall, uplighting a tree, or highlighting a path edge.
To avoid harsh results, keep fixture output appropriate to scale and choose a warmer color temperature for most homes. Also watch for glare: lights mounted too high or aimed outward can create bright hotspots and deeper shadows—making steps less safe.
8) Landscaping that supports the architecture (not fights it)
Landscaping is part of exterior home design because it changes proportions. Tall shrubs can “shorten” a home visually; low plantings can make the façade feel taller. Use plants to frame, not cover.
- Frame the entry: symmetrical planters or layered beds can guide the eye to the door.
- Respect window lines: keep mature heights below sills where possible.
- Repeat forms: echo architectural shapes (columnar plants for verticality, rounded shrubs for softer homes).
- Edge the path: defined borders read as “finished,” even with minimal planting.
When you preview landscape changes in a render, try simplifying: fewer species, larger groupings, and clear negative space. It often reads more modern and easier to maintain.
9) Preview the redesign with a simple 3D workflow
Exterior projects go smoother when you can test combinations quickly. A practical workflow looks like this:
- Capture accurate inputs: photos from consistent angles and any existing plans or elevation drawings.
- Define fixed elements: roof color, window type, brick that won’t change, hardscape you’re keeping.
- Create 2–3 concepts: vary only a few variables (siding + trim + door, for example).
- Review under different conditions: day vs dusk, sunny vs overcast. If your tool supports it, test lighting.
- Sanity-check buildability: trim thickness, where materials meet, and whether details can be flashed correctly.
This is where 3D renders earn their keep: they reveal clashing undertones, odd proportions, and overly busy palettes before you order materials.
A quick estimating helper (paint or siding area)
You can reduce surprise costs by estimating surface area early. Here’s a simple approach for paint coverage (very rough, but useful for planning):
# Estimate paint gallons needed (rough)
# wall_area_sqft = total exterior wall area minus windows/doors
# coverage_sqft_per_gallon = typically ~350 (check product)
# coats = 2 for most repaints

gallons = (wall_area_sqft / coverage_sqft_per_gallon) * coats
For more accuracy, break the façade into rectangles/triangles, subtract openings, then add a waste factor (often 10–15%) for texture and touch-ups.
10) Common exterior home design mistakes (and how to avoid them)
- Too many materials: limit to 2–3 main materials plus a restrained accent.
- Ignoring undertones: always sample colors next to permanent elements (roof, stone, brick).
- Over-dark exteriors without balance: dark siding can look great, but needs thoughtful lighting and trim contrast.
- Entry not prioritized: a new garage door means little if the front door is dim and hidden.
- Details that can’t be built cleanly: awkward transitions, missing trim returns, and poor flashing concepts.
If you’re unsure, simplify. Cohesive, buildable decisions almost always look more expensive than complicated, inconsistent ones.
Exterior redesign checklist (printable)
- Goals + constraints written (budget, climate, HOA)
- Façade audit: proportions, condition, entry, night view
- Style direction selected (one lead style)
- Palette mapped (60/30/10) including roof color
- Materials evaluated (durability + detailing)
- Entry upgraded (visibility, layering, warmth)
- Lighting layered (ambient/task/accent)
- Landscape frames architecture (heights + repetition)
- 2–3 concepts previewed in 3D renders before purchase
Closing thought: The best exterior home design process is iterative—test, compare, refine—until the whole façade reads as one idea. If you want a quick way to visualize concepts from plans and export presentation-ready images, tools like Floor Plan to 3D & Home Redesign can help you move from “guessing” to confident previews.
