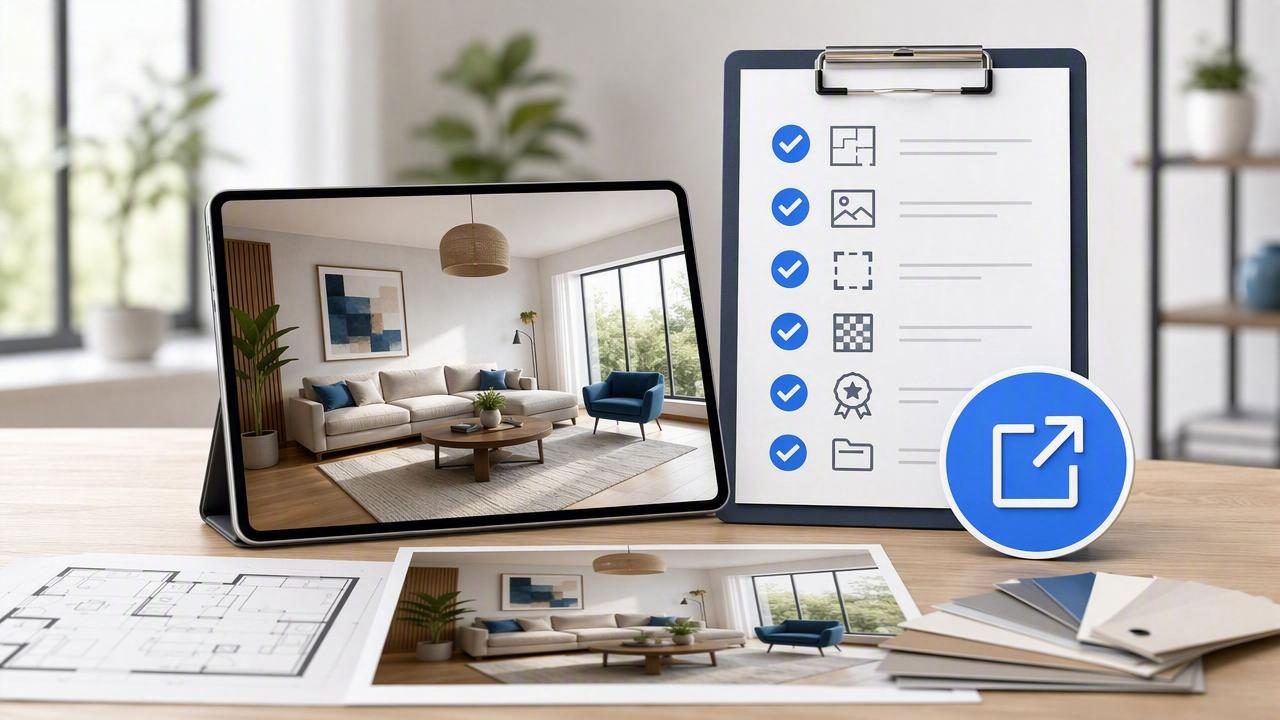
A polished renovation concept is easier to understand when clients, contractors, and family members can see it clearly. While mood boards and sketches are helpful early on, a high-resolution design image makes room layouts, finishes, furniture placement, and exterior changes much easier to review. Whether you are redesigning one bedroom or planning a whole-home update, learning how to export a high resolution design checklist with a room makeover app can help you produce clearer, more useful visuals.
High-resolution exports are not only for professional presentations. Homeowners can use them to compare ideas, document decisions, request estimates, and avoid losing track of a design direction. This guide explains what to prepare before exporting, which details to review in a 3D render, and how to create image files that remain useful beyond the initial planning stage.
Why High-Resolution Design Exports Matter
A small preview image may look good on a phone, but it can hide important details. Low-resolution images become blurry when enlarged, printed, added to a proposal, or shared with a contractor. A high-resolution export gives viewers a closer look at the choices that affect a project, including cabinet spacing, flooring direction, wall color, lighting placement, and circulation paths.
For renovation previews, image quality also affects confidence. When a room feels realistic and proportional, it is easier to notice whether a sectional overwhelms the space, a kitchen island blocks movement, or a proposed paint color feels too dark. The goal is not simply to create a beautiful image; it is to create a visual reference that supports better decisions.
| Use Case | Why Resolution Matters | Helpful Export View |
|---|---|---|
| Client presentation | Keeps finish and furniture details visible on larger screens | Wide-angle hero view |
| Contractor discussion | Shows layout intent and key areas needing clarification | Layout-focused room view |
| Print mood board | Reduces pixelation in PDFs and printed documents | Styled perspective view |
| Before-and-after comparison | Makes design changes easy to evaluate side by side | Matching camera angles |
Start With an Accurate Floor Plan Conversion
The quality of a 3D render begins with the underlying plan. If walls, doors, windows, labels, or room proportions are inaccurate, even a beautifully styled image can lead to poor renovation choices. Before adding décor, confirm that the floor plan conversion reflects the structure you are working with.
Review the original plan against the generated model. Check room boundaries first, then verify openings and major fixed elements. In kitchens and bathrooms, pay particular attention to plumbing locations, appliance zones, and clearances. In living areas, confirm that windows, radiators, fireplaces, and door swings are included because these features strongly influence furniture placement.
Core layout checks before styling
- Confirm the room shape and overall proportions match the source plan.
- Check that doors open in the correct direction and do not conflict with furniture.
- Verify window positions, heights, and major sources of natural light.
- Keep labels and dimensions available when they help explain the layout.
- Identify fixed features, such as built-ins, stairs, fireplaces, columns, and utility closets.
- Mark areas where measurements still need on-site verification.
A 3D model should be treated as a planning aid, not as a substitute for field measurement or construction documentation. Still, an accurate floor plan conversion provides the stable framework needed for useful interior design and home redesign previews.
Choose the Right Room Makeover View
One image rarely communicates every design decision. A room makeover app may offer several camera angles, and each can answer a different question. A wide perspective can communicate the overall style, while a closer image may show how materials, lighting, or built-in storage work together.
For most projects, export at least three views: one that shows the full room, one that highlights the main focal point, and one that documents the layout. In an open-plan space, consider separate views for the kitchen, dining zone, and living area. This approach prevents one dramatic image from hiding practical information.
Recommended views for common spaces
- Living room: A full-room view, a seating-area view, and a sightline toward the focal wall.
- Kitchen: An island or work-triangle view, a cabinetry elevation-style view, and an overall circulation view.
- Bedroom: A bed-wall view, a storage view, and an image showing clear walking paths.
- Bathroom: A vanity view, a shower or tub view, and a layout image that identifies fixture spacing.
- Exterior refresh: A street-facing view, an entry close-up, and an angle showing landscaping or hardscaping relationships.
The High-Resolution Export Checklist
Use this checklist after the design is largely complete but before you share, print, or present the renderings. It helps catch small errors that are much more noticeable in exported images.
- Review room proportions. Look for furniture that appears oversized, narrow walkways, or objects floating away from walls. A realistic scale is essential for trustworthy 3D renders.
- Check the primary layout. Make sure seating, tables, beds, and storage support the room’s intended use. Keep pathways clear, especially around doors, islands, and beds.
- Confirm materials and finishes. Review wall paint, flooring, countertops, tile, hardware, and upholstery. Ensure the palette remains consistent across all selected views.
- Inspect lighting. Balance natural and artificial light so critical areas are visible. Avoid exporting a view where dark corners conceal layout features or bright windows wash out the interior.
- Remove visual distractions. Delete temporary objects, duplicate furniture, placeholder décor, or experimental finishes that are no longer part of the concept.
- Set a useful camera angle. Avoid extreme wide-angle distortion unless it is intentional. Position the camera at a believable eye level for a more natural result.
- Select the highest available resolution. Choose a resolution appropriate for its destination. Larger dimensions are generally better for printing, presentation screens, and future reuse.
- Use a clear file name. Include the project, room, view, and version. For example: Hawthorne_Kitchen_IslandView_ConceptB.jpg.
- Export alternate options separately. If comparing two paint colors or furniture arrangements, label each concept clearly rather than mixing options in one folder.
- Open the final image at full size. Zoom in after export to spot blurring, missing textures, awkward crop lines, or visual artifacts.
Match File Format to the Delivery Method
Resolution is important, but file format and file size also affect how easily others can use a design image. For many room planning projects, a JPEG is practical because it creates a smaller file that is easy to email and view. PNG files can preserve sharper edges and are useful when text, labels, or graphic overlays are present. If you are assembling a full presentation, placing selected images in a PDF keeps pages organized and prevents accidental rearrangement.
When sharing files, avoid compressing them repeatedly through messaging platforms. A messaging app may reduce image quality automatically. Instead, send a downloadable link, attach the original export when possible, or include the high-resolution images in a presentation folder.
“A render is most valuable when it answers a decision-making question: Will this fit, will this flow, and will this feel right?”
Organize Exports for Faster Feedback
High-quality images are more effective when they are easy to find. Create a simple folder system before you begin exporting. Organize by project, then by room, then by design option. This is especially useful when a home redesign includes multiple versions of a kitchen, several furniture layouts, or both interior and exterior refresh concepts.
A straightforward naming convention reduces confusion during revisions:
Project_Room_View_Option_Version
OakStreet_LivingRoom_WindowWall_OptionA_V2
OakStreet_Exterior_EntryRefresh_OptionB_V1
Keep a brief note with each concept describing what changed. For example, identify whether Option B includes lighter flooring, a larger rug, revised upper cabinets, or a new front-door color. Clear organization makes feedback more specific and helps prevent teams from approving the wrong version.
Common Export Mistakes to Avoid
Even an excellent AI room planner workflow can lose value at the export stage. The most common mistake is exporting only one image. A single render may look impressive but fail to communicate storage, circulation, or the relationship between adjoining areas.
Another frequent problem is choosing style before function. Decorative accessories can make a render feel finished, but they should not hide an impractical furniture arrangement or a blocked pathway. Finally, do not assume a high-resolution image confirms construction feasibility. Use it to communicate design intent, then verify dimensions, code requirements, installation details, and product availability with the appropriate professionals.
Turn Exports Into Better Renovation Decisions
Once your images are exported, compare them side by side and ask focused questions. Does the new layout create more usable space? Are the finishes cohesive under different lighting conditions? Is the focal point obvious? Can someone move naturally through the room? These questions turn a visual concept into a practical renovation preview.
For a more confident review, share the layout image alongside the styled 3D render. The plan explains where elements belong, while the render explains how they may feel in context. Together, they are useful for interior design discussions, contractor conversations, real estate staging, and personal home planning.
Tools such as Floor Plan to 3D & Home Redesign can make this process more approachable by turning floor plans into shareable visual concepts without requiring complex 3D software. The best result, however, comes from a careful review process: preserve the layout, test design options, and export images that make the next decision easier.
