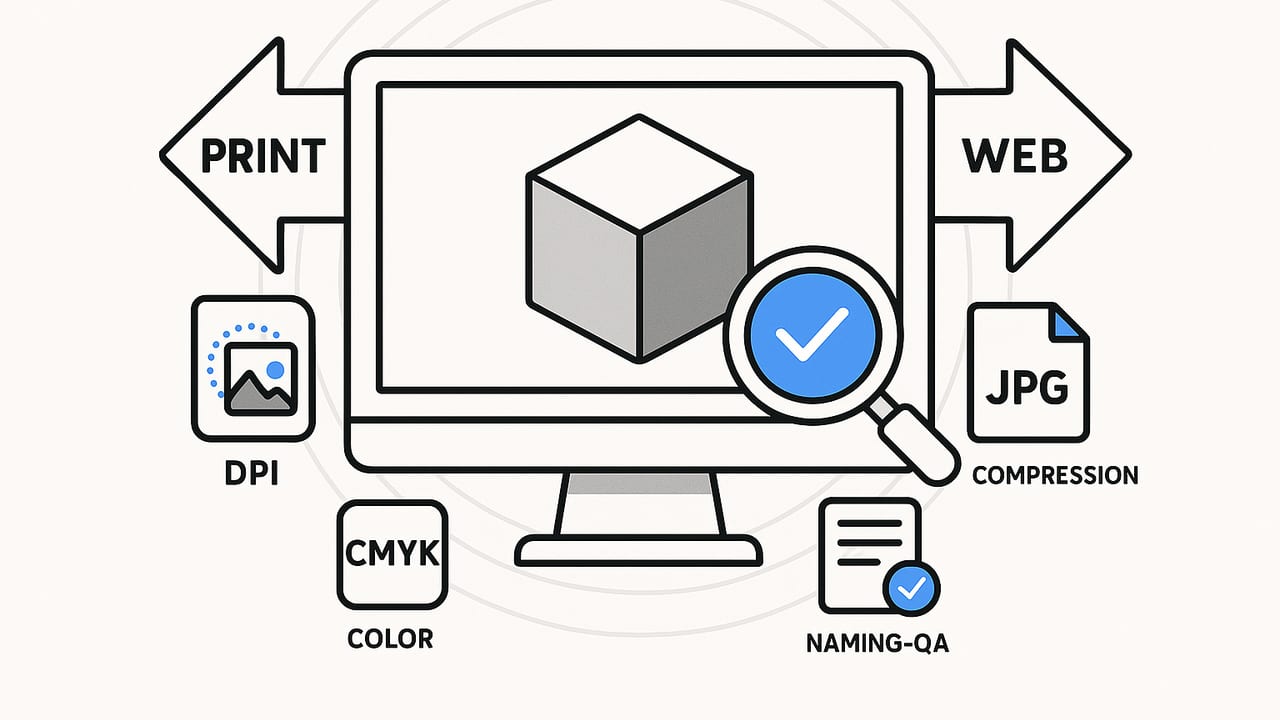
Rendering is only half the journey—export is where quality is either preserved or lost. Whether you’re preparing stills for a website, slides for a client pitch, or large-format prints, getting the export settings right determines sharpness, color fidelity, file size, and how professional your work appears. This guide explains how to export 3D renders with confidence, covering resolution math, color management, file formats, compression, and quality assurance for both web and print.
Start With an Export Brief
Before you click “export,” define the destination and constraints. A short export brief prevents rework and inconsistent results.
- Delivery channel: web, print, presentation, social, or animation.
- Target size: pixels (web/presentation), inches/mm at DPI (print), or aspect ratio (video).
- Color profile: sRGB (web), Display P3 (Apple devices), CMYK handoff (print shops).
- Background: transparent PNG/TIFF/WebP vs. baked background.
- File weight budget: e.g., <500 KB for web hero, <10 MB for email.
- Naming and versioning: include project, view, size, and version numbers.
Resolution, Scale, and DPI: Do the Math Once
For screens, think in pixels and device pixel ratios (1x, 2x, 3x). For print, think in inches or millimeters at a target DPI (typically 300). Use this simple formula for print: Pixels = Inches × DPI.
| Use Case | Target Size | Recommended Setting | Result | Notes |
|---|---|---|---|---|
| Web hero banner | 1920 × 1080 px (16:9) | sRGB, WebP or JPEG | 1920 × 1080 px | Provide 2x for retina: 3840 × 2160 px |
| Social post (portrait) | 1080 × 1350 px | sRGB, JPEG/WebP | 1080 × 1350 px | Keep file < 1 MB for platforms |
| Slide deck (16:9) | 1920 × 1080 or 2560 × 1440 px | sRGB, PNG/JPEG | 1920 × 1080 px | Higher res for large rooms: 2560 × 1440 |
| US Letter print | 8.5 × 11 in @ 300 DPI | CMYK handoff optional | 2550 × 3300 px | Add 0.125 in bleed if full bleed |
| A4 print | 210 × 297 mm @ 300 DPI | TIFF/PDF | 2480 × 3508 px | Include crop marks for press |
| Poster | 24 × 36 in @ 150–300 DPI | TIFF/PDF | 3600 × 5400 to 7200 × 10800 px | 150–200 DPI is often fine for distance viewing |
Tip: If you must scale down, export larger and downsample with high-quality resampling (Lanczos/Bicubic) to gain perceived sharpness.
Color Management and Bit Depth
- Web: export in sRGB and embed the profile. Many browsers assume sRGB; converting prevents washed-out or oversaturated colors.
- Apple ecosystems: Display P3 can show richer colors on supported screens. Embed the P3 profile and keep a fallback sRGB version when color-critical.
- Print: keep RGB (16-bit TIFF) until the final handoff. Let the print house provide CMYK ICC profiles and perform the conversion. If you must convert: use the printer’s ICC, perceptual intent, and soft-proof.
- Bit depth: 16-bit for grading/retouch (avoids banding), 8-bit for final web delivery (smaller files).
Best Formats to Export 3D Renders
| Format | Use Case | Pros | Cons |
|---|---|---|---|
| PNG | Web/presentations | Lossless, supports alpha | Larger file sizes |
| JPEG | Web/social | Small files, wide support | No transparency, lossy artifacts |
| WebP | Modern web | Great compression, alpha support | Older browsers may need fallback |
| AVIF | Cutting-edge web | Even smaller than WebP, high quality | Encoding slower, partial support |
| TIFF | Print/retouch | 16-bit, CMYK capable, lossless | Large files |
| Print handoff | Packaging, vector + raster, prepress features | Requires proper export settings | |
| EXR | Compositing | Linear, 16/32-bit float, multipass | Not for final delivery to clients |
| HEIF/HEIC | Mobile | Good compression | Workflow variability, transparency support varies |
Rule of thumb: use WebP for modern web (fall back to JPEG/PNG), TIFF or PDF/X for print, and EXR for pipelines that need compositing.
Transparent Backgrounds, Shadows, and Alpha
- Enable alpha in export to place renders over brand backgrounds without halos.
- Use a shadow catcher to retain realistic contact shadows on transparency.
- Avoid premultiplied alpha issues by exporting straight/unassociated alpha when possible; if premultiplied, composite over the same background color used during render.
Animation: Turntables and Flythroughs
When you export 3D renders as video, pick codecs based on audience and quality needs:
- Web/social: MP4 (H.264), 10–20 Mbps for 1080p; 20–40 Mbps for 4K.
- High quality: MP4 (HEVC/H.265) or WebM (VP9/AV1) for better compression; check device support.
- Editing/mastering: ProRes 422/4444 or DNxHR for intermediate files (large but robust).
# Export a high-quality H.264 file for broad compatibility
ffmpeg -i input.mov -c:v libx264 -crf 18 -preset slow -pix_fmt yuv420p -r 30 -c:a aac -b:a 192k render_1080p.mp4

# Efficient HEVC (smaller files, newer devices)
ffmpeg -i input.mov -c:v libx265 -crf 22 -preset slow -tag:v hvc1 -pix_fmt yuv420p -r 30 render_1080p_hevc.mp4
Sharpness, Noise, and Denoising
- Sampling and AA: Increase samples just enough to avoid jaggies and noise in fine patterns (railings, textures, text overlays).
- Denoising: Use conservative denoise. Over-denoising causes plastic surfaces and kills micro-detail.
- Downsample: Render 1.5–2x target size, then downscale using high-quality resampling.
- Sharpen last: A light unsharp mask after downsampling can recover crisp edges without ringing.
# Example downscale + gentle sharpen with ImageMagick
magick input.png -filter Lanczos -resize 50% -unsharp 0x0.6+0.8+0 output_web.png
Layered Exports and Passes
For maximum flexibility, export multilayer EXR or separate passes:
- Beauty (final), Diffuse, Specular, Reflection, Refraction, Emission
- Ambient Occlusion (adds depth), Z-Depth (depth-of-field/fog), Normals (relighting), Object/Material IDs (masks)
Even if the client only needs a single image, keeping layered sources lets you quickly revise materials or brightness without re-rendering.
Aspect Ratios and Safe Framing
- Decide aspect early: 16:9 (slides/web hero), 4:5 (Instagram portrait), 1:1 (grid), 3:2 or 2:3 (print photos), 24:36 (posters).
- Keep critical details away from edges in case of crops or platform UI overlays.
Naming, Metadata, and Versioning
Consistent filenames prevent confusion, especially when you export 3D renders for multiple channels.
- Convention:
project_view-aspect_size_profile_bg_version.ext - Example:
loft-livingroom-16x9_3840x2160_sRGB_transp_v07.webp - Embed metadata: creator, copyright, project, and color profile (XMP/EXIF) for provenance and brand protection.
Quality Assurance: Web vs. Print
Web QA Checklist
- Profile: sRGB embedded; verify in multiple browsers/devices.
- Dimensions: correct pixel size; retina 2x where needed.
- Compression: WebP/AVIF where supported; JPEG fallback; ensure no banding in gradients.
- Alpha: clean edges; no color fringing on transparency.
- File size: hero < 500 KB to 1 MB; thumbs < 100 KB.
Print QA Checklist
- Dimensions: inches/mm at target DPI; include bleed if full bleed.
- Format: 16-bit TIFF or press-ready PDF/X with embedded ICC.
- Color: soft-proof to printer ICC; check rich black and total ink limits.
- Lines/text: ensure sufficient thickness to avoid dropout; avoid synthetic sharpening halos.
- Proof: request a small test print before full run.
Workflow Example: From Floor Plan to Final Export
- Align scale: Make sure the 3D scene uses real-world units that match the original floor plan. Confirm at least one known dimension.
- Set aspect and framing: Choose the final aspect ratio (e.g., 16:9) and compose with enough headroom for crop or captions.
- Lighting pass: Use neutral lighting for technical shots; stylized lighting for mood renders. Keep a linear EXR for grading.
- Render size: Render at 1.5–2x the intended output to allow clean downsampling.
- Post-processing: Subtle tonal adjustments, perspective correction, and noise cleanup. Avoid crushing shadows that hide spatial clues.
- Export master: Save a 16-bit TIFF or EXR master with layers/passes.
- Export derivatives: WebP/JPEG for web, PNG for transparency, PDF/TIFF for print. Create retina 2x versions where applicable.
- QA: Run the appropriate checklist, then archive with clear filenames and metadata.
Common Pitfalls (and Fixes)
- Soft images after upload: Platform recompression. Export at recommended sizes, use sRGB, and avoid double compression by keeping quality near visually lossless (e.g., WebP q=80–90).
- Color shifts: Missing or incorrect color profile. Always embed sRGB for web; soft-proof for print.
- Jagged lines/thin geometry: Increase render AA and export larger, then downscale. Ensure line weights are print-safe.
- Banding in gradients: Work in 16-bit during grading; dither when exporting 8-bit web files; use slight noise to break bands.
- Gigantic files: Right-size dimensions, choose modern formats (WebP/AVIF), and trim hidden layers before export.
- Alpha fringes: Use straight alpha or composite against the same background used for premultiplication.
Performance Tips for Faster Exports
- Batch process derivatives from a single high-quality master using scripts or actions.
- Automate file naming and color conversion to avoid human error.
- Use GPU-accelerated encoders (e.g.,
h264_nvenc,hevc_nvenc) for video when available. - Cache-heavy scenes: render tiled or region passes if your tool supports it to avoid memory bottlenecks.
When to Use Vector or Hybrid Outputs
Most 3D renders are raster. However, overlays such as dimensions, labels, or icons are ideal as vector layers to stay crisp at any scale. Export the render as a high-resolution PNG/TIFF and place vector annotations in InDesign, Illustrator, or Figma before exporting a press-ready PDF.
Bringing It All Together
If you plan ahead, you’ll export 3D renders that look consistent across devices and media, with file sizes that load fast and prints that look sharp. Start with a clear export brief, render a high-quality master, generate targeted derivatives, and run a quick QA. Over time, you’ll build presets for each client and channel, turning export from a chore into a reliable, repeatable part of your workflow.
Looking for a streamlined way to turn black-and-white floor plans into accurate 3D and export high-resolution images for proposals or presentations? The iOS app Floor Plan to 3D can convert 2D layouts into detailed 3D while preserving proportions, and lets you export high-res stills that fit neatly into the workflow outlined here.
