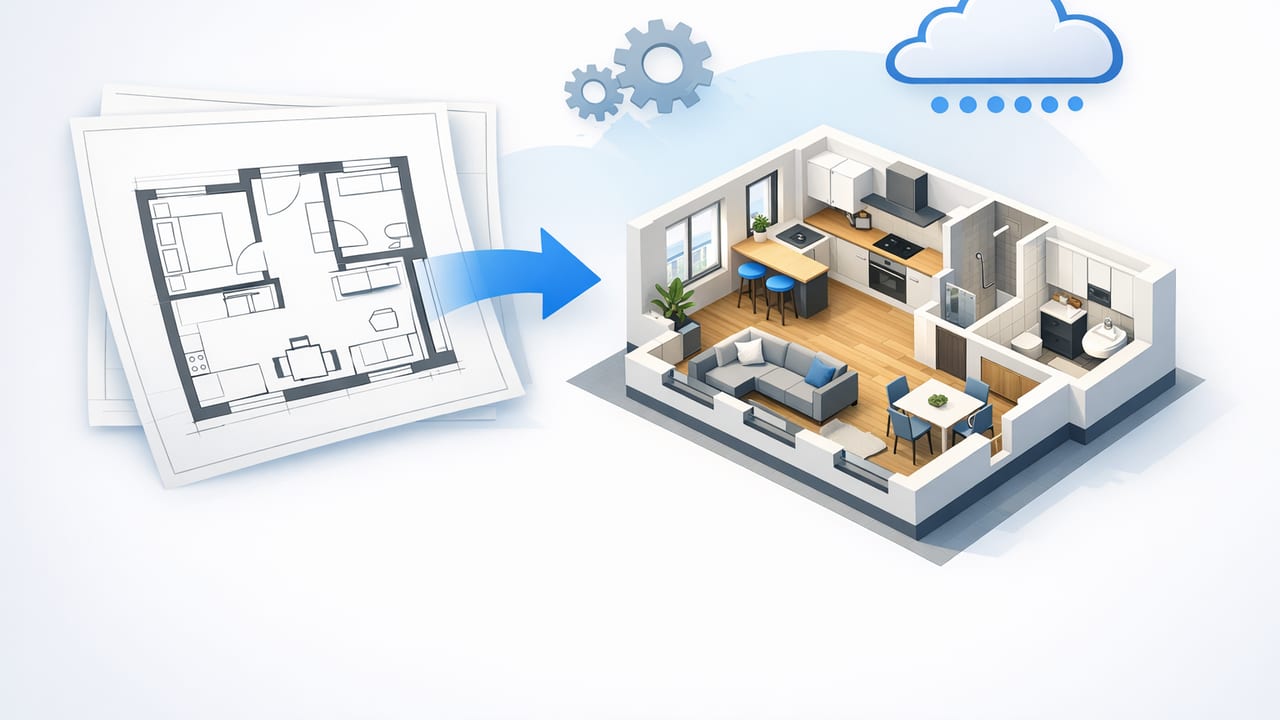
Creating a european apartment 3d layout from cad sounds straightforward: you already have the plan, so you “just” extrude walls and drop in doors. In practice, European apartments come with quirks—metric units, thicker masonry partitions, older building geometry, shared shafts, and plan files that may be clean for construction documentation but messy for 3D visualization.
This guide walks through a reliable, repeatable workflow to convert a CAD floor plan (DWG/DXF or an exported PDF) into a faithful 3D layout you can use for renovation planning, furniture testing, marketing renders, or client presentations.
What makes European apartment CAD plans different?
Many conversion problems come from assumptions built around modern, rectangular, drywall-heavy layouts. European apartments often include:
- Mixed wall types: 80–120 mm partitions plus 200–450 mm load-bearing masonry walls.
- Non-orthogonal geometry: angled courtyards, stair cores, or historical alignments.
- Shared building systems: vertical risers, chimneys, ventilation shafts, and radiator piping zones.
- Metric-first documentation: dimensions in millimeters; door/window schedules in centimeters.
- Renovation layers: “existing / demolition / new” layers that can overlap or contradict.
The key is to treat the CAD file as a dataset: verify units, isolate the right layers, then rebuild a clean 3D model with measurable constraints.
Step 1: Identify your CAD source and intended output
Before modeling, answer two questions:
- What is your source? DWG, DXF, IFC, or a PDF derived from CAD?
- What is your output? 3D layout for planning (fast), or render-ready model (detailed materials/lighting)?
If your goal is a renovation concept or furniture fit, prioritize dimensional accuracy over hyper-detailed assets. If your goal is marketing imagery, plan time for materials, lighting, and entourage.
Quick format comparison
| Format | Pros | Common pitfalls | Best use |
|---|---|---|---|
| DWG | Rich layer data, widely supported | Xrefs missing; unit ambiguity; complex blocks | Most CAD-to-3D workflows |
| DXF | Simple interchange; easy parsing | May lose some block intelligence | Clean handoff to modelers/tools |
| PDF (vector) | Easy to share; often dimensioned | Scale errors; lines merged; layers lost | When DWG/DXF isn’t available |
| IFC | Often contains real walls/doors/windows | Overkill; can be heavy; categories inconsistent | BIM-to-3D pipelines |
Step 2: Confirm units and scale (the #1 accuracy killer)
European apartment plans are usually drawn in millimeters. But DWG files can be unitless, and a DXF can import at the wrong scale (e.g., mm interpreted as meters). Do a simple “known distance” test:
- Pick a labeled dimension (e.g., a 900 mm door).
- Measure that span in your CAD viewer/modeler.
- If it reads 0.9, your file is likely in meters; if it reads 900, it’s in millimeters.
Rule of thumb: Validate at least two dimensions—one small (door width) and one large (overall apartment width). This catches both unit errors and PDF scaling issues.
Example: simple unit conversion snippet
If you’re scripting a preprocessing step (for DXF exports), this kind of conversion is common:
# Convert millimeters to meters (common for 3D tools)

def mm_to_m(value_mm: float) -> float:
    return value_mm / 1000.0

# Example: door width 900 mm
print(mm_to_m(900))  # 0.9
Step 3: Clean the CAD plan for modeling
Most CAD floor plans include annotation, furniture symbols, hatch patterns, and multiple design phases. Cleaning saves time and reduces 3D “guesswork.”
Recommended layer isolation
- Keep: wall centerlines/outlines, door/window openings, structural columns, stairs, shafts, balconies/terraces outlines.
- Optional: plumbing fixtures (useful for renovation planning), kitchen blocks, radiator positions.
- Remove/ignore: dimension strings, text notes, title blocks, hatch fills, furniture (unless you trust it).
Common European CAD “gotchas” to fix
- Double lines for walls that aren’t parallel due to drafting noise—straighten or rebuild from centerline.
- Broken wall segments that leave tiny gaps—merge/trim so the 3D extrusion doesn’t leak.
- Door swings drawn as arcs with no actual opening width defined—prioritize the jamb-to-jamb opening.
- Thick masonry where interior corners are chamfered—decide if you’ll model the chamfer or square it for planning.
Step 4: Reconstruct walls the “measurement-first” way
For an accurate european apartment 3d layout from cad, walls are the backbone. The safest approach is:
- Trace wall centerlines (or use the cleanest wall outline).
- Assign wall thickness by type (e.g., 100 mm partitions, 240 mm structural, 300+ mm exterior).
- Extrude to a realistic ceiling height (commonly 2.50–2.80 m, but older buildings can exceed 3.0 m).
If your CAD plan includes a wall legend or structural notes, use them. If it doesn’t, infer thickness from dimension strings or from consistent drafting patterns.
Tip: model exterior walls separately
Exterior walls often contain thermal build-ups and façade offsets that aren’t important for a quick interior layout. By modeling them as a separate group, you can adjust thickness later without disturbing interior partitions and room sizes.
Step 5: Place doors and windows with constraints
Doors and windows in European plans may be shown with different conventions depending on country and drafting standards. Focus on constraints that matter:
- Door width (e.g., 700/800/900 mm) and swing direction.
- Window width and sill height (critical for furniture placement and radiator planning).
- Balcony doors often combine operable and fixed panels—use the opening dimension, not the full glazing.
If you can’t determine heights from the plan, set placeholders (e.g., door height 2.05 m; window head at 2.10–2.20 m) and mark them as assumptions for later verification.
Step 6: Handle stairs, shafts, and wet areas correctly
Even in a single-level apartment, you’ll frequently need to model:
- Building shafts (ventilation, plumbing risers) that constrain bathroom/kitchen moves.
- Chimneys in pre-war buildings that create deep wall piers.
- Floor level changes at balconies, entry thresholds, or renovated wet rooms.
For planning-grade 3D, represent shafts and chimneys as solid “no-go” volumes. This makes layout decisions more realistic than a purely cosmetic model.
Step 7: Quality control checklist (fast, but strict)
Before you export images or share the model, run a short QC pass. This prevents the classic “looks right, measures wrong” failure.
Dimensional QC
- Overall apartment width/length matches CAD within an acceptable tolerance (e.g., <1%).
- At least 3 door openings match expected sizes (e.g., 800–900 mm interior, 900+ mm entry).
- Bathroom clearances are plausible (toilet-to-wall, shower footprint, door swing clearance).
Geometric QC
- No overlapping walls or duplicate lines extruded into “thick” artifacts.
- Openings actually cut through the wall volume (not just drawn on the surface).
- Rooms are enclosed (useful for area calculations and space labeling).
Step 8: Exporting your 3D layout for stakeholders
Different audiences need different deliverables:
- Contractor or architect: dimensioned screenshots, a marked-up PDF, or a simplified model exchange format.
- Client/family decision-making: perspective views, a walk-through, and 2–3 options (A/B/C).
- Real estate/marketing: high-resolution renders with consistent camera heights and clean styling.
When exporting images, keep at least one orthographic top-down view plus 2–4 interior perspectives. The top-down view anchors the narrative and reduces confusion when comparing options.
Practical example: converting a typical “Altbau” plan
Consider a classic older-city apartment plan with 350 mm exterior masonry, 120 mm interior partitions, and angled corridor walls. A practical modeling approach is:
- Import DWG/DXF and confirm the 900 mm door measures correctly.
- Freeze annotation/hatch layers; keep wall outlines and openings.
- Rebuild exterior walls as a single closed polyline where possible.
- Model interior partitions using centerlines to keep room sizes stable.
- Add chimney volumes as fixed blocks (often near living room/bedroom junctions).
- Insert windows with correct sill heights to test radiator/furniture placement.
- Run QC: overall dimensions, doorway widths, bathroom fit.
This yields a 3D layout that is accurate enough for space planning and robust enough to iterate quickly.
Troubleshooting: when the CAD plan won’t cooperate
Problem: The imported plan is tiny/huge
Cause: Unit mismatch (mm vs m) or PDF scaling.
Fix: Rescale using a known dimension, then lock the scale and re-check a second dimension.
Problem: Walls don’t form closed rooms
Cause: Gaps, overlaps, or disconnected segments.
Fix: Use a “join/trim/extend” pass or redraw key walls as clean polylines.
Problem: Doors/windows are only symbols
Cause: Blocks without explicit opening geometry.
Fix: Manually define openings from jamb points; treat swing arcs as decorative.
Conclusion
A successful european apartment 3d layout from cad isn’t about fancy rendering first—it’s about units, wall logic, opening constraints, and QC. Once those fundamentals are correct, you can iterate layouts confidently, communicate renovation options clearly, and export visuals that match reality closely enough to make decisions.
If you prefer an iPhone-first workflow for turning a black-and-white plan into a 3D model while preserving proportions, an app like Floor Plan to 3D can be a helpful starting point for quick visualization before deeper CAD/BIM detailing.
