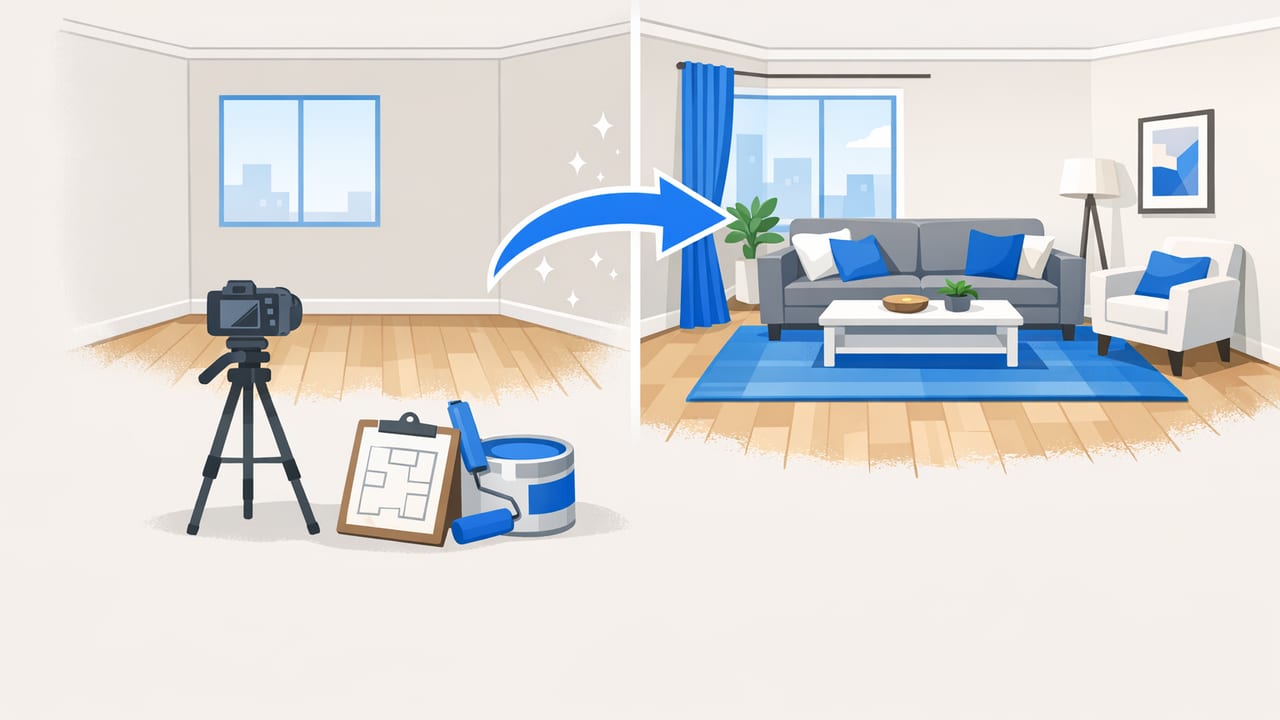
Empty rooms are honest—but they’re also hard for most buyers (and even homeowners) to interpret. Without furniture, it’s difficult to judge scale, imagine daily life, or understand how an awkward nook could become a reading corner. Empty room staging solves that problem by adding context: a realistic arrangement of furniture, lighting, and decor that helps viewers “get it” within seconds.
This guide shows a practical, layout-first approach to empty room staging using 3D renders generated from a floor plan or blueprint. You’ll learn how to keep proportions accurate, choose furniture that reads correctly on camera, and export a set of images that feel consistent and believable—without turning staging into a full-time 3D modeling project.
What “empty room staging” means (and why 3D is a smart fit)
Empty room staging is the process of presenting an unfurnished space as if it were furnished—so viewers can understand function, flow, and scale. It can be done in multiple ways:
- Physical staging: renting and placing real furniture (often expensive and logistically heavy).
- Photo-based virtual staging: adding furniture to photos (can look great, but depends on having clean photos and may struggle with awkward angles).
- 3D staging: furnishing a 3D model of the room and rendering realistic views (excellent for consistency, repeatability, and “what-if” options).
3D staging is especially effective when you’re starting from a floor plan. A plan gives you the most important ingredient for good staging: correct geometry—walls, doors, windows, and room proportions.
Why start from a floor plan (instead of guessing from photos)
Staging succeeds or fails on believability. If furniture is slightly too large, or a walkway looks too tight, viewers may not articulate the issue—but they will feel it. A floor plan–based workflow helps you:
- Preserve scale: build rooms that match real dimensions and proportions.
- Stage around constraints: radiators, window heights, door swings, and structural nooks.
- Keep consistency across rooms: matching camera heights, lighting mood, and design style.
- Generate variations quickly: “family layout” vs “entertaining layout” vs “home office layout.”
Staging is a communication tool. The goal isn’t to show expensive furniture—it’s to show how the space works.
A step-by-step workflow for 3D empty room staging
Use this workflow whether you’re staging a listing, planning a renovation preview, or preparing design options for a client.
-
Start with the cleanest plan you can get. A clear black-and-white floor plan is ideal. If you’re scanning paper, photograph it in even light, flatten perspective, and avoid shadows.
-
Confirm at least one real measurement. Even if the plan has dimensions, validate one known length (e.g., a 36-inch door, a 10-foot wall). This anchors the entire model’s scale.
-
Build the “shell” first. Walls, openings, ceiling height, and window placement come before decor. For empty room staging, the shell must be right or the furniture will never feel right.
-
Choose a staging intent for each room. Define the primary use in one sentence: “This bedroom comfortably fits a queen and two nightstands” or “This loft works as a guest room + desk”.
-
Place the big anchors first. Sofa/sectional, bed, dining table, or desk. Anchors establish scale and circulation.
-
Check circulation with real clearances. Use rules of thumb (see table below) before adding accessories.
-
Layer lighting and materials. A believable render usually needs: ambient light + a key source (window/sun) + practicals (lamps). Keep materials realistic—avoid ultra-glossy floors unless they exist.
-
Render consistent camera views. Pick 2–3 angles per room (wide, corner-to-corner, feature shot). Keep camera height consistent across the entire set.
-
Export deliverables in a tidy package. Name files clearly, include a style label, and provide both web and print resolutions.
Layout-first staging rules (what buyers notice immediately)
Great empty room staging isn’t about adding more items—it’s about making flow feel obvious and comfortable.
1) Protect the “walkway story”
Show how someone enters, moves, sits, and uses the room. Avoid furniture placement that forces a zig-zag path around corners.
2) Make the focal point clear
Every room needs a “reason” for the layout: a window view, fireplace, media wall, or a centered bed wall. If there isn’t an obvious focal point, create one with a rug + art + lighting grouping.
3) Scale beats style
A modest sofa at the correct scale looks better than a stylish sofa that’s 15% too large. If you must choose, prioritize accurate footprints and heights.
Room-by-room empty room staging tips (that render well)
Below are practical staging decisions that tend to look convincing in 3D renders and also communicate livability.
| Room | Anchor pieces | Recommended clearances | Common staging mistakes |
|---|---|---|---|
| Living room | Sofa + rug + coffee table | 30–36 in main walkways; 14–18 in sofa-to-coffee-table | Rug too small; sofa blocking windows; TV too high |
| Bedroom | Queen/king bed + 2 nightstands | 24–36 in around bed sides; at least 30 in at foot if possible | Overly bulky nightstands; bed shoved into corner without intent |
| Dining | Table + chairs + pendant | 36 in from table edge to wall/obstacle; 24 in per seated person | Table too large; chairs intersecting walls; pendant off-center |
| Home office | Desk + task chair + storage | 36 in behind chair for pull-back; 24–30 in side clearance | Desk facing a wall when a window exists; tiny monitor scale |
| Empty bonus room | Sleeper sofa or daybed + rug | 30–36 in circulation paths | Too many small items; unclear function |
How to choose a staging style that sells the space (not the furniture)
In empty room staging, style should clarify the room’s function and help surfaces read well. A few reliable approaches:
- Warm modern: simple silhouettes, light woods, soft neutrals—works for most listings and photographs cleanly.
- Scandi minimal: fewer objects, high contrast between walls and furniture—great for small rooms that need to feel open.
- Transitional: a balance of classic shapes and modern finishes—often a safe choice for broad audiences.
Material tip: If your walls are white or near-white, choose at least one medium-tone element (rug, sofa, or wood floor tone) so the room doesn’t “wash out” in a render.
3D vs photo-based staging vs physical staging (quick comparison)
| Method | Best for | Pros | Cons |
|---|---|---|---|
| Physical staging | High-end listings, open houses | Real-world impact; tactile feel | Costly; scheduling; limited variations |
| Photo-based virtual staging | Occupied homes cleared digitally | Fast with good photos; realistic if done well | Photo quality dependent; harder to change layout accurately |
| 3D empty room staging | New builds, renovations, plan-based marketing | Layout-accurate; easy variations; consistent style across rooms | Needs accurate shell; lighting/material choices matter |
A realism checklist for empty room staging renders
Before you export, run through these “believability” checks:
- Door swings and access: no chair blocking a closet door or entry.
- Window logic: don’t place a tall bookcase where blinds/curtains would need space.
- Rug logic: living room rugs should usually tuck under front legs of seating; bedroom rugs should extend beyond bed sides.
- Light direction consistency: sunlight should come from the correct window orientation within the scene.
- Object scale consistency: side tables, lamps, and art should match human scale (avoid dollhouse lamps).
- Edge cases: very small rooms should be staged minimally; don’t force a full-size sectional into a modest space.
Deliverables that clients and agents actually want
Empty room staging often fails at the handoff stage: files are inconsistent, unlabeled, or not sized for common platforms. Create a simple export standard.
Recommended export set
- Web: 2000–3000 px wide JPG (balanced quality and speed)
- Print: high-resolution JPG/PNG (or PDF pages if you’re packaging a presentation)
- Variations: 1 alternate layout for the most debated room (often living room or bonus room)
File naming template
project_propertyA/
  living_room__warm_modern__view1__v1.jpg
  living_room__warm_modern__view2__v1.jpg
  bedroom_primary__warm_modern__view1__v1.jpg
  bonus_room__office_option__view1__v1.jpg
Consistent naming makes approvals faster and prevents the classic “Which living room version is this?” confusion.
FAQ: empty room staging with floor plans and 3D renders
How many angles should I render per room?
Typically 2–3: a wide corner view that explains layout, a second angle that shows the opposite side, and an optional feature shot (fireplace, built-ins, window seat).
Should I stage with trendy pieces or neutral pieces?
Neutral pieces are safer for broad audiences. Use trend elements as small accents (pillows, art, a chair) rather than the main anchor furniture.
What if the floor plan is missing dimensions?
Anchor scale using known standards (door widths, stair widths) and validate with at least one real-world measurement if possible. The more rooms you stage, the more important consistent scale becomes.
Can empty room staging help renovation planning too?
Yes—especially when you’re testing whether a reconfigured layout still supports comfortable furniture clearances. A layout-accurate 3D preview can prevent expensive “it looked bigger on paper” mistakes.
Putting it all together
The strongest empty room staging is quietly technical: accurate shell geometry, realistic furniture scale, and a layout that tells a simple story about how the room works. If you build from a floor plan, check circulation clearances, and export a consistent set of views, your staged renders will feel credible—and credibility is what helps buyers, stakeholders, or clients make faster decisions.
Note: If you prefer a lightweight iOS workflow for converting a black-and-white plan into a 3D model and then testing staging options, an app like Floor Plan to 3D & Home Redesign can help streamline that plan-to-render pipeline.
