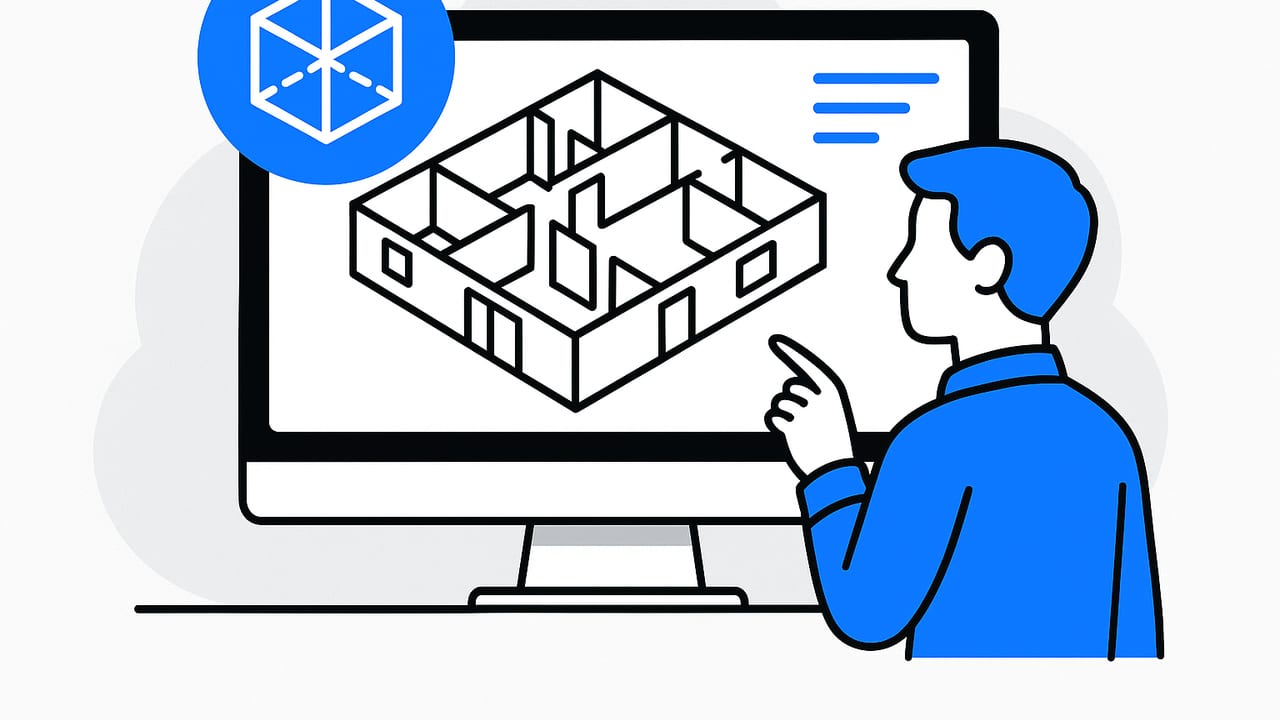
3D floorplans turn flat line drawings into spatial experiences you can understand at a glance. Whether you are planning a remodel, marketing a property, or coordinating trades, 3d floorplans reduce ambiguity, speed up decisions, and help non-technical stakeholders grasp scale and layout. This guide distills best practices for accuracy, production workflow, file formats, quality assurance, and the business case for adopting 3D in your process.
What Exactly Are 3D Floorplans?
3D floorplans are dimensional models or renders of a building layout. They typically depict walls, doors, windows, flooring, cabinetry, fixtures, and furnishings from a bird’s-eye view with realistic materials and lighting. Compared to flat 2D plans, they answer critical questions instantly: how furniture fits, how circulation works, how daylight will enter, and how finishes interact.
Common use cases include:
- Real estate marketing: Showcase scale, flow, and staging variations in one visual.
- Interior design: Validate furniture sets, finishes, and lighting before purchase.
- Architecture and remodeling: Communicate options, test code clearances, and align on scope.
- Facilities planning: Standardize room types, verify workstation counts, and route egress paths.
Accuracy First: Dimensions, Scale, and Tolerance
A beautiful render that is off by a few inches can derail a project. Treat 3D floorplans as measurable artifacts, not just illustrations. Aim for a tolerance appropriate to the task:
- Real estate marketing: within 1–2% of true size
- Interior layouts: within 10–20 mm (about 3/8–3/4 inch)
- Millwork and tight fit-outs: within 5–10 mm
Key accuracy pitfalls to watch:
- Wall thickness assumptions: Interior vs. exterior thickness can skew overall room sizes.
- Ceiling height variance: Sloped ceilings, soffits, and dropped beams affect clearance.
- Door swing and clearances: Verify hinge side; mis-swung doors can break circulation.
- Stair geometry: Riser height, tread depth, and headroom must meet code and fit the envelope.
- Unit conversion: Mixing imperial and metric causes compounding errors. Lock one system.
Pro tip: Calibrate scale from multiple known dimensions (overall width and length, plus one interior measurement) to catch skewed scans.
End-to-End Workflow: From Source to Shareable 3D
- Gather sources: PDFs, DWGs, hand sketches, or phone scans. If possible, include photos for material reference.
- Normalize: Clean the plan. Remove annotations that are not geometry. Ensure a consistent scale and orientation.
- Trace or convert: Vectorize walls, openings, and fixed elements. Automated tools can detect walls and rooms; always review.
- Model structure: Extrude walls to height, set slab thickness, add stairs, railings, and structural posts.
- Insert openings: Doors, windows, and skylights with correct dimensions, sill heights, and swing.
- Place fixtures: Plumbing, appliances, HVAC grilles, and built-ins according to manufacturer sizes.
- Apply materials: Floors, walls, trim, countertops. Keep a named material library to ensure consistency.
- Furnish and style: Choose level of detail to fit the purpose—diagrammatic for planning, realistic for marketing.
- Light the scene: Use simple sun-and-sky for planning; add area lights for more photorealism.
- Export deliverables: Images, 360 panoramas, or interactive 3D models (GLB/GLTF, USDZ) depending on audience.
Deliverables and File Formats
Choose formats based on your audience and platform. Here is a quick comparison:
| Use Case | 2D Deliverable | 3D Deliverable | Pros | Considerations |
|---|---|---|---|---|
| Real estate marketing | PDF, PNG | GLB/GLTF, USDZ, Web viewer | Interactive, mobile-friendly, shareable links | Optimize textures for web performance |
| Interior design | DWG, annotated PDF | OBJ/FBX for DCC tools | Imports to most 3D apps for further editing | Mind scale, units, and material mappings |
| BIM coordination | DWG, RVT sheets | IFC for interoperability | Structured data and element classes | Heavier files; requires disciplined naming |
| Client presentations | High-res JPG/PNG | Turntable MP4, 360 pano | Easy to embed in decks and websites | Pre-pick camera angles that tell the story |
Level of Detail: Performance vs. Clarity
Right-size your models. Over-detailing increases cost and hurts performance without adding clarity.
- Geometry budget: Aim for 200k–500k triangles for a typical apartment render; under 2M for a large house walkthrough.
- Texture discipline: Use 1K–2K textures for web. Tile large surfaces. Compress to WebP/AVIF for images baked into scenes.
- Repetition: Reuse assets and materials. Duplicate furniture instances reduce memory and file size.
- Levels of Detail (LOD): Swap detailed items for simplified proxies at distance in interactive viewers.
Automation and AI: From Plan Parsing to Room Intelligence
Modern pipelines increasingly rely on AI to accelerate 3d floorplans. Typical tasks include detecting walls, classifying rooms, reading dimensions, and aligning symbols to standardized components.
For example, a model might represent the plan as structured data before generating 3D:
{
  "scale": {"unit": "mm", "pixelsPerUnit": 0.5},
  "rooms": [
    {"name": "Living Room", "polygon": [[0,0],[5200,0],[5200,3800],[0,3800]], "floor": "oak_01"},
    {"name": "Kitchen", "polygon": [[5200,0],[8200,0],[8200,2400],[5200,2400]], "fixtures": ["sink_600", "range_762"]}
  ],
  "openings": [
    {"type": "door", "width": 910, "location": [200,0], "swing": "left"},
    {"type": "window", "width": 1200, "sill": 900, "location": [6000,1200]}
  ]
}
With this structure, generating walls, floors, and openings becomes deterministic. A simple scale check prevents drift:
// Pseudocode
measured = distance(pixels(A), pixels(B)) / pixelsPerUnit
error = abs(measured - knownDimension)
if (error > tolerance) alert("Scale mismatch. Recalibrate.")
Lighting and Materials: Photoreal vs. Diagrammatic
Clarify your visualization style early:
- Photoreal: PBR materials, accurate sun position, soft shadows, and subtle post-processing. Best for marketing.
- Diagrammatic: Clean colors, minimal reflections, and bold annotations. Best for planning and approvals.
Both styles benefit from consistent white balance and a restrained palette. Overly glossy floors and dark woods can obscure circulation and furniture legibility.
Quality Assurance Checklist
QA is where good 3d floorplans become trustworthy tools. Use a repeatable checklist:
- Verify building envelope matches two or more known dimensions.
- Cross-check three random interior dimensions per floor.
- Confirm door swings, widths, and ADA clearances where required.
- Spot-check ceiling heights, beams, and soffits in every room type.
- Ensure stairs satisfy riser and tread requirements and maintain headroom.
- Review material assignments: floor continuity and tile directions.
- Scan for Z-fighting, floating furniture, and light leaks in renders.
- Test exports on target devices (mobile, web, VR) for performance.
Measure twice, model once. The cheapest fix is the one you make before rendering.
Common Pitfalls (and How to Fix Them)
- Misread scale bars: Always validate against a labeled room dimension, not just the title block scale.
- Missing wall joints: Snap end points and merge coincident vertices to avoid light leaks.
- Furniture too big or small: Load manufacturer-specified dimensions. Tag assets with width x depth x height in names.
- Texture tiling artifacts: Align grain direction and set real-world UV scale.
- Overexposed renders: Balance sun intensity with exposure; clamp highlights to keep materials readable.
Accessibility and Code Considerations
Even when the primary goal is visualization, build in compliance awareness:
- Door clear width: commonly 32 inches (813 mm) minimum clear opening.
- Turning radius: 60 inches (1524 mm) for wheelchair maneuvers in many jurisdictions.
- Counter heights and knee clearances: Check local standards for kitchens and bathrooms.
- Stair nosing and handrails: Follow rise/run and graspability rules.
Diagrammatic overlays help: add dashed circles for turning radii and hatch patterns for clearance zones to your 3D views.
Pricing, Timelines, and ROI
Costs vary by complexity, floor area, and desired realism. A typical framework:
- Light diagrammatic (no photoreal materials): fastest, lowest cost.
- Marketing-grade (styled furniture, lighting): mid-range cost.
- High-end photoreal (custom assets, advanced lighting): premium cost.
To evaluate ROI, consider reduced revisions and faster decisions. A simple model:
ROI = (Hours saved x Hourly rate + Uplift in sales or rent) - Production costExample: If 3d floorplans save a design team 8 hours of back-and-forth and help close a lease one week earlier, the combined value often exceeds production cost by a wide margin. Track metrics like proposal win rate, average days-on-market, and client approval cycles to quantify impact.
Presentation: Views That Tell the Story
Export multiple camera angles that highlight the narrative:
- Primary axon: A 45-degree orbit showing overall layout and flow.
- Room focus: Close-ups of kitchens and baths where finish detail matters.
- Circulation: Camera path arrows or semi-transparent walls to reveal routes.
- Options: Alternate layouts (home office vs. guest room) in side-by-side images.
For documents and proposals, include dimensions on a simplified 3D view: clean labels, leader lines, and scale bars. For web, provide a compressed interactive model with a minimal UI and pre-set bookmarks.
Data Hygiene and Asset Management
Consistent naming and libraries save hours across projects:
- Use a naming convention: area-level-room-element (e.g., L1-APT3-KIT-range_762).
- Maintain a materials library with real-world sizes (tile 300x600 mm, plank 180 mm).
- Version control: increment with v1.1, v1.2 and changelogs for revisions.
- Archive approved camera angles and styles as templates for future projects.
Security and Privacy
Plans are sensitive. When sharing 3D models with clients or public audiences:
- Strip metadata that reveals addresses if not necessary.
- Remove alarm locations, safe rooms, and network closets from public sets.
- Use expiring links and watermark renders where appropriate.
Getting Started Quickly
If you are new to 3d floorplans, begin with a single representative unit or floor. Establish your standard materials, camera angles, and annotation style. Validate accuracy against site measurements, then scale up. Many teams start from 2D PDFs and use AI-assisted tools to reduce manual tracing, then refine openings, fixtures, and finishes by hand.
Final Thoughts
3D floorplans transform how teams communicate space. By prioritizing dimensional accuracy, choosing the right level of detail, and adopting a clear QA process, you can deliver visuals that inform decisions and inspire confidence. Start small, template your best practices, and iterate toward a repeatable pipeline. If you are looking for an approachable way to convert 2D layouts into reliable 3D visuals directly from your phone, the iOS app Floor Plan to 3D can help you go from scan to shareable renders with preserved proportions.
