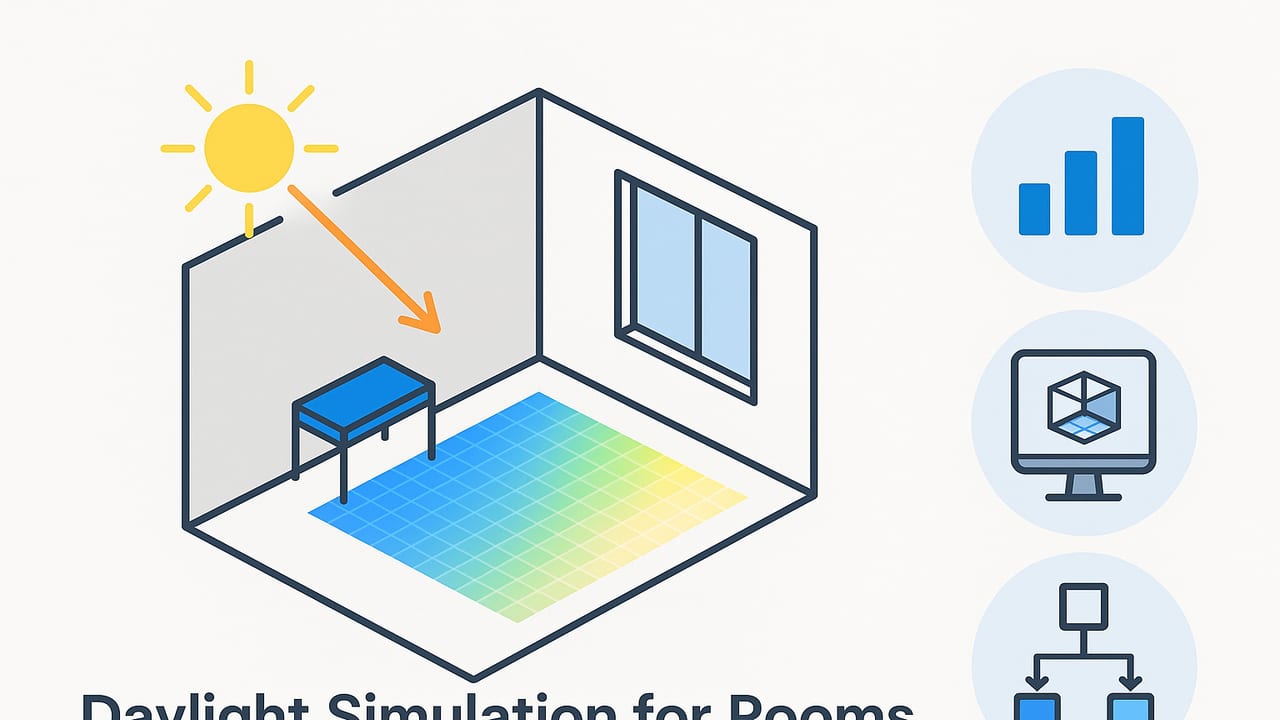
Daylighting can transform a room from merely functional to truly comfortable and healthy. Yet getting it right is not guesswork. Daylight simulation for rooms lets you predict how much light will reach key surfaces throughout the year, whether glare will be a problem, and how design decisions—windows, finishes, shading—will shape the experience of a space. This guide explains the essential metrics, inputs, tools, and a streamlined workflow you can follow to run effective daylight analyses, interpret results, and make better design choices.
Why model daylight at room scale?
Designing at the room level is where decisions hit reality: desk placement, screen glare, reading levels, and the feeling of brightness depend on window geometry, orientation, exterior context, and finishes. A focused daylight simulation for rooms gives you:
- Evidence-based targets for brightness (lux), uniformity, and glare
- Insight into how light changes by time of day and season
- Clear comparisons of design options before construction
- Documentation for sustainability frameworks and owner approvals
Key daylight metrics you should know
Not all daylight metrics measure the same thing. Use a mix to understand adequacy, consistency, and visual comfort.
| Metric | What it measures | Typical targets | When to use |
|---|---|---|---|
| Daylight Factor (DF) | Ratio (%) of indoor illuminance to simultaneous outdoor illuminance under a standard overcast sky | 2% for living spaces; 3–5% for studios/tasks if glare is controlled | Fast, simple baseline; not climate-sensitive |
| sDA300,50% (Spatial Daylight Autonomy) | % of floor area achieving at least 300 lux for 50% of occupied hours | >55% often considered good; >75% excellent | Climate-based adequacy across the year |
| ASE1000,250 (Annual Sunlight Exposure) | % of floor area exceeding 1000 lux for 250+ occupied hours | <10% preferred | Overexposure and potential glare/hot spots |
| UDI (Useful Daylight Illuminance) | % of time illuminance falls between 100–2000 lux | Higher is better; aim for majority of area in this range | Balance of useful light vs. under/overlighting |
| DGP (Daylight Glare Probability) | Likelihood of experiencing discomfort glare at a view point | DGP < 0.35 comfortable; 0.35–0.40 perceptible; >0.40 disturbing | Workstations, screens, reading positions |
Inputs that drive daylight results
A good daylight simulation is only as strong as its inputs. Focus on:
- Location and weather: Use an EPW climate file for your city (latitude, cloud cover, sun angles). Climate-based metrics rely on this.
- Orientation: Precisely set true north. A 10° error can meaningfully skew results.
- Geometry: Room dimensions, window size and placement, sill and head heights, mullions, reveal depths, and any overhangs or fins.
- Glazing properties: Visible Light Transmittance (VLT), Solar Heat Gain Coefficient (SHGC), and U-value. For lighting, VLT is most critical.
- Interior reflectance: Typical starting values: ceilings 0.80–0.90, walls 0.50–0.70, floors 0.20–0.40, furniture by material.
- Exterior context: Nearby buildings, trees, balcony rails—anything that blocks or bounces light.
- Shading devices: Overhangs, louvers, light shelves, venetian blinds, curtains. Include realistic default positions or schedules.
- Sky models: Overcast for DF; climate-based skies for sDA/ASE/UDI; clear sky with sun for point-in-time glare checks.
A fast, room-scale workflow you can do in one afternoon
- Start from a clean plan: Import or trace your room’s layout with accurate dimensions. Include window openings with sill and head heights.
- Build a simple 3D model: Keep geometry clean—no tiny gaps, duplicate faces, or unsealed shells. Add adjacent exterior elements that cast shadows.
- Assign materials: Set VLT for glazing; reflectance for walls/ceilings/floors; matte vs. glossy choices. Begin with practical defaults and refine later.
- Set location and north: Choose the exact city EPW file and check the north arrow against the site plan.
- Define sensor grids: Place a grid at workplane height (typically 0.8 m/30 in above floor) spaced 0.5–1.0 m apart. Add a second grid near walls if you need uniformity checks.
- Choose metrics: For a fast pass, run DF, sDA300,50%, ASE1000,250, and UDI. Add DGP at the main visual task points for glare.
- Run simulations: Use medium quality to iterate quickly (fewer ambient bounces in ray tracing; coarser grid). Refine later on promising options.
- Review outputs: Look at false-color maps, annual heatmaps, and percent-area tables. Note underlit zones (<100 lux) and overlit/glare-prone areas (>2000 lux, high DGP).
- Iterate: Adjust window size or placement, try a higher VLT, introduce an overhang or light shelf, or brighten wall finishes. Re-run the same metrics for apples-to-apples comparison.
- Document: Save views, legends, and result tables. Keep a short narrative explaining your design moves and tradeoffs.
Tools for daylight simulation (free and paid)
- Radiance (free): Gold-standard, physics-based ray tracer; used under the hood by many tools. Steeper learning curve but highly accurate.
- Ladybug Tools/Honeybee (free/open-source): Grasshopper plugins that wrap Radiance and energy engines for climate-based daylighting. Requires Rhino/Grasshopper.
- DIALux evo (free): Strong for electric lighting; supports daylight factors and sun studies with proper setup.
- Relux (free/paid add-ons): Lighting analysis with daylight capability; usable for room-scale studies.
- ClimateStudio (paid): Streamlined daylight/energy workflows inside Rhino; fast and polished.
Pro tip: If you build in SketchUp, export clean geometry into a toolchain that supports Radiance or a validated daylight engine. Whatever you choose, verify that your tool reports sDA/ASE or lets you export illuminance to compute UDI.
Interpreting results and fixing common issues
- Low sDA (not enough useful daylight): Increase window area or move the window higher (deeper light penetration), choose higher VLT glass, brighten wall/ceiling reflectances, or introduce a light shelf to push light deeper.
- High ASE (too much direct sun/exposure): Add exterior shading (overhangs, fins), use fritted or lower VLT glass, consider dynamic blinds, or adjust orientation if possible.
- Glare at workstations (high DGP): Relocate desks to avoid direct sun patches and bright sky zones in the field of view, specify tilt-able blinds, use low-gain screens, and model task lighting to reduce contrast.
- Uneven lighting: Add secondary side-lights, widen windows, lighten wall finishes, or consider interior glass transoms to redistribute light.
Good daylight is not just more light; it’s the right light, at the right times, in the right places without visual discomfort.
Example: a small home office, step-by-step
Let’s walk through a hypothetical room to illustrate how daylight simulation for rooms informs design decisions.
- Room: 10 ft × 12 ft (3.05 m × 3.66 m); 9 ft ceiling
- Window: 4 ft × 5 ft (1.22 m × 1.52 m), centered on the 10 ft wall, sill at 30 in (0.76 m), head at 90 in (2.29 m)
- Orientation: North-facing
- Materials (initial): Ceiling 0.85, walls 0.55, floor 0.25 reflectance; glazing VLT 0.60
Pass 1 results (baseline):
- DF averages around 2.2% with low corners dropping below 1%.
- sDA300,50%: ~62% of floor area
- ASE1000,250: ~1% (north aspect helps minimize sun patches)
- UDI 100–2000 lux: ~70% of occupied hours across most of the desk area
Design adjustment: The client wants more balanced light deeper into the room. Increase head height by 6 in (0.15 m) and switch walls to 0.70 reflectance paint; add a shallow 8 in (0.2 m) light shelf just above the window head, matte white.
Pass 2 results (revised):
- DF average improves to ~3.0% with better uniformity
- sDA300,50% rises to ~74%
- ASE remains ~1%
- DGP at the main desk viewpoint stays below 0.35 throughout most occupied hours
Takeaway: Modest geometric and material changes can significantly improve useful daylight without introducing glare.
Rules of thumb to sanity-check before you simulate
- Window head height matters: Higher heads pull daylight deeper. Approximate penetration depth is 1.5–2.5 times the window head height above the workplane.
- Balanced window-to-floor ratio: For many rooms, 20–30% window-to-floor area with appropriate shading offers a good starting point.
- Bright ceilings and upper walls: They act like a light “battery,” bouncing daylight deeper and improving uniformity.
- Desk placement: Align screens parallel to the window wall to reduce direct view of bright sky.
- Exterior shading first: Control sun before it enters; it’s more effective than interior blinds alone.
Setting up a sensor grid (quick reference)
Create a CSV of sensors at 0.8 m above the floor. Orient normals upward for horizontal illuminance.
# x,y,z,nx,ny,nz
1.0,1.0,0.8,0,0,1
2.0,1.0,0.8,0,0,1
3.0,1.0,0.8,0,0,1
1.0,2.0,0.8,0,0,1
2.0,2.0,0.8,0,0,1
3.0,2.0,0.8,0,0,1
Most daylight tools let you import this grid or draw it natively. Keep spacing between 0.5 and 1.0 m for room-scale studies; finer grids for detailed glare and uniformity checks.
Common mistakes that skew results
- Forgetting exterior context: Neighbor buildings and trees can dramatically cut sky view.
- Unrealistic glazing: Using VLT 0.9 for standard double glazing is optimistic; common VLT values are 0.5–0.7 for low-e glass.
- Missing blinds or defaulting to open: If a space requires blinds for comfort, simulate them at plausible positions or with a control schedule.
- Incorrect north: Misaligned orientation will invalidate climate-based outputs.
- Over-reliance on overcast DF: DF is quick but doesn’t capture sun or seasonal variability; pair it with sDA/ASE/UDI.
- Coarse sensor grids: Too few points may miss bright streaks or dark pockets, hiding glare and uniformity issues.
Communicating results to stakeholders
- False-color maps: Use consistent legends (lux scales) across options.
- Percent-area summaries: Report sDA and ASE as area percentages clients can grasp quickly.
- View-based glare images: Share DGP snapshots from seated and standing eye heights.
- Side-by-side options: Keep only 2–3 finalists to focus discussion and speed decisions.
Checklist: before you hit “run”
- EPW file matches project location
- True north set correctly
- Window sizes, sill/head heights verified
- Reflectances assigned to all major surfaces
- Glazing VLT and any shading elements modeled
- Sensor grid spacing and height confirmed
- Occupied hours schedule defined (for annual metrics)
From plan to simulation faster
Getting from a 2D plan to a trustworthy daylight simulation for rooms is all about a faithful 3D model and realistic inputs. If you already have a black-and-white floor plan, the iOS app Floor Plan to 3D can convert it into a scaled 3D model with preserved proportions—handy as a starting point for adding materials and running your daylight analyses.
