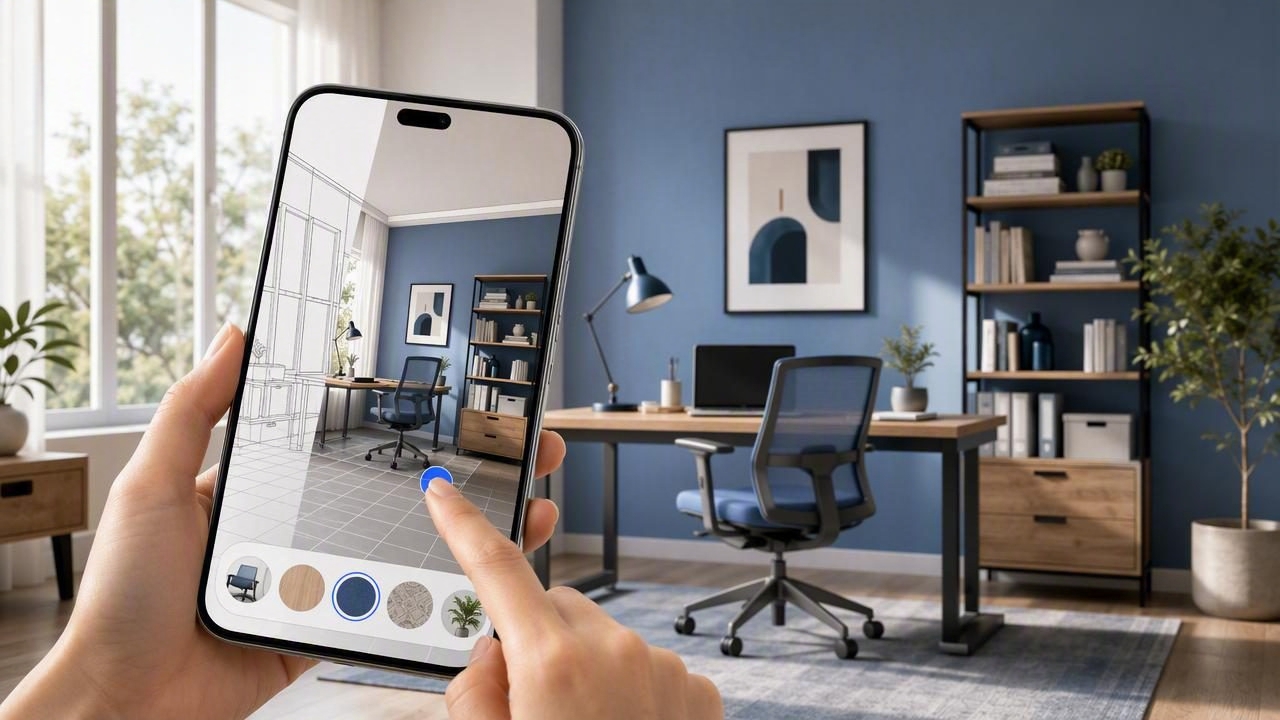
A productive home office is not simply a desk placed against an empty wall. It is a space that needs to support concentration, video calls, storage, comfort, and your daily working habits—often within limited square footage. Before buying furniture or moving outlets, you can create a home office concept with a room makeover app to explore layouts, finishes, and practical details visually.
Using an AI room planner or 3D visualization tool helps turn an uncertain idea into a clearer renovation preview. You can test whether a desk blocks a doorway, see how shelving affects the room, compare design styles, and make better decisions before investing in furniture. This guide explains a practical process for planning a home office from a floor plan, blueprint, or room photo.
Why Visual Planning Matters for a Home Office
Home office design can look simple on social media, but the best setup depends on dimensions and circulation. A room may have an awkward window position, a radiator under the most obvious desk wall, or a closet door that needs clearance. These constraints are easy to overlook when you are making decisions from product photos alone.
A room makeover app gives you a more realistic way to evaluate options. Instead of wondering whether a large desk will fit, you can place it in a digital version of the room. Instead of choosing between bright white walls and a warmer neutral, you can compare each finish within the same lighting and furniture arrangement.
- Reduce costly mistakes: Identify oversized furniture and impractical layouts before ordering.
- Improve workflow: Plan easy movement between your desk, storage, printer, and meeting area.
- Test visual balance: See whether the room feels crowded, empty, dark, or visually distracting.
- Communicate ideas: Share 3D renders with a partner, contractor, designer, or employer.
- Compare concepts quickly: Save several renovation previews instead of committing to the first idea.
Start With Accurate Room Information
Good home redesign decisions begin with good input. Whether you use a hand-drawn sketch, a scanned floor plan, or an existing blueprint, collect the measurements and fixed features that affect furniture placement. Dimensions do not have to be perfect for early ideation, but they should be close enough to preserve realistic proportions.
Information to collect before creating your concept
- Room length, width, and ceiling height
- Window widths, sill heights, and opening directions
- Door locations and the amount of swing clearance needed
- Built-in closets, radiators, fireplaces, columns, and vents
- Electrical outlets, internet connections, and lighting points
- Furniture you plan to keep, including its width and depth
If you have a black-and-white floor plan, use a floor plan conversion tool that can interpret walls, labels, room boundaries, and proportions. Review the resulting 3D model carefully. Confirm that doors, windows, and room dimensions appear in the right places before experimenting with decor. A beautiful render is less useful if the underlying layout is wrong.
Define What Your Office Needs to Do
Before selecting a style, define the functions your office must support. A compact workspace for occasional laptop use needs a different layout from a full-time office used for client calls, dual monitors, paperwork, and creative work. A clear brief prevents the design from becoming a collection of attractive but unnecessary items.
| Work Need | Planning Priority | Useful Design Response |
|---|---|---|
| Video meetings | Quiet background and flattering light | Place the desk facing a simple wall or styled shelf; avoid strong backlighting. |
| Dual-monitor work | Generous desk depth and cable access | Use a 60–80 cm deep desk and position it near outlets. |
| Paperwork or crafts | Work surface and closed storage | Add drawers, cabinets, or a second work table. |
| Shared room | Flexible zoning | Use a fold-down desk, screen, or compact storage wall. |
Write down your must-haves, nice-to-haves, and non-negotiables. For example, a must-have may be a 150 cm desk, while a nice-to-have may be a reading chair. A non-negotiable might be keeping the window unobstructed. These priorities make it easier to judge each concept objectively.
Choose a Layout Before Choosing a Style
Layout should come first because it determines how comfortable and usable the room will be. In an AI room planner, create two or three furniture arrangements rather than trying to perfect one immediately. This approach reveals trade-offs that are difficult to see in a flat plan.
Common home office layout options
- Desk facing a wall: This focused setup works well in small rooms and minimizes visual distractions. Add art, a pinboard, or shallow shelves above the desk if the wall feels too blank.
- Desk facing a window: Natural light can be energizing, but screen glare may become a problem. Test this arrangement in a render and plan blinds or shades if needed.
- Desk perpendicular to a window: Often the most balanced option, this placement can reduce direct glare while still providing daylight from the side.
- L-shaped workstation: Ideal for people who need a computer zone plus a separate writing, drawing, or printing surface.
- Floating desk: Positioning the desk away from a wall can create a professional feel in a larger room, but it requires intentional cable management and enough circulation space.
As a general rule, allow approximately 75–90 cm behind a chair for movement. Check that doors and drawers can open fully and that you can reach storage without repeatedly squeezing past furniture. In small spaces, visual openness matters too. A narrow desk with wall-mounted shelving may feel more spacious than a deep executive desk and a bulky bookcase.
Build a Functional Furniture Plan
Once you have a promising layout, add furniture in order of importance. Start with the desk and chair, then introduce storage, task lighting, and secondary seating. This sequence prevents accent furniture from taking up the space needed for essential work zones.
A chair should fit under the desk at the correct height and still leave room to move. Consider monitor placement as well: the top of the screen should generally sit near eye level, and the screen should be far enough away to view comfortably. While a room makeover app cannot replace ergonomic advice from a specialist, it can help you verify that the overall arrangement allows for sensible positioning.
Plan for the work you actually do, not only the office aesthetic you want to copy.
For storage, combine open and closed elements. Open shelves can display books, plants, and a few personal objects, while closed cabinets hide cables, documents, and everyday supplies. In your 3D renders, avoid filling every surface. Negative space makes a small office feel calmer and gives your eye a place to rest.
Use Lighting to Improve Focus and Video Calls
Lighting is one of the most underestimated parts of interior design. A single ceiling fixture can leave the work surface shadowy, especially during evening hours. A better plan layers ambient, task, and accent lighting.
- Ambient lighting: General room illumination from ceiling fixtures, recessed lights, or a floor lamp.
- Task lighting: A directional desk lamp that lights the keyboard, notebook, or drawing surface.
- Accent lighting: A small lamp, wall light, or shelf lighting that adds warmth and depth.
For video calls, avoid sitting directly in front of a bright window, which can turn your face into a silhouette. Place soft light in front of you or slightly to one side. In a digital concept, test the desk orientation against windows and use different render views to assess how the background looks from camera height.
Create a Style That Supports Concentration
The right aesthetic is personal, but productive offices often use a restrained palette, layered texture, and a limited number of focal points. Start with a base style, then refine it to match the home. A modern organic office might pair warm wood, soft white walls, linen curtains, and greenery. A minimalist office could use clean-lined storage, muted gray tones, and black accents. A classic workspace may include deeper wall color, brass hardware, and traditional shelving.
Try creating multiple room makeover concepts with the same layout but different styles. Keeping the floor plan consistent helps you compare finishes fairly. Change one category at a time—such as wall color, desk material, or storage finish—so you can identify what is improving the design.
Simple palette formula
Use a dominant neutral for large surfaces, a secondary material such as wood or metal, and one restrained accent color. For example:
Walls: warm off-white
Desk and shelving: light oak
Accent: muted forest green
Hardware and lighting: matte black
This formula is flexible enough for most spaces and less likely to become visually overwhelming over time.
Review Your 3D Renders From Practical Angles
Do not judge a concept from one attractive perspective alone. Generate views from the doorway, seated desk position, window side, and any area used for video calls. These viewpoints reveal different problems: a layout may look balanced from the entry but feel cramped behind the chair.
Use this final review checklist before purchasing or renovating:
- Does the chair have enough room to roll back?
- Are outlets accessible without cords crossing a walkway?
- Does daylight create glare on the likely monitor position?
- Can doors, cabinets, and drawers open without conflict?
- Is there sufficient storage for visible and hidden supplies?
- Does the video-call background look intentional but not distracting?
- Does the design still work if you add a second monitor or printer later?
Save your preferred render alongside a basic shopping list and key dimensions. This turns the concept into a useful reference during purchasing, installation, or conversations with a contractor.
Turn the Concept Into a Confident Next Step
A well-planned home office supports more than productivity. It can make daily work feel calmer, improve how you appear on calls, and help a small room serve multiple purposes without becoming cluttered. By starting with accurate dimensions, testing layouts first, and using 3D visualization to compare lighting and finishes, you can make decisions with much more confidence.
For homeowners who want to convert a floor plan into clear renovation previews, Floor Plan to 3D & Home Redesign offers a practical way to explore room layouts and export polished 3D images for planning discussions.
Put the workflow into practice
The ai room design guide helps turn an office image into decisions you can check: preserve fixed features, measure the desk and leave real circulation space before purchasing furniture.
See AI Home Planner & Room Design on the App Store for current availability and details.
