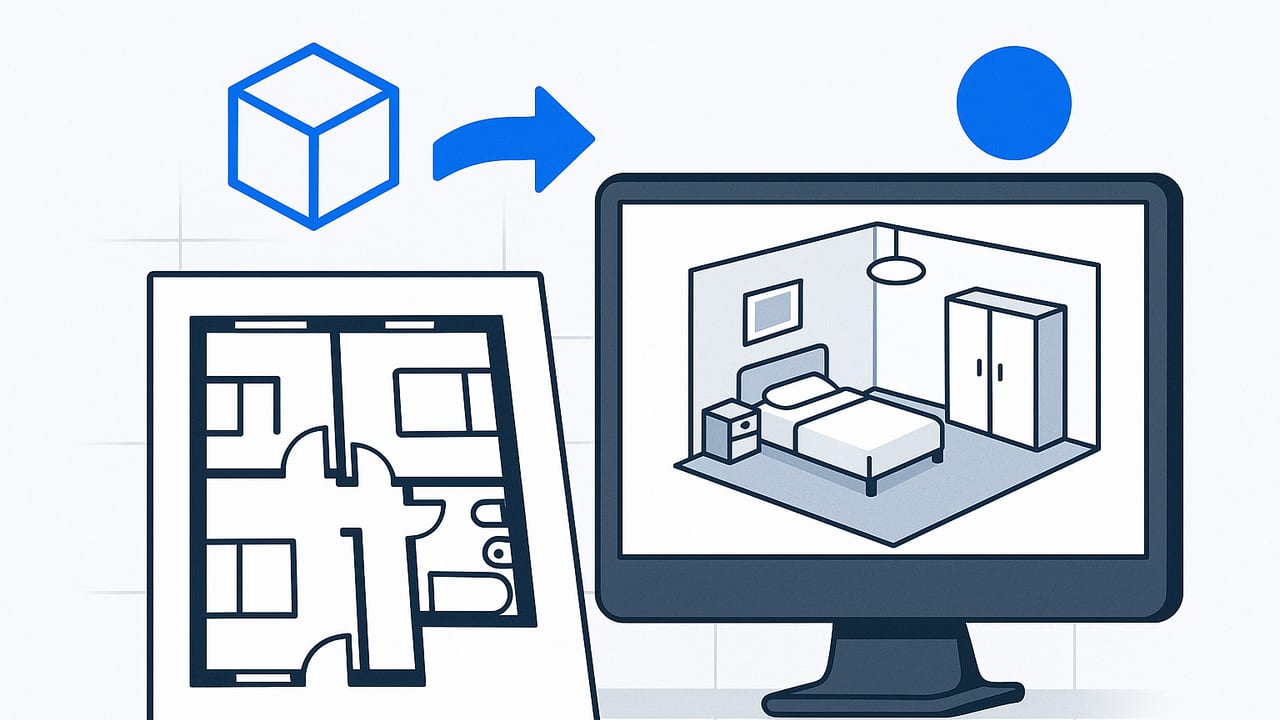
If you want to create 3D rooms from an apartment floor plan, you don’t need a full CAD background to get accurate, engaging visuals. With the right prep, scaling, and QA steps, you can turn a black-and-white layout or PDF into a true-to-scale 3D model you can walk through, furnish, and share. This guide covers a practical, repeatable workflow—ideal for renters planning furniture, homeowners considering renovations, real estate marketers, and interior designers who need fast, visual mockups.
What you need before you start
- A clean floor plan: PDF, JPG/PNG scan, or a smartphone photo of a paper plan. Look for a scale bar, labeled dimensions, or at least one known measurement.
- A 3D room modeling tool: Mobile app or desktop software that supports tracing walls from images, setting wall height, placing doors/windows, and adding furniture.
- Measurement aid (optional but powerful): Laser measurer or tape for spot checks. Even two verified dimensions (e.g., living room width and bedroom length) greatly improve accuracy.
- Export targets: Decide early: still images, 360 panoramas, short videos, or a 3D file (glTF/OBJ). This informs texture sizes, lighting time, and output resolution.
Prepare the floor plan for tracing
Good input equals good output. Before you import the plan, make it as clear as possible:
- Resolution: Aim for 300 DPI if scanning. For photos, fill the frame, avoid tilt, and shoot in even light.
- Crop and straighten: Remove margins and background. Square the corners so walls are orthogonal if they should be.
- Boost contrast: Increase contrast so walls are dark and background is light. Remove smudges and fold lines.
- Find a reliable scale: Look for a printed scale (e.g., 1:100), a scale bar, or labeled room size.
Set scale precisely (the most important step)
To create 3D rooms from an apartment floor plan with real-world proportions, get the scale right first. Most tools let you draw a reference line on a known dimension to set scale.
- Identify a dimension printed on the plan (e.g., “Living Room 4200 mm”).
- Draw a calibration line between the same two points in the image.
- Enter the real length and lock the scale. Confirm by checking a second dimension.
If your software expects a scale factor and you only know pixel length, use this quick formula:
// Example: known wall = 4.2 m (4200 mm)
// Measured in the image = 768 px
scale_mm_per_px = 4200 / 768  // ≈ 5.46875 mm/px
// Or in meters
scale_m_per_px = 4.2 / 768    // ≈ 0.00546875 m/px
Verify in two places to avoid compounding error. If both checks are within 1–2% of real size, proceed. If not, re-straighten the image and recalibrate.
Trace walls and structure
Walls define rooms, align doors/windows, and set ceiling spans. A careful trace saves time later.
- Wall thickness: Exterior walls are typically thicker than interior walls. Match the thickness shown or use common defaults (e.g., 150–200 mm exterior, 90–120 mm interior).
- Snap and constraints: Use orthographic snapping when walls are meant to be perpendicular. Disable it for angled or bay walls to avoid distortions.
- Wall height: Set a realistic story height (e.g., 2.4–2.8 m). Update for dropped ceilings if noted.
- Columns and chases: Represent structural posts, duct chases, and bulkheads. They matter for furniture and lighting clearance.
Insert doors, windows, and openings
Openings change circulation and light. Place them before furnishing.
- Door width and swing: Standard interior doors range 700–900 mm. Match swings to the plan and check that they don’t collide with cabinets or radiators.
- Windows: Note sill height and head height if labeled. For renders, set glass material and frame thickness; for daylighting, ensure orientation is correct.
- Open Archways: If the plan shows an opening without a door, model as a cased opening to preserve clearances.
Create rooms from boundaries
Many tools can auto-detect enclosed areas and assign room objects. If yours does, run detection after walls are closed and openings are placed. Otherwise:
- Define each room polygon and assign a name (Kitchen, Bedroom 1, Bath).
- Set floor finishes per room: tile, wood, carpet, LVP. This speeds rendering and communicates intent.
- Add baseboards and ceiling type (flat, tray) if supported.
Furnish with standard footprints and clearances
Furnishing turns a shell into a livable concept. Use standard footprints, then refine. Below are typical minimum clearances to keep layouts functional.
| Element | Typical Size | Recommended Clearance |
|---|---|---|
| Sofa (3-seat) | 2100–2400 mm wide | 600–900 mm circulation in front |
| Coffee table | 1200 × 600 mm | 350–450 mm from sofa edge |
| Dining table (4) | 1200 × 800 mm | 900 mm pull-back around chairs |
| Bed (Queen) | 1520 × 2030 mm | 600–760 mm each side to wall |
| Desk | 1200 × 600 mm | 900 mm chair clearance behind |
| Kitchen work aisle | — | 1000–1200 mm between runs |
| Toilet | — | 380 mm each side, 760 mm front |
Place large anchors first (sofa, bed, dining table), then add supporting pieces (nightstands, media console). Use layers or groups by room to keep editing manageable.
Materials, color, and lighting for believable results
- Materials: Use PBR textures where available. Limit extreme gloss except for tile and lacquered finishes. Align wood grain direction with flooring layout.
- Color strategy: Neutral bases (walls/floors) with accent furniture or textiles read well in both daylight and artificial light.
- Lighting: Combine sun/sky for daytime scenes and area/spotlights for night scenes. For accuracy, set geolocation and orientation if available.
- Render settings: For quick previews, use low samples; for finals, increase samples and denoise. Clamp fireflies if your engine supports it.
Quality assurance: a fast but thorough checklist
Before you export, run a short QA pass to catch common issues.
- Scale sanity check: Measure two distances in 3D and compare with the plan. Target within 1–2% variance.
- Door swings: Verify all door swings are correct and unobstructed. Check fridge and oven clearances in kitchens.
- Window heights: Confirm sill and head heights, especially if you added radiators or low cabinets below windows.
- Furniture fit: Walk a path from entry to each room. Avoid sub-600 mm pinch points in primary circulation.
- Ceiling elements: Ensure lights and fans clear open doors and tall casework.
- Material scale: Tile grout and wood planks should be realistic (e.g., 150–200 mm plank widths unless specified otherwise).
Export the right way
Choose outputs that match your audience and platform.
- Stills: Export 1920 × 1080 for slides, 2048 × 1536 for tablets, or 3000 px on the long edge for print-quality proposals.
- 360 panoramas: 4096 × 2048 or higher for VR viewers. Name files by room and orientation for easy linking.
- Short videos: 1080p at 24–30 fps for web. Keep clips under 30 seconds per room.
- 3D formats: glTF/GLB for web and AR; OBJ/FBX for DCC workflows. Include a simple material library readme.
Common mistakes and how to fix them
- Problem: Rooms feel cramped after furnishing. Fix: Recheck scale, then swap to accurate furniture footprints. Review clearance table.
- Problem: Windows look too bright or dull. Fix: Set physical sky intensity and correct glass material IOR/transmission; avoid double glazing planes.
- Problem: Walls misalign at corners. Fix: Zoom in and re-snap ends; use mitered corners if your tool supports it.
- Problem: Render noise (“speckles”). Fix: Increase samples slightly and enable denoising; reduce tiny bright emitters.
- Problem: Plan photo distortion. Fix: Re-shoot straight-on or use perspective correction before import.
A 30-minute workflow to create 3D rooms from an apartment floor plan
- Import and scale (6 min): Straighten, crop, and calibrate with a known dimension. Verify with a second check.
- Trace walls (7 min): Exterior first, then interior. Set wall height and thickness. Add columns/bulkheads.
- Place openings (5 min): Doors with correct swings, windows with sill/head heights.
- Room definitions (3 min): Name rooms, assign floor finishes, add baseboards.
- Furnish (6 min): Anchor pieces first, then secondary furniture. Keep clearances.
- Lighting & materials (3 min): Neutral walls, realistic floors, simple daylight rig.
- QA & export (5 min): Run the checklist, then export two hero stills per room at web resolution.
When to lean on AI and automation
Modern tools can accelerate the process dramatically:
- Auto-detection: Some apps recognize walls and openings from a clear plan image, generating a base 3D shell you can refine.
- Room inference: Automatic room labels and area calculations cut manual steps and reduce errors.
- Material presets: One-click finishes for consistent wood, tile, and paint reduce tweaking and help keep visuals coherent.
Naming, organization, and collaboration tips
- Versioning: Save iterative files with a suffix, e.g., “Apt_2B_Rooms_v03”.
- Scene states: Use scenes or views for each room and lighting condition (Day, Night).
- Annotation: Add lightweight dimensions or callouts for client-facing images: bed size, island length, window orientation.
Pro tip: Keep a simple “dimension anchor” layer with two or three trusted measurements. If anything drifts, you have a quick reference to recalibrate.
Bringing it all together
To create 3D rooms from an apartment floor plan efficiently, treat the workflow like a short production: clean input, precise scaling, structured tracing, pragmatic furnishing with clearances, fast lighting/material passes, and a tight QA loop. The result is a shareable, accurate visual of how a space will live—before a single piece of furniture moves.
If you prefer doing this end-to-end on iPhone, the Floor Plan to 3D app can convert black-and-white layouts into faithful 3D rooms and export high-resolution renders for proposals.
